Search is based on keyword.
Ex: "Procedures"
Do not search with natural language
Ex: "How do I write a new procedure?"
Position Node
Access: Nodes > Geometry > UV
Mari mainly deals with two coordinate spaces: 3D and UV. The Position node outputs position information in 3D space. Using the 3D node on its own is not useful as it only shows position information represented by color but you can use it in conjunction with other nodes. For instance, you can use the Position node with nodes that require a Position input. You can also use it with procedural nodes such as noise nodes or texture type nodes, for example, Tiled nodes. By default, a lot of Mari's procedural nodes generate patterns and noises based on 3D space position. See Position: Node Graph Workflow Example.
Position Node Inputs
No input.
Note: See Position: Node Graph Workflow Example for more information on the Output.
Position Node Properties
No properties.
Note: For more information on the Node tab in the Node Properties palette, See Node tab.
Position: Node Graph Workflow Example
In this example, let’s use a Position node to shift the position of the Cloud noise applied to the object.
| 1. | Create a Cloud node and connect it to the Base input of the Merge node. |
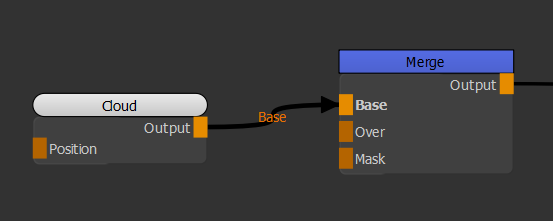
Adding the Cloud node to the scene to texture the object.
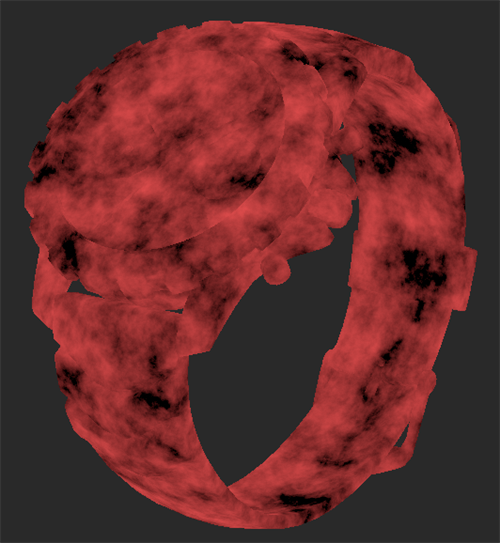
Cloud noise applied to the object.
| 2. | Create an Add node and connect it to the Position input of the Cloud node. Create a Position node and a Vector node and connect them respectively to the A and B inputs of the Add node. |

Adding an Add, a Position, and a Vector node to adjust the position of the Cloud noise.
Notice how moving the X slider of the Vector node moves the Cloud noise on the X axis as we are changing the position information through the Position node.
Adjusting the position with the Vector node to shift the Cloud noise position.
Sorry you didn't find this helpful
Why wasn't this helpful? (check all that apply)
Thanks for your feedback.
If you can't find what you're looking for or you have a workflow question, please try Foundry Support.
If you have any thoughts on how we can improve our learning content, please email the Documentation team using the button below.
Thanks for taking time to give us feedback.