Search is based on keyword.
Ex: "Procedures"
Do not search with natural language
Ex: "How do I write a new procedure?"
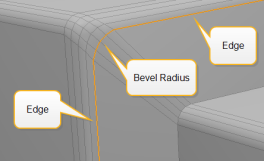
Edge Relax
With the Edge Relax tool you can change the radius of beveled edges after the fact. To learn more about beveling edges, see Edge Bevel.
To use Edge Relax:
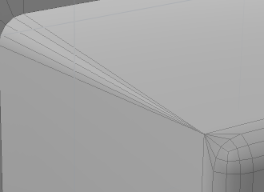
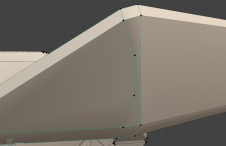
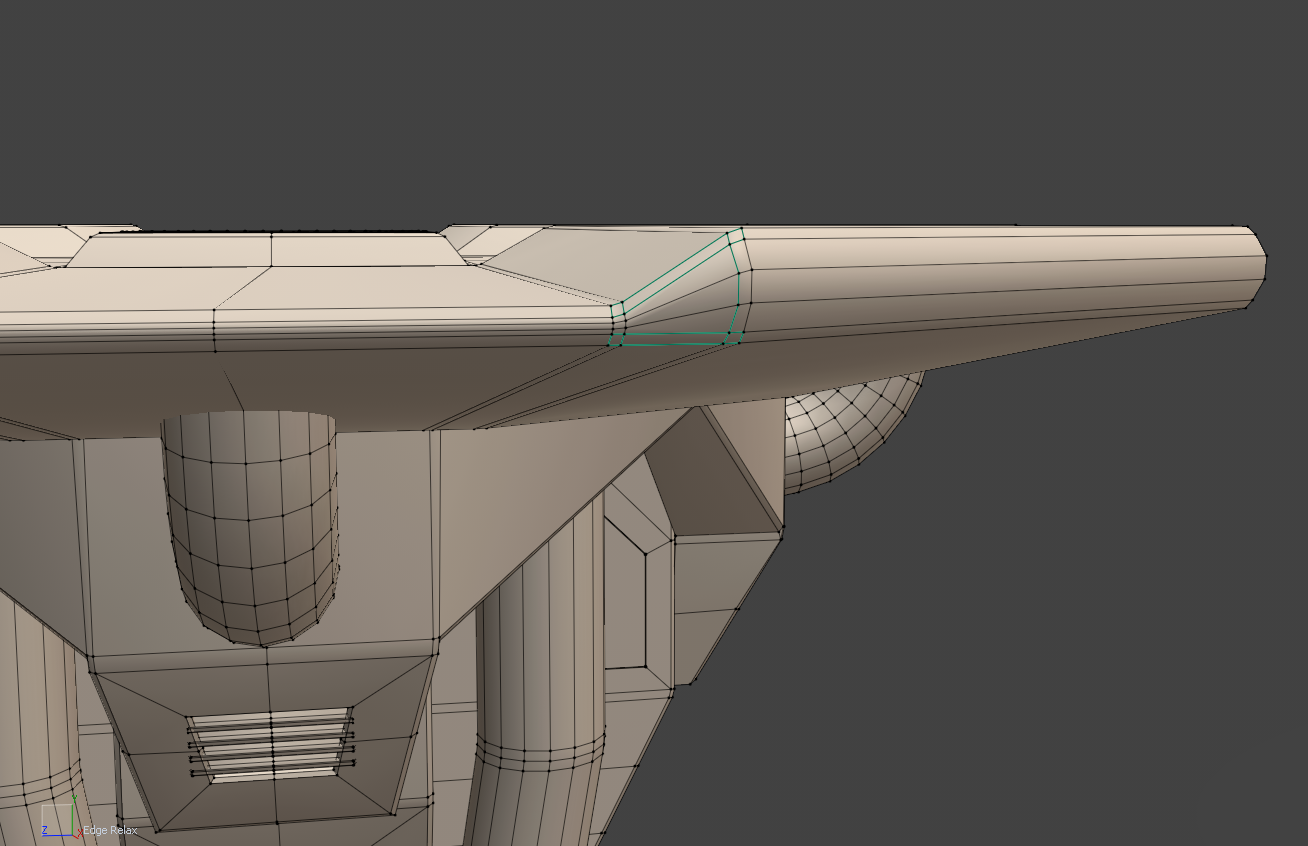
| 1. | Select the beveled edges. The selection should include the radius of the bevel, and an edge on either side. |
| 2. | In the Model toolbar's Edge sub-tab, click Edge Relax. |
This activates the Edge Relax tool.
| 3. | Click and drag in the viewport to adjust the Offset value, or edit it in the Tool Properties panel on the lower left. |
Note: If you're working in the Modo layout, click the Tool Properties button, or press the K key to reveal the panel.
You can also propagate the offset to any parallel edges. To do this, increase the Propagate value in the Tool Properties. For more information, see Edge Relax Properties.
Procedural Edge Relax
Edge Relax is also available as a mesh operation.
Tip: For more information on procedural modeling and mesh operations, see Procedural Modeling.
| 1. | In Edges selection mode, select the edges to relax on your mesh in the 3D viewport. |
| 2. | On the right panel, click the Mesh Ops tab. |
Note: If you're working in a layout where the Mesh Ops tab is not visible by default, click the + button on the right of the tab names, and select Data Lists > Mesh Ops.
| 3. | Click the Add Operator button, and under Mesh Operations > Edge, double-click Edge Relax. |
This adds Edge Relax to the Mesh Operations list and opens its properties on the lower right pane.
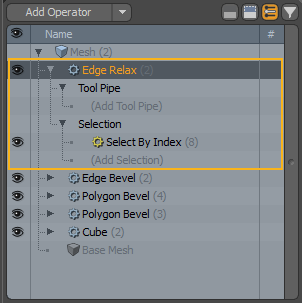
You can expand the Edge Relax operation in the list by clicking the arrow ![]() in front of it. This reveals the inputs the operation uses:
in front of it. This reveals the inputs the operation uses:
• Tool Pipe - Add falloffs and sub-tools to the operation.
• Selection - Select edges to relax or modify your existing selection. For more information on procedural selection, see Procedural Selection.
| 4. | In the Edge Relax Properties, adjust the Offset value and other properties as needed. For more information on what each setting does, see Edge Relax Properties. |
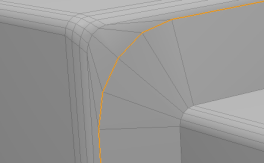
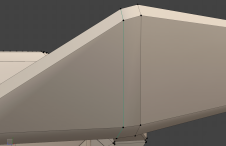
The bevel radius is updated in the 3D viewport.
Edge Relax in the Schematic
You can also use the Edge Relax tool when working in the Schematic viewport.
Note: For more information on working with Schematic viewport in general, see Schematic Viewport.
To open the Schematic viewport:
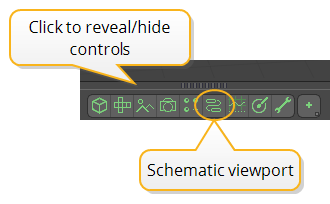
• In the Modo layout, click the thin gray line below the 3D viewport, and click the Schematic viewport ![]() button.
button.
OR
• Switch to the Setup layout from the menu bar by clicking Layout > Layouts > Setup.
To add the Edge Relax node, click Add..., and under Mesh Operations > Edge, double-click Edge Relax.
The node has the following inputs:
• Tool Pipe - Add falloffs and sub-tools to the operation.
• Selection - Select edges to relax or modify your existing selection.
• Geometry - Any geometry that is affected by the tool.
Edge Relax Properties
You can find the Edge Relax Tool Properties on the left panel.
|
Offset |
The value by which the bevel radius is modified. |
||||||
|
Tension |
Changes the profile of the radius. |
||||||
|
Depth |
Adjusts the roundness of relaxed edges. 100% is the default value for round edges. 0% makes round positions flat, and -100% produces a negative radius. |
||||||
|
Propagate |
Specifies the number of parallel edges that are affected by the Offset value. |
||||||
|
Propagate Scale |
When Propagate is higher than 0, determines the effect of the falloff on the propagation. The default is 100% and decreasing the value decreases the effect of the falloff. |
||||||
|
Propagate Side |
By default, edges are relaxed on either side of the selection, but you can choose to propagate to parallel edges on only the Positive or the Negative side. | ||||||
|
Shape Preset |
When Propagate is higher than 0, specifies the falloff type affecting the propagation. You have the following options: • Linear • Ease-In • Ease-Out • Smooth • Custom |
||||||
|
Convergence |
When enabled, instead of relaxing the edges, Modo welds the points of the radius together.
|
||||||
|
Add Point |
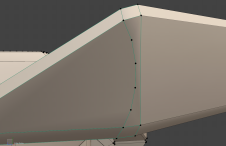
Inserts new points along the selected edges, which helps you increase the rounding of edges. • Relative - Increases the number of points by the specified amount. So if you had two points and set Number of Points to '4', you will have six points altogether. • Absolute - Sets the number of points to the specified amount. So if you had two points, and set Number of Points to '4', Modo adds two points to the existing two points.
Tip: You can use the Propagate property to copy the new point settings to parallel edges.
Four points added with Relative mode and Propagate set to 4 |
||||||
|
Number of Points |
The number of points inserted by the Add Point option. When this value is negative, the tool removes existing points. |
Sorry you didn't find this helpful
Why wasn't this helpful? (check all that apply)
Thanks for your feedback.
If you can't find what you're looking for or you have a workflow question, please try Foundry Support.
If you have any thoughts on how we can improve our learning content, please email the Documentation team using the button below.
Thanks for taking time to give us feedback.