Refining the Results
To refine the results:
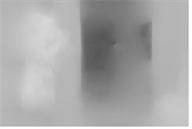
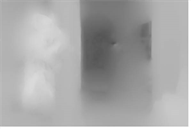
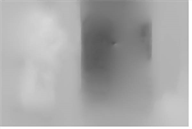
| 1. | Adjust Depth Detail to vary the resolution of the images used to calculate the depth map. The default value of 0.5 equals half the image resolution. Lower values speed up processing and deliver a smoother result. Higher values pick up finer details, but also increase processing time. |
|
|
|
| Depth Detail = 0.15 | Depth Detail = 0.85 |
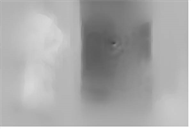
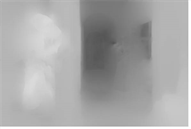
| 2. | If you find that the depth map is noisy in flat image regions, try increasing the Noise value in the Depth Generation parameter group. This sets the amount of noise DepthGenerator should ignore in the input footage when calculating the depth map. The higher the value, the smoother the depth map. |
|
|
|
| Noise = 0 | Noise = 0.15 |

| 3. | If you think the depth map should still be smoother, you can also increase Smoothness. Rather than affecting the depth calculation, this applies an intelligent blur on the result. |
A high smoothness can miss lots of local detail, but is less likely to produce noisy depth values. A low smoothness concentrates on detail matching, even if the resulting depth map is jagged.
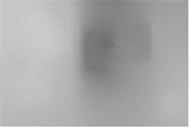
| 4. | The Strength parameter defines the strength of pixel matching between frames. You can usually leave it at the default value. However, if the depth map does not appear to fit some edges of the image, you can increase Strength to force matches where fine details are missed. You can also reduce Strength to smooth the depth map, but generally it’s a good idea to leave it at a relatively high value to make sure the algorithm is matching the images and calculating the depth correctly. |
|
|
|
| Strength = 0.5 | Strength = 1.5 |
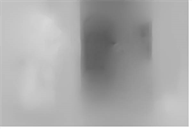
| 5. | If you aren’t happy with the object boundaries in your depth map, adjust Sharpness. Use a high value to produce distinct boundaries between the objects, or a low value to smooth the boundaries. |
|
|
|
| Sharpness = 0.05 | Sharpness = 0.95 |
| 6. | If necessary, use Near Clip Plane and Far Clip Plane to set the minimum and maximum values allowed in the depth map. All depth values that are outside this range are clipped to these values. |
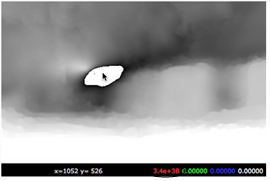
| 7. | To see if there are any regions where the depth calculation is ambiguous, check Mark Bad Regions. |
Any ambiguous regions are marked as very large values in the depth map. Such regions might occur if CameraTracker hasn’t been able to calculate the depth of all pixels using the camera data, due to certain camera movements for instance.
|
|
| Mark Bad Regions enabled. |
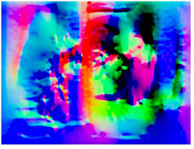
| 8. | Once you’ve set the parameters so that you’re happy with the depth map, view the normals pass (if you decided to generate one earlier). Normals are calculated from depth, and the normal direction is defined by the change in depth between pixels. The normals pass can be noisy, as small changes in depth lead to large changes in the normals. To smooth out the normal map by calculating normals using a lower resolution depth map, reduce Normal Detail. This integrates the change in depth across a wider range of pixels, reducing noise in the normals pass. |
The default value of 0.25 causes the normals pass to be calculated at a quarter resolution.
|
|
|
| Normal Detail = 0.2 | Normal Detail = 0.8 |

| 9. | Proceed to Using the Results. |