Search is based on keyword.
Ex: "Procedures"
Do not search with natural language
Ex: "How do I write a new procedure?"
UI Overview
This video gives you a quick introduction to the main components of the Colorway UI.
In the video:
• The canvas, in the middle is where your sheets are displayed.
• The left, docked panel menu provides access to the sheet/item tree and variations panel.
• The right, docked panel provides access to all the main functions. Namely:
- Selection
- Pan
- Place
- Text
• Useful tricks such as zooming with the mouse wheel and a shortcut to the pan tool.
• Under the tools there is a contextual menu which contains functions specific to the selected option. This is updated according to the type of item that is selected.
• The panel under the sub-menu updates with corresponding controls. You can show the advanced settings using the more button.
• How to add and edit the various items available in Colorway.
Variants
In Colorway, think of an item as a bounding box that you fill with content. The content can be a single file or a directory of files. The files you use to fill up a bounding box are called the variants of the item.
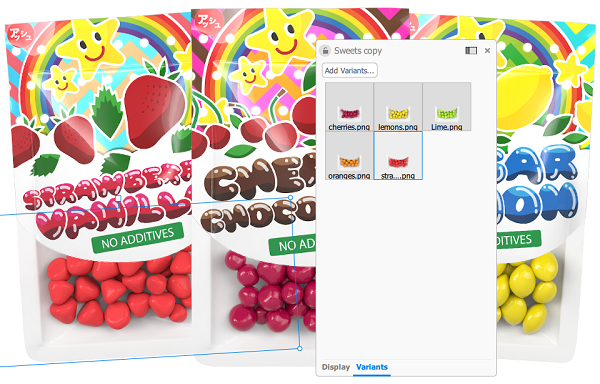
For example, you can use one background image on the sheet, or you can specify several images as possible background items to try out different layout options. The different images are the different variants of the asset. The image below shows the active image variant on the sheet, while the other available variants are listed in the Variants tab of the properties panel.

Tip: Also see the Variant Selector.
LiveSources
LiveSources are a way of specifying variants for an asset. Rather than adding additional files to your project, you can create a link to an external folder on your computer. When you create a LiveSource, Colorway keeps track of the changes in the actual folder and updates the LiveSource accordingly.
For example, when you create an image item, you point Colorway to a folder of images you want to use, rather than a single file. You can then add new files to the folder, modify and delete files, and when you go to your image item in Colorway, you can see the changes you've made reflected in the list of available variants.
Variations
Colorway allows you to create and save several versions, or variations, of your work. They are bookmarks of your project, saving the active state of every variant and palette in the layout.
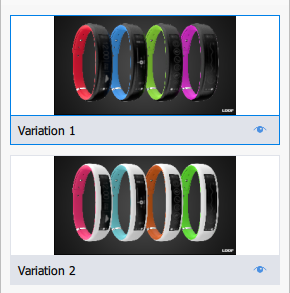
For instance, you can create one variation using a particular image and text, save it, then create another one that uses a different variant of the image and text item. You can create as many variations as you like, and you can browse your stored variations in the left-side panel, in the variations list.

Tip: Also see Using the Variation Stack
Changing the Color Theme of the Workspace
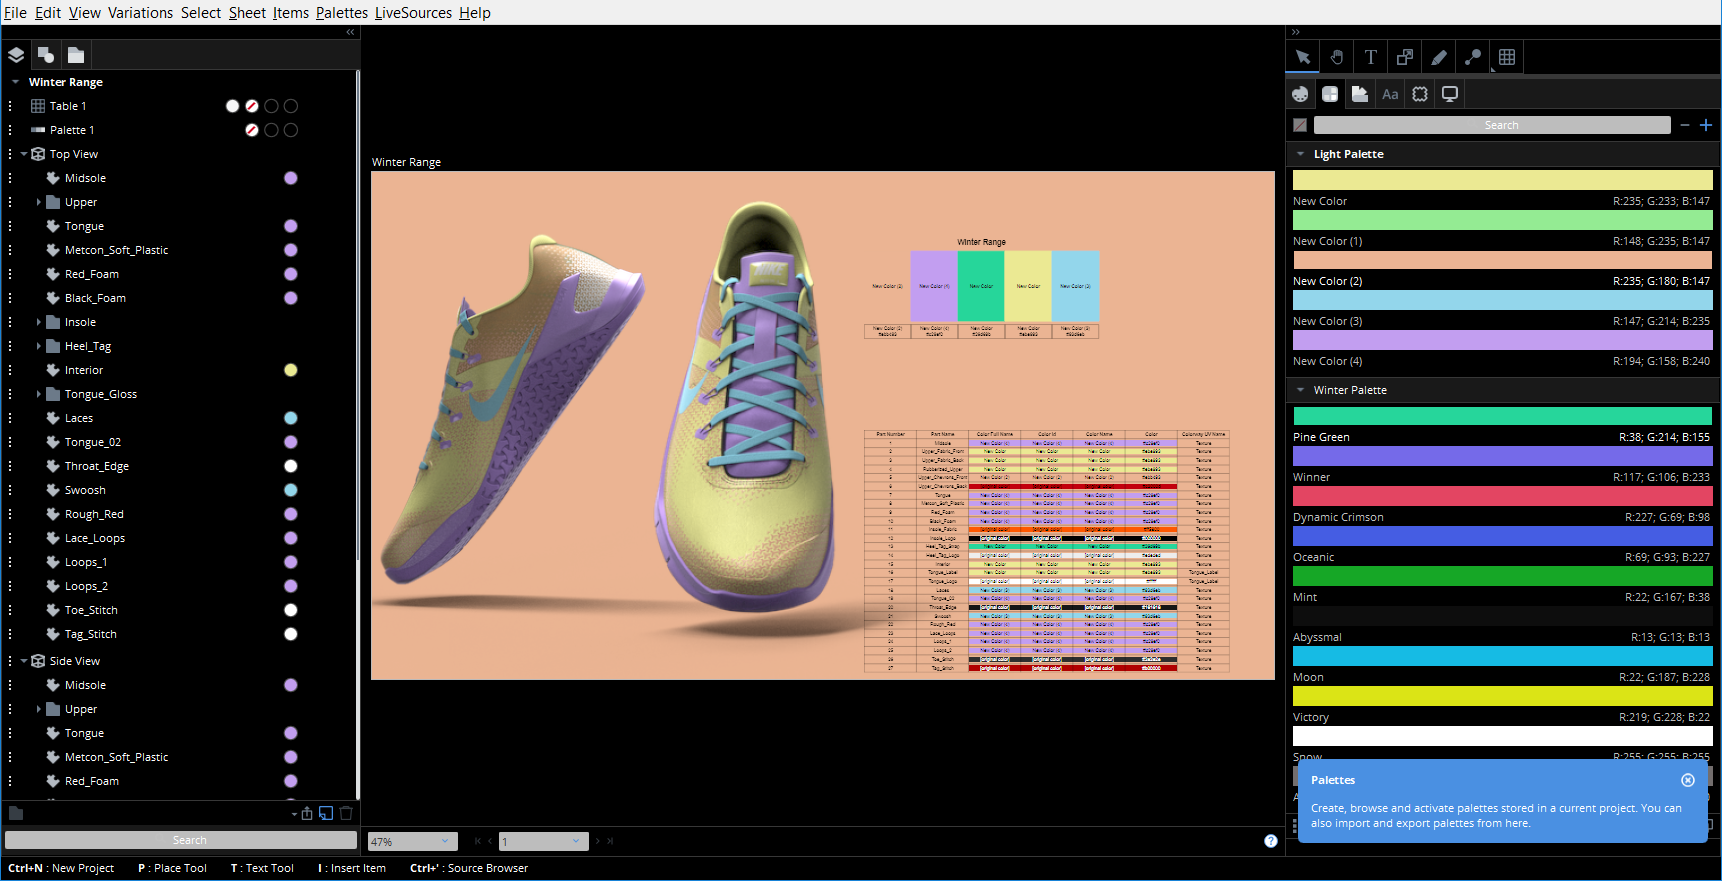
The Colorway workspace defaults to a light gray background, however you can change the color theme to black, which can be useful for presentations that contain very light colors.
To change the workspace layout theme:
| 1. | Go to Edit > Preferences > General on Windows or Colorway > Preferences > General on Mac. |
| 2. | Under Application Color Scheme, use the drop down menu to select between Dark and Light modes. |
| 3. | Click Apply |
The Colorway UI changes to the chosen theme.
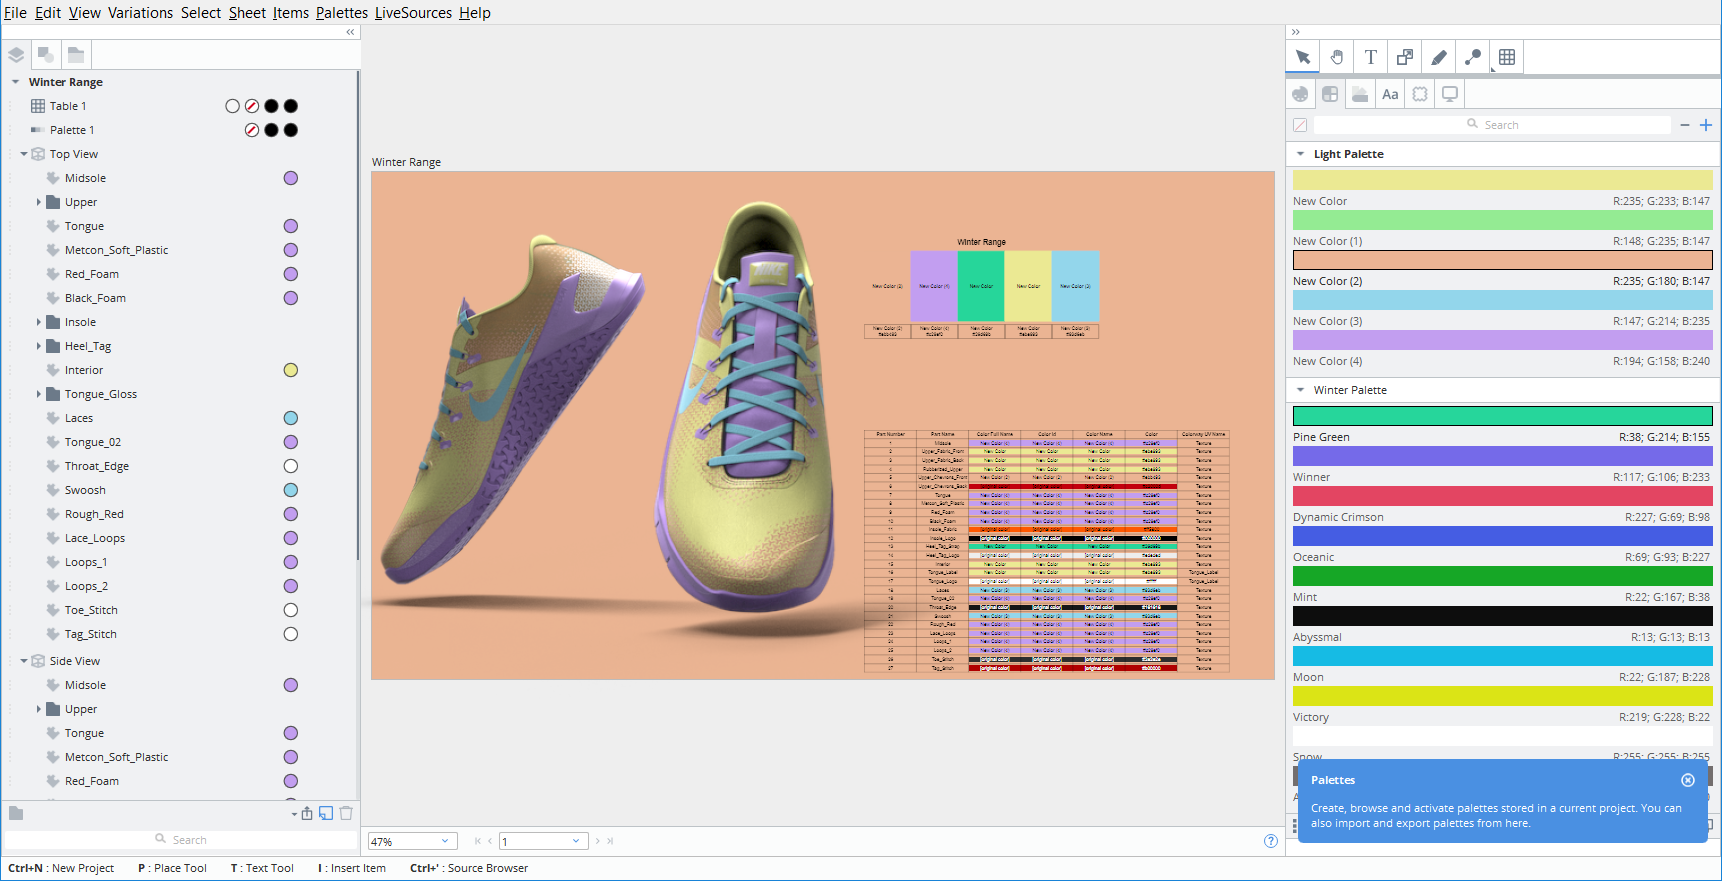
See the two layouts below to compare:

Distraction Free Mode
To hide all tools and menus for an uninterrupted view of your project:
| 1. | Click on your sheet in the canvas workspace or in the item tree. |
| 2. | Press Tab. |
The menu bar, docked menus, status and hints bars and sheet outlines are hidden. Any undocked palettes remain visible for you to continue adding colors and materials to your DCI.
Press Tab again to reveal all tools and menus. Any undocked palettes will remain in their positions.
Tip: If you are working with a second monitor, you can move undocked palettes out of the way to that screen.
Zooming In and Out of the Canvas
To Zoom In on your canvas, scroll Up on your mousewheel or press the = key.
To Zoom Out, scroll Down on your mousewheel or press the - key.
The zoom percentage is shown on the left side of the Hints Bar. Use this dropdown menu to select a specific zoom percentage from 10% to 300%. See image below.

Pressing F zooms a selected item to fit. Press F repeatedly to cycle between single sheet view and all sheets view.
Sorry you didn't find this helpful
Why wasn't this helpful? (check all that apply)
Thanks for your feedback.
If you can't find what you're looking for or you have a workflow question, please try Foundry Support.
If you have any thoughts on how we can improve our learning content, please email the Documentation team using the button below.
Thanks for taking time to give us feedback.
