Recoloring Textures
In Colorway 5.0 and later, you can adjust the colors of patterns and textures quickly and easily, without the need for any third-party applications. There are two ways to recolor textures in Colorway:
- Change the hue of your texture
- Subdivide your texture
Changing the Hue of a Texture
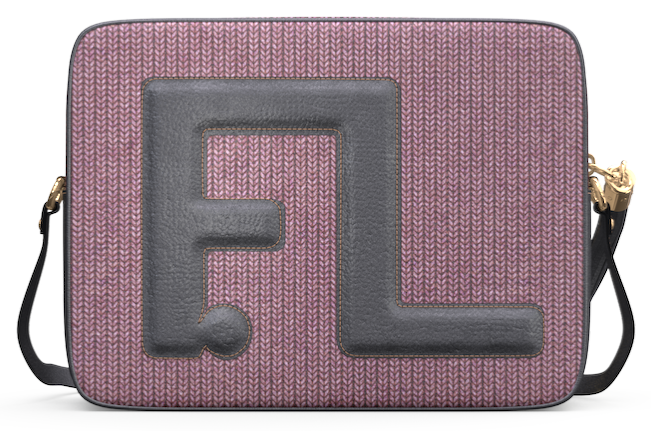
Changing the hue of a texture is useful when making quick changes to the color of fabric swatches, whilst maintaining detail in the swatch such as weaves or finishes.
- Select a part of the DCI
- When your texture is assigned, it is automatically applied as a Multiply blending layer. Set the blending mode to Normal for correct visibility of your texture.
- Click on your texture to select it. Alternatively, you can select it by name from the items tree.
- With your texture selected, change the color by using the Color Panel, Color Libraries, or Palettes tabs. Select a color, and the texture updates to match the color you choose.
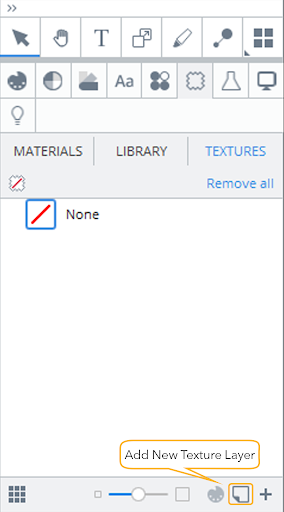
navigate to the Materials and Textures tab
Click on the Textures sub-tab
Click the Add New Texture Layer button. This opens the source browser. Navigate to where your texture is saved.
Note: Blending modes can affect how your texture interacts with how your textures interact with any colors that are assigned to
Note: For information on setting and editing textures, see Adding Textures and Decals to a Part
Recolored textures can be copy and pasted between variations and can also be used in tandem with custom palettes, so don’t be afraid to experiment!
Note: For more information on Copy/Pasting textures, see Copying and Pasting Colors and Textures
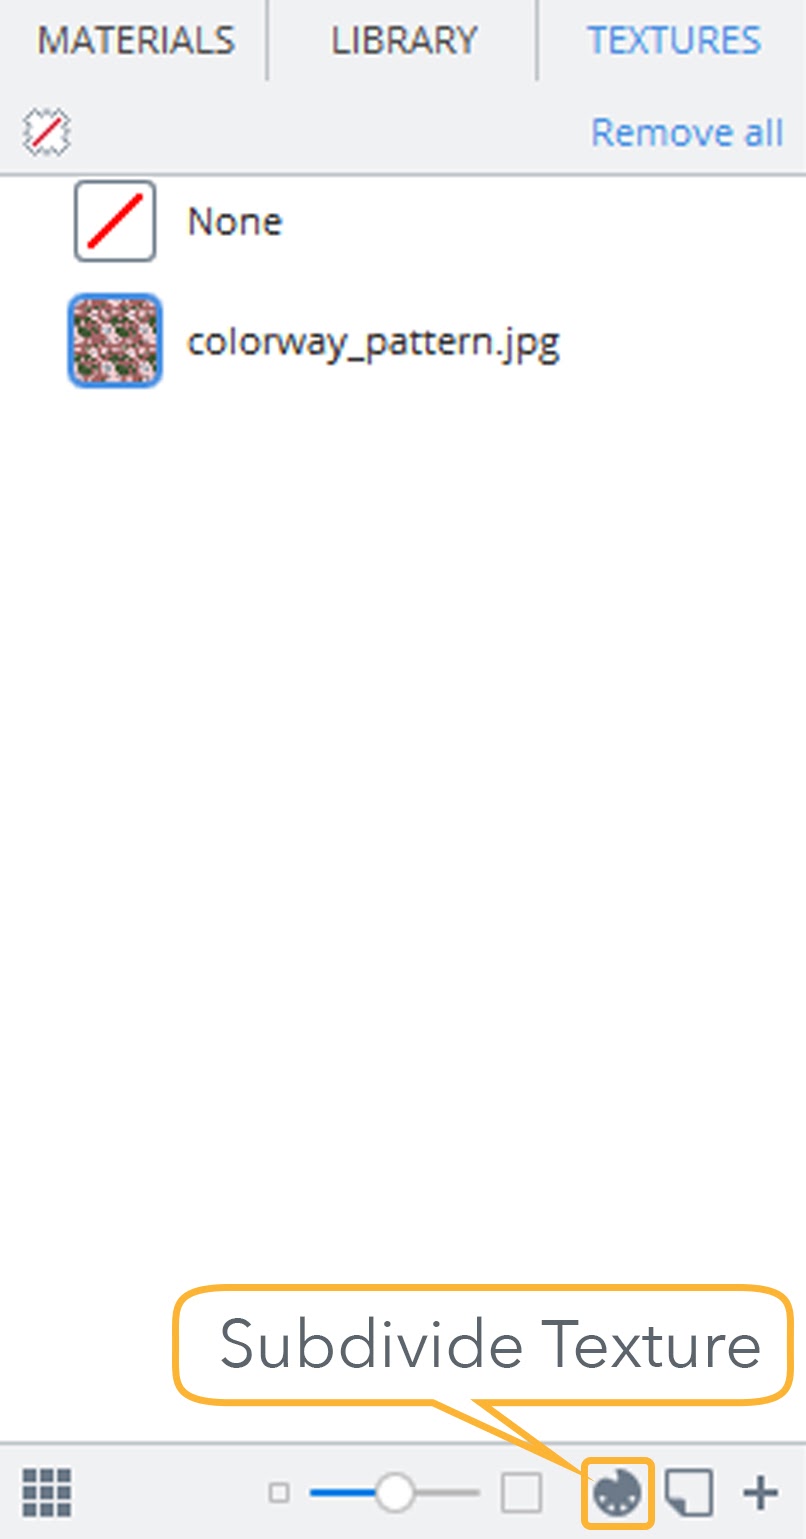
Subdividing Textures
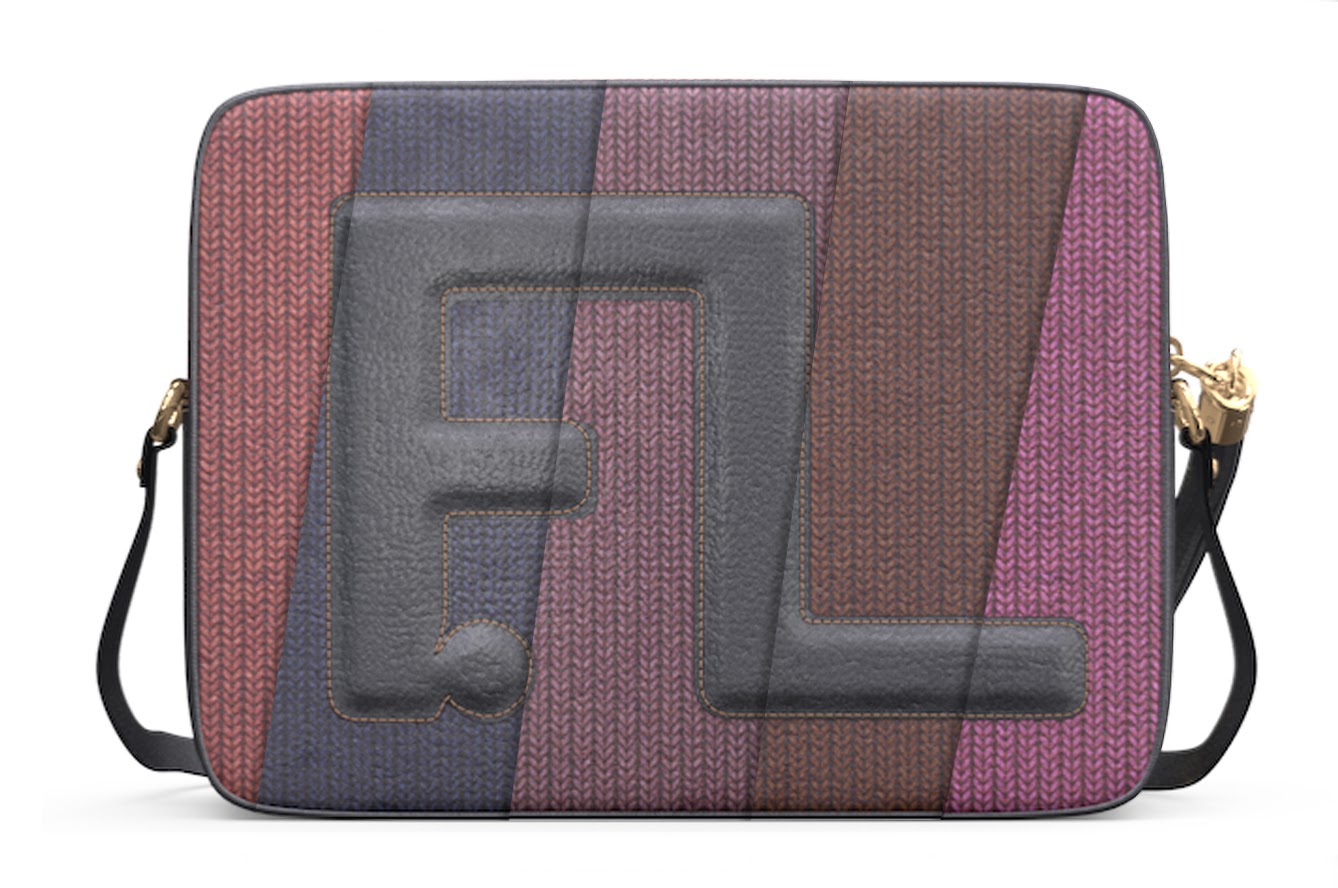
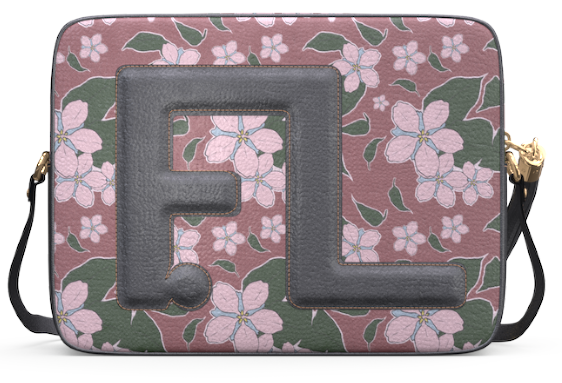
Sub-dividing textures is useful for detailed color editing of textures, such as patterns or decals. It is also useful for changing areas of a pattern based on color, such as the petals on a floral pattern or text on a decal.
- Select a part of the DCI
- When your texture is assigned to a DCI, it is automatically applied as a Multiply blending layer. Set the blending mode to Normal for correct visibility of your texture.
- Select the texture
- Press the Subdivide Texture button, which is located in the toolbar at the bottom of the textures window.
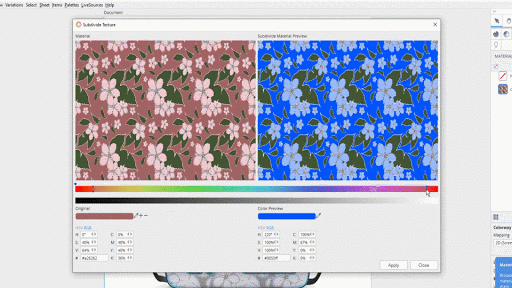
- The Subdivide Textures window opens.
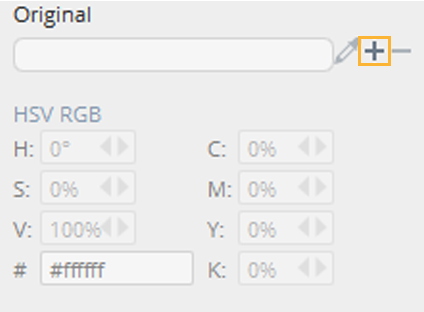
- Click the plus sign on the left side of the window.
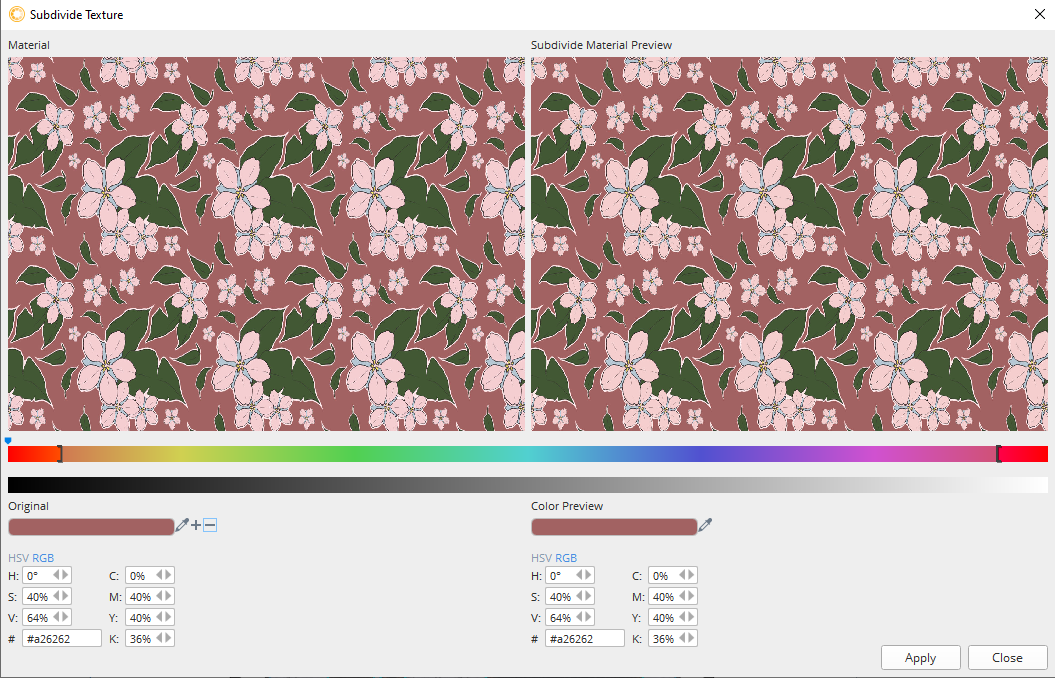
- Your cursor should have changed to a crosshair with a color swatch attached. Click the area of your pattern that you wish to recolor.
- Change the Color Preview to a color opposite to the one you selected. For example, if you have selected a red color, set the color preview to blue.
- Move the handles on the color slider to adjust the range of color that is captured.
- Repeat steps 6-9 to subdivide any other areas of your pattern that need to be changed.
- Press Apply to confirm your color adjustments
Navigate to the Materials and Textures tab
Click on the Textures sub-tab
Click the Add New Texture Layer button. This opens the source browser
Navigate to where your texture is saved
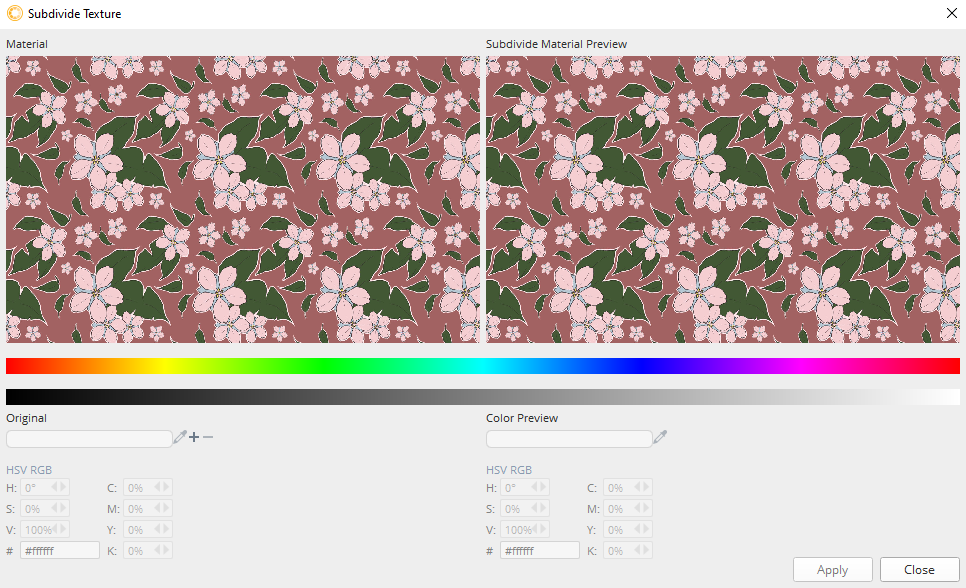
The window is divided into a Material side and a Subdivide Material Preview side.
The Material side is where you select colors for elements of a pattern. The Subdivide Material Preview side allows you to assign a preview color to each subdivision, so you can check if the selected color range needs to be changed.
The color preview on both sides of the window changes to reflect the color that you selected.
Note: Don’t worry if you’ve selected the wrong color, you can change it by clicking the eyedropper tool and selecting another area.
Tip: You can zoom in and out in each window by using the scroll wheel on your mouse.
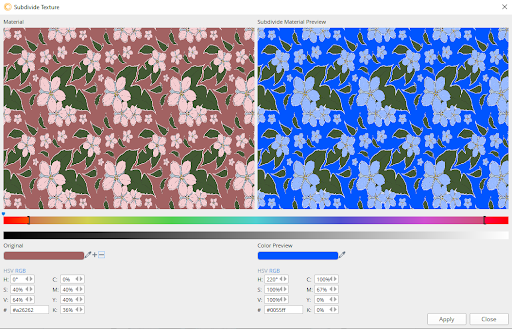
Note: The color preview window is used to check that color-bleeding isn’t occurring between two areas in your texture that may fall in a similar color range. By changing the color preview, it makes it easier to identify any potential issues that need to be addressed.
Now that your texture has been subdivided, it’s ready to be recolored.
Recoloring Subdivided Textures
A subdivided texture is stripped of all color to make the texture a blank slate for new colors.
![]()
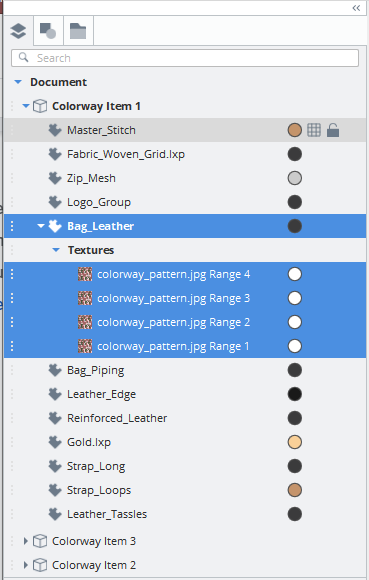
- Open the Items List
- Select the part that the texture is assigned to. Textures assigned to the part are automatically highlighted in the Items List.
- Click a name in the Items Tree to select a texture.
- Assign a color to the selected texture. To do this, see Changing the Hue of a Texture
- Repeat steps 3-4 for all of your textures.
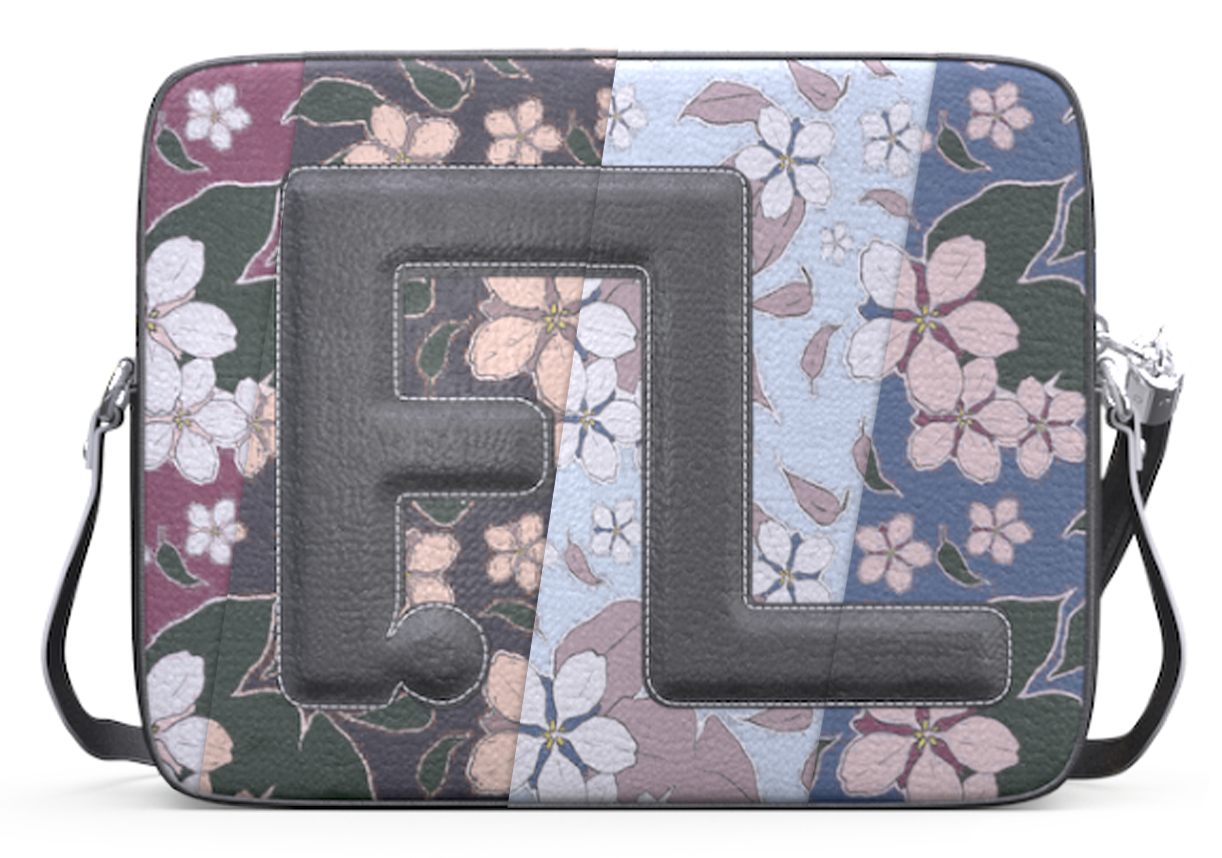
As with regular textures, subdivided textures can be copied and pasted across projects and variations so patterns can be quickly edited without the need to re-subdivide each time.