Customizing Contact Sheet Templates
Contact sheets provide a quick overview of all the panels in a revision, allowing you or a peer reviewer to get a feel for the story without having to open Flix, Photoshop, or another application.
Contact sheets include useful information such as the show, sequence revision, panel number, and duration. Any dialogue associated with the panels can also be included as well highlights, markers and other useful data.
|
|
|
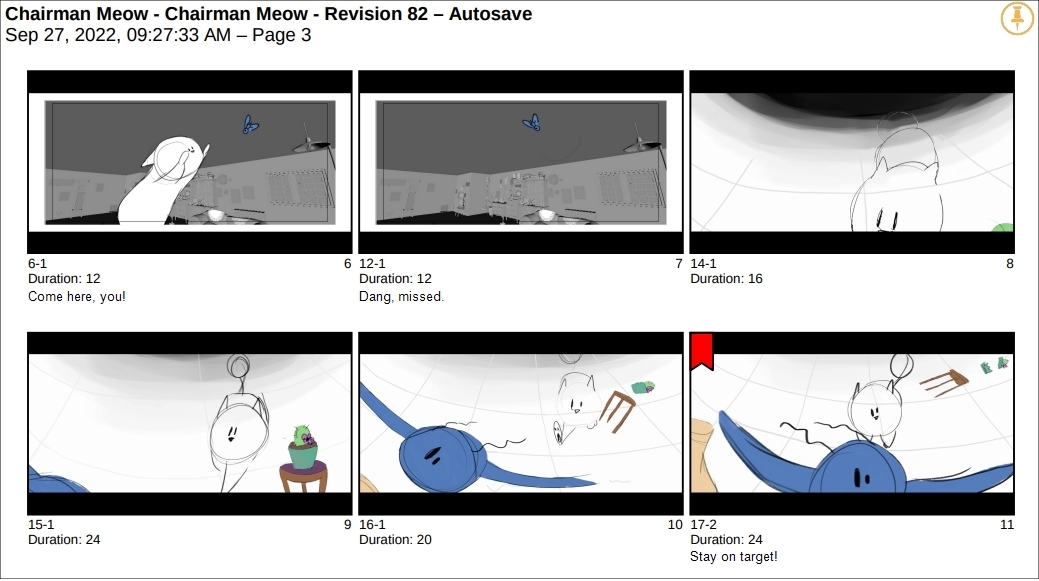
A 3x2 Storyboard (Landscape) Contact Sheet |
Flix ships with several default contact sheet templates, but you may find that creating your own templates covers a wider range of shows.
Note: Only administrators and users that are specifically granted permissions can edit or create templates. Regular Flix users can only select which template to use from the available publish and export options. See Control User Access with Group and Role Permissions for more information.
The default templates are fully editable and you can duplicate and delete them quickly and easily. The default templates are:
-
Single Screen (Landscape) - each panel has its own page in the PDF output with dialogue under each panel.
-
3x2 Storyboard (Landscape) - six panels per page in the PDF output with dialogue under each panel.
-
3x3 Storyboard (Landscape) - nine panels per page in the PDF output with dialogue under each panel.
-
5x4 Storyboard (Landscape) - 20 panels per page in the PDF output with dialogue under each panel.
-
3 Dialogue Review (Portrait) - three panels per page and any associated dialogue on the right.
-
6 Dialogue Review (Portrait) - six panels per page and any associated dialogue on the right.
Assigning Templates to Shows
Flix system and custom templates are not assigned to any shows by default. You must assign each show manually so that publishes and exports from that show can select a contact sheet template,
To assign a show to a template:
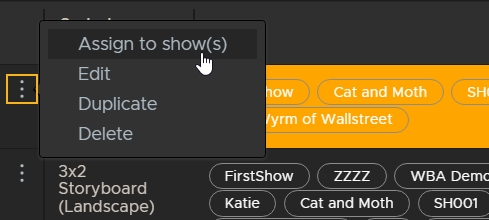
- Click the menu
 icon next to the template you want to edit and select Assign to show(s).
 - Click Please select a show... and then choose the show you want to assign.
- Add as many shows as required and then click Save.
The Assign to shows dialog is displayed.

Tip: You can remove a show by clicking the ![]() icon on the right-hand side of its name.
icon on the right-hand side of its name.
The assigned template is now selectable in the Show Settings. See Editing a Show for more information.
Editing an Existing Template
As an administrator, you may find that the existing templates don't quite suit your needs. Editing the default templates is the fastest way to meet those needs, but be aware that any shows using these templates are forced to use the updated version. If you'd rather create a new template, see Creating a New Contact Sheet Template for more information.
To edit a template:
- Login as an administrator.
- Go to File > Management Console or use the Ctrl/Cmd+. (period) keyboard shortcut.
- Click the Templates tab to display all the currently available templates.
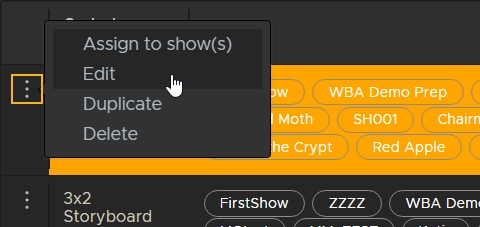
- Click the menu icon next to the template you want to edit and select Edit.
- Make the required changes on the General, Branding, and Cover tabs.
- Click Save & Apply.
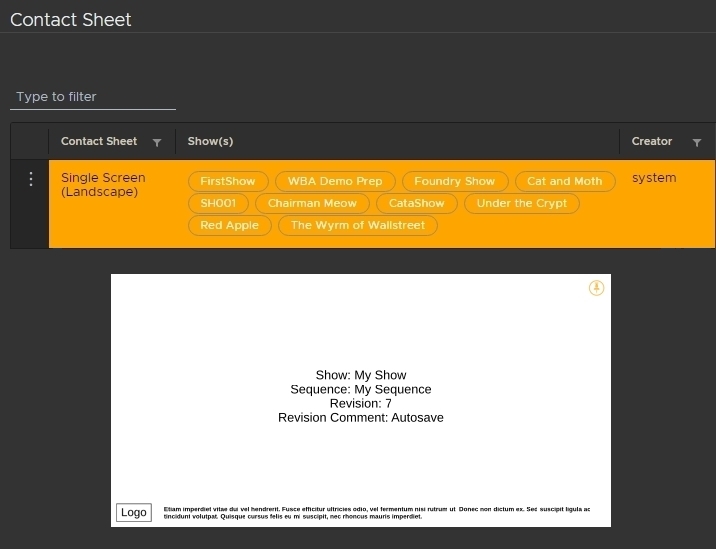
Each template displays its name, the shows to which it is assigned, the creator, and a preview.
|
|
|
A Single Screen (Landscape) Contact Sheet and Preview |
Note: Enabling the Branding > Watermark and Company options displays the branding set in the Show Settings > Branding tab. See Show Level Settings for more information.
You can then set shows to have access to certain templates. See Customizing Contact Sheet Templates for more information.
Creating a New Contact Sheet Template
Creating a new template takes more time, but gives you the freedom to set up the layout of the contact sheet without worrying about overwriting templates in use by other shows.
To edit a template:
- Login as an administrator.
- Go to File > Management Console or use the Ctrl/Cmd+. (period) keyboard shortcut.
- Click the Templates tab to display all the currently available Contact Sheet templates.
- Click + New Contact Sheet on the right-hand side to get started.
- New templates default to Landscape, A4, 1 Panel Per Page and the only required field is the Template Name.
- On the General tab, change the Style to Grid or List and use the Columns and Rows fields to determine how many panels appear on each page of the PDF.
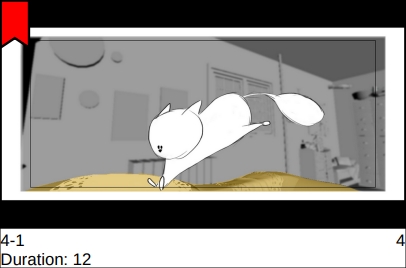
- Checking Panels items adds the specified information to the PDF output. For example, checking Panel ID, Panel Number, Highlight Tag, and Clip Duration exports panels to contact sheets as shown.
- On the Branding tab, enable Watermark and Company if you want to display them on the contact sheet.
- And finally, on the Cover tab, check the Information boxes you want displayed on the contact sheet cover and enter a Description. If you don't require a cover, leave Cover disabled.
- Click Save & Apply.
Note: The Watermark image and Company name are set at the show level. See Editing a Show for more information.
You can then set shows to have access to your new template. See Customizing Contact Sheet Templates for more information.