Organizing Shading Networks with ShadingGroup Nodes
The ShadingGroup node is designed to keep your workspace organized by allowing you to group sections of your shading node network together. Inside a ShadingGroup node, there are fixed input and output bars, which are used to connect the nodes within the group to the rest of the network. This also means you are able to view and access the input and output ports of the nodes within the group on the exterior of the ShadingGroup node. These features of ShadingGroup nodes help to provide the artist with a user friendly interface and enables you to hide any unnecessary details from your shading node network.
| The ShadingGroup node |
Note: The ShadingGroup node is designed to be used within the NetworkMaterialCreate node and can therefore only be created whilst inside the NetworkMaterialCreate node.
Using the ShadingGroup Node
To create a ShadingGroup:
- Hit Tab.
- Type and select ShadingGroup from the Foundry nodes.
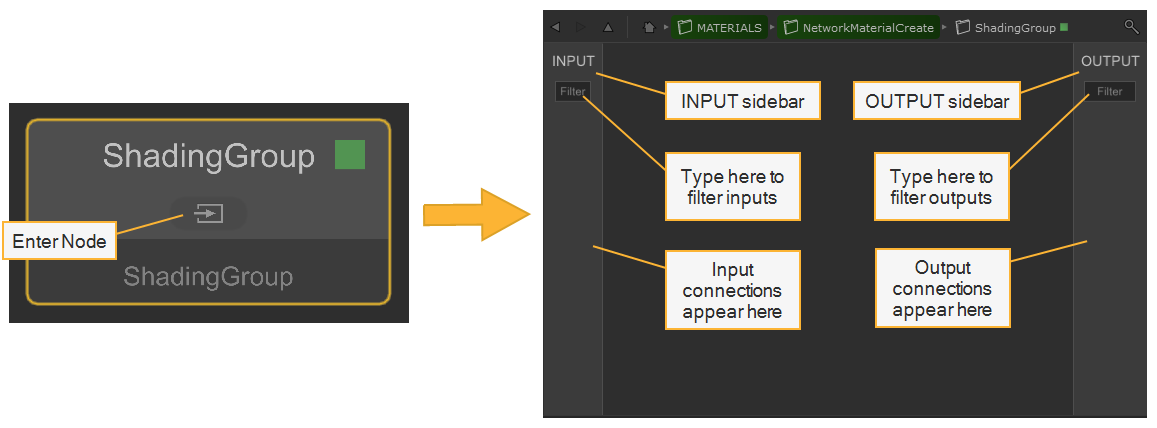
You can jump inside the ShadingGroup in the same way as the NetworkMaterialCreate, by holding Ctrl and clicking with the Middle-mouse button or by clicking the enter node  button.
You can either create nodes directly inside the ShadingGroup or you can cut-and-paste existing nodes from your network, into the group.
To connect shading nodes within the group to input and output sidebars:
- From your shading node, click the input parameter that you would like to be fed in.
- Click anywhere on the fixed INPUT bar on the left to create a port and path for that specific parameter.
- Click on the output parameter that you would like to be read out.
- Click anywhere on the fixed OUTPUT bar on the right to create a port and path for that specific parameter.
| Connecting a shading node within a ShadingGroup to the INPUT and OUTPUT sidebars |
Tip: The INPUT and OUTPUT bars are filterable in the same way as the terminals on a NetworkMaterialCreate node. Enter a string in the Filter bar to search.
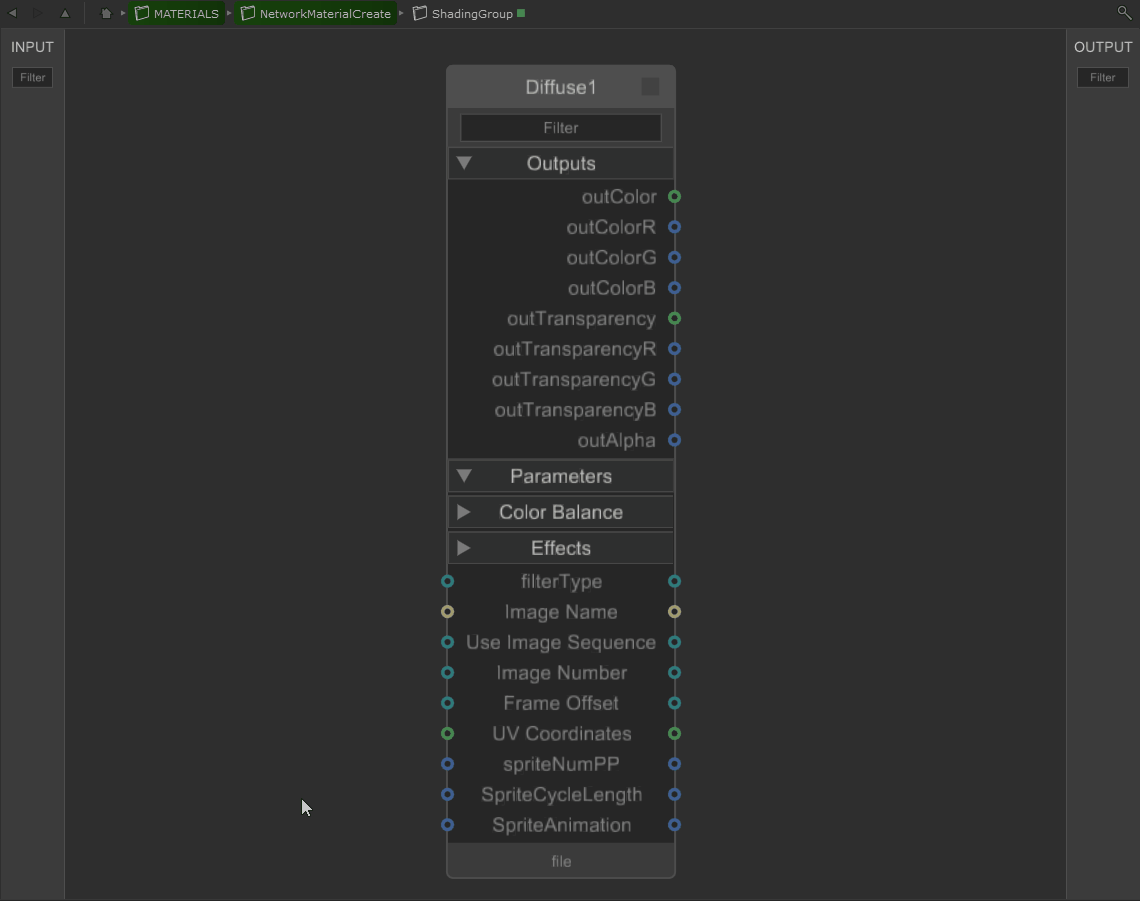
When you exit a ShadingGroup node, you'll see that the input and output parameters are visible on the outside of the node. You can now connect these up to the rest of your network.
| Connecting the ShadingGroup node to the rest of the Network |
In the same way as any node within a NetworkMaterialCreate node, you can collapse and expand the ShadingGroup using Alt + 1, Alt + 2 and Alt + 3. This helps to keep the whole section organized.
Menu options
From inside the ShadingGroup, right-click on one of your ports to bring up the options menu. From here, you can:
- Jump to the node it's connected to.
- Delete the port.
- Rename the port.
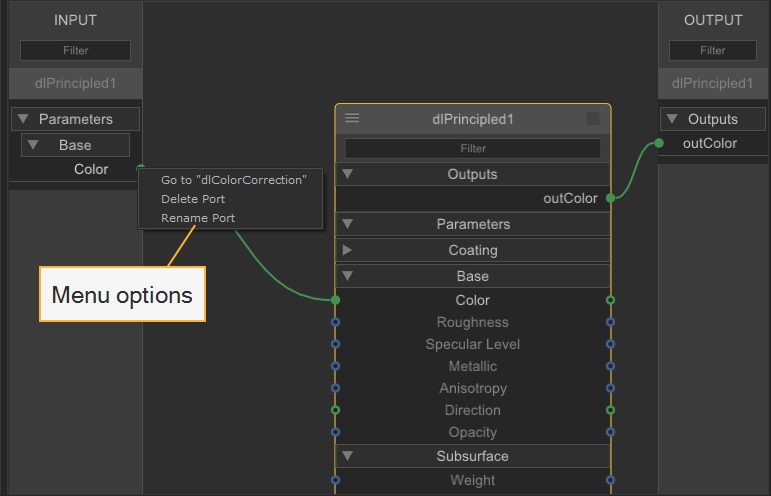
| ShadingGroup port menu options |
Tip: When renaming a port, you can use fullstops in between names to create nested pages. This is a great way of customizing your interface for input and output ports.
Sharing and Reusing ShadingGroups with Macros
Macros enable you to wrap any single node, or ShadingGroup, and publish them so that their state is saved and they can be recalled in other shading networks. Saved macros can be added to a shader network as you would add a regular node, including from the Tab node creation menu.
To create a macro in a shading network:
-
Select the part of the shading network you want to save as a macro.
-
Press G on the keyboard to convert the selected nodes into a ShadingGroup.
-
Double-click the group, or use the keyboard shortcut E, to open its controls in the Parameters tab.
-
Click the wrench icon
 and select Save as Macro.
 -
To add a macro to your shading network, press Tab on the keyboard and start typing the name of your macro.
|
|
|
|
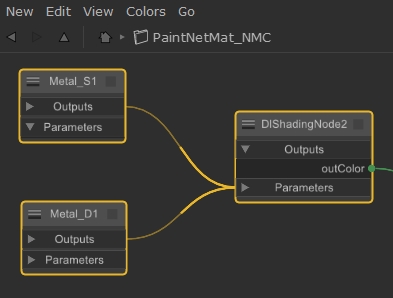
The target shading nodes in the tree |
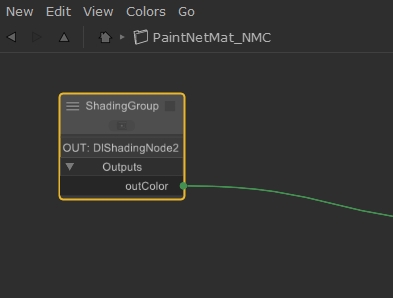
The target nodes collapsed into a group |
Note: If you're creating a macro from a single node, you don't need to create a group.
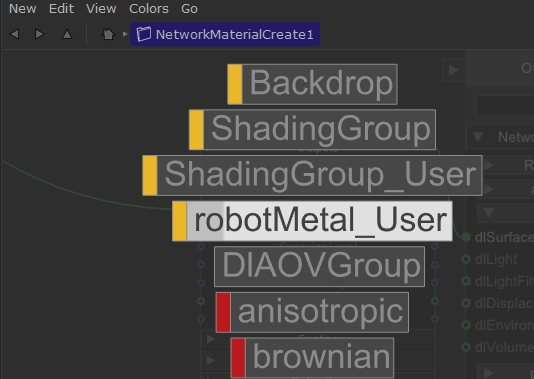
By default, macros are saved in your home directory in .katana/Macros/_User and are automatically assigned the suffix _User. See Macros for more detailed information.