Image-Based Selection in the Monitor Layer
Scenes rendered in Katana include scene graph location information for each pixel in the rendered image. Image-Based Selection allows you to access this information when viewing a render from the Monitor Layer within the Hydra Viewer.
Note: Information for Image-Based Selection is generated by default when rendering in Katana. You can turn this off by going to:
Edit > Preferences > monitor and disabling renderIDPass.
This can be very useful especially when working with existing renders stored in the Catalog tab. While working in the Node Graph, you may want to access an object's scene graph location to construct CEL statements, without having to load any heavy geometry.
How to Use Image-Based Selection
Image-Based Selection is activated from the Hydra Viewer tab and is only available when the Monitor Layer is enabled and a render is loaded.
- Click the Monitor Layer button
 , or press ` (backtick) on the keyboard to activate the Monitor Layer.
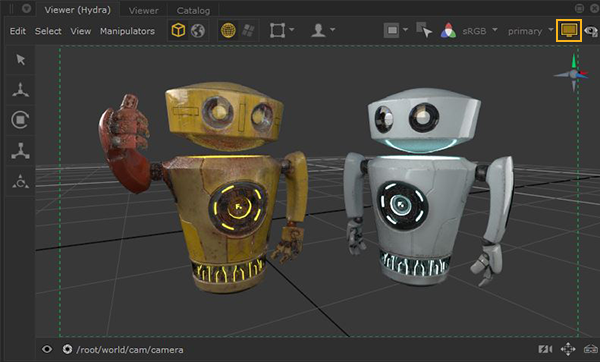
The following additional controls are shown in the Hydra Viewer tab:

Note: For more information about the Monitor Layer, see The Monitor Layer in the Hydra Viewer.
- Click the Image-Based Selection button
 or press I on the keyboard to activate Image-Based Selection. You can also press and hold the I key to temporarily activate Image-Based Selection.
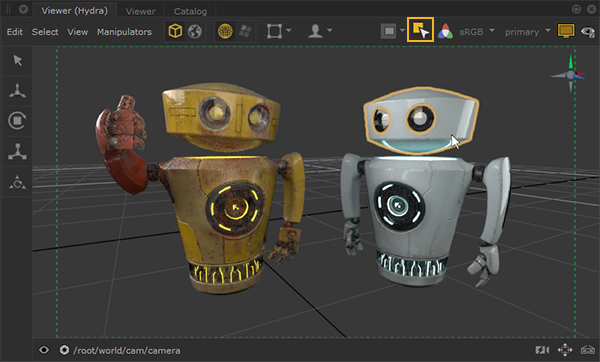
You can now interact with the image and you can no longer select geometry. The geometry does not need to be loaded in the scene for you to make a selection using Image-Based Selection mode.
The hover selection is drawn with a yellow outline.
Note: The color used for highlighting the target selection can be customized by going to:
Edit > Preferences > viewerHydra > monitorLayer > highlightColor - Left-click to make a selection. For more selection controls, see the Selection Methods section of this topic.
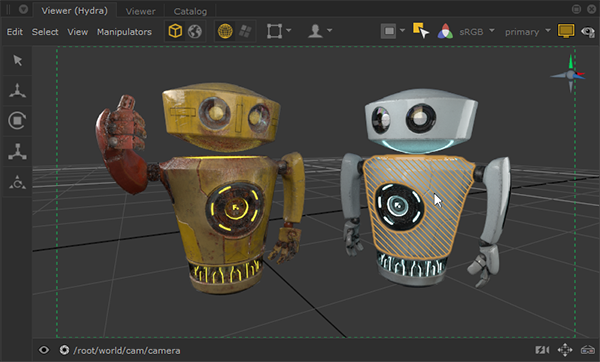
The selection is drawn with a yellow outline and diagonal hatching.
Note: The color used for highlighting the target selection can be customized by going to:
Edit > Preferences > viewerHydra > monitorLayer > selectionColorThe scene graph location is selected in the Scene Graph if the selected geometry is loaded in the scene.
Note: If the selected geometry is not loaded in the scene, you can press Ctrl + E over the Hydra Viewer to expand the locations in the Scene Graph.
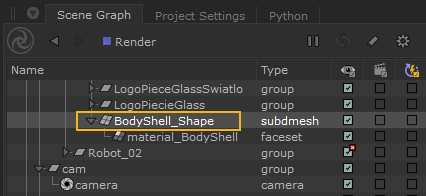
This scene graph selection can be used in CEL widgets through Add Statements > Append Scene Graph Selection / Replace with Scene Graph Selection.
Note: The geometry does not have to be loaded in the scene to use the Append Scene Graph Selection and Replace with Scene Graph Selection options.
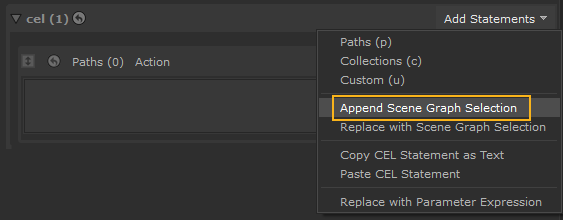

Single scene graph location from selection
Note: For more information, refer to the CEL Reference document found on the documentation HTML page (accessed through Help > Documentation) or the Scene Graph Location Widget Type section of the Common Parameter Widgets topic.
Selection Methods
When Image-Based Selection is active, selections can be made in a variety of ways:
- Left-Click - Single selection.
- Left-Click + drag - Marquee selection.
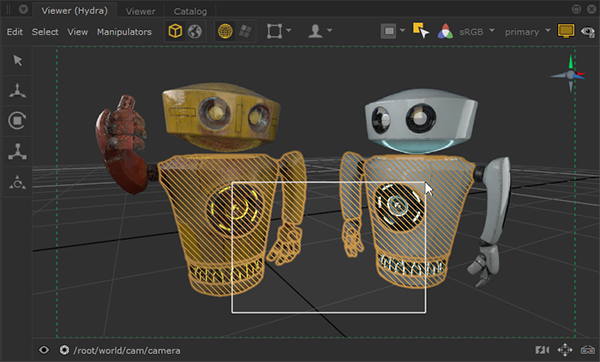
- Shift + Left-Click / Shift + Left-Click + drag - Toggle selections.
This inverts your selection. - Ctrl+ Left-Click / Ctrl+ Left-Click + drag - Remove selections.
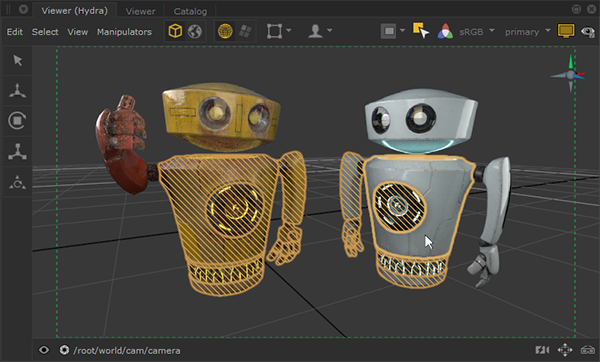
- Ctrl+Shift + Left-Click / Ctrl+Shift + Left-Click + drag - Append selections.
This adds to your selection.
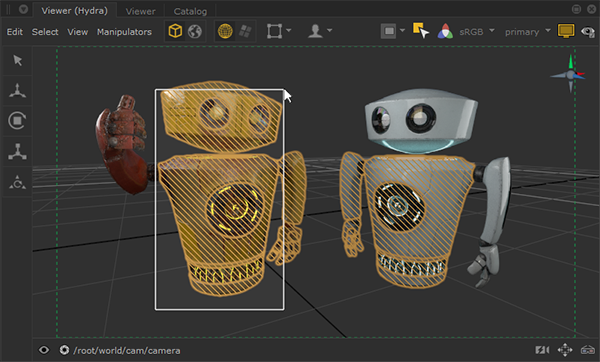
- Click on an empty area to deselect everything.
Multiple scene graph location selections can be used in CEL widgets in the same way, through Add Statements > Append Scene Graph Selection / Replace with Scene Graph Selection.
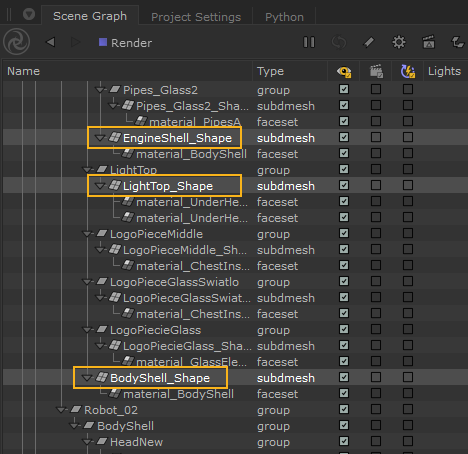
Multiple selections in Scene Graph

Multiple scene graph locations in CEL widget
