Selecting Faces
There are two face selection modes - Front Faces Selection and X-ray Selection:
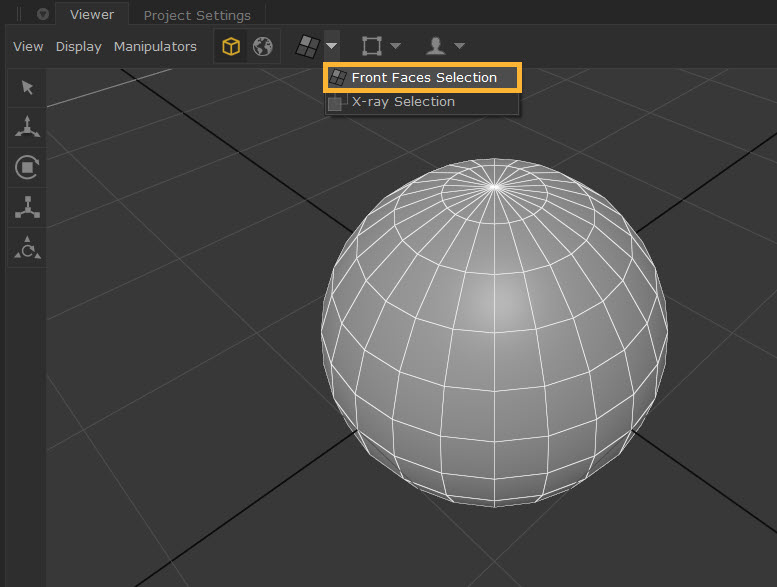
• Front Faces Selection mode selects just the front faces within the marquee.
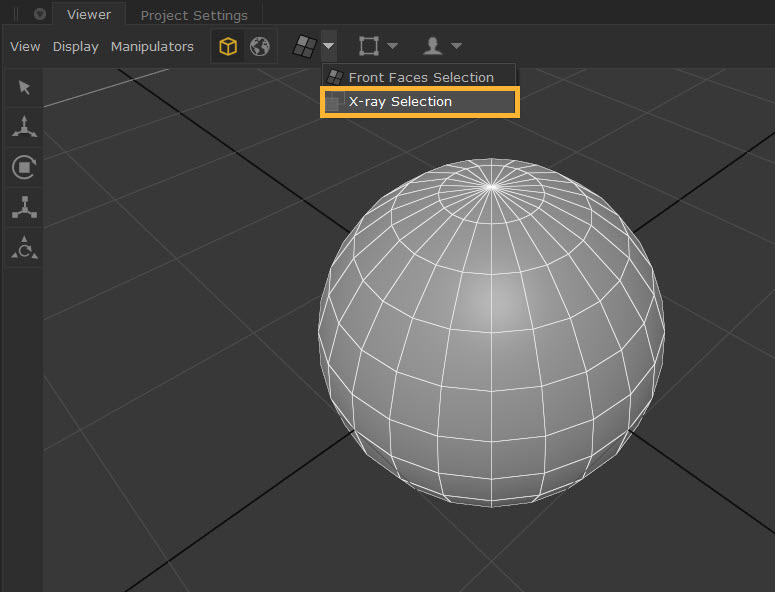
• X-ray Selection mode selects all the faces within the marquee including front and back faces.
Selecting Front Faces
Front Faces Selection mode selects just the front faces within the marquee. To use this mode:
| 1. | In the Viewport, click an object. |
| 2. | Click the arrow next to the Select Faces  button: button: Select Front Faces Selection. |
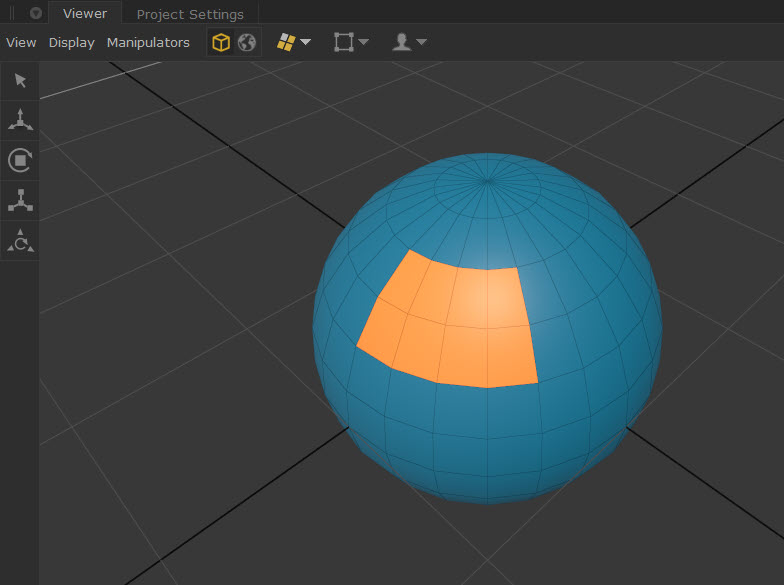
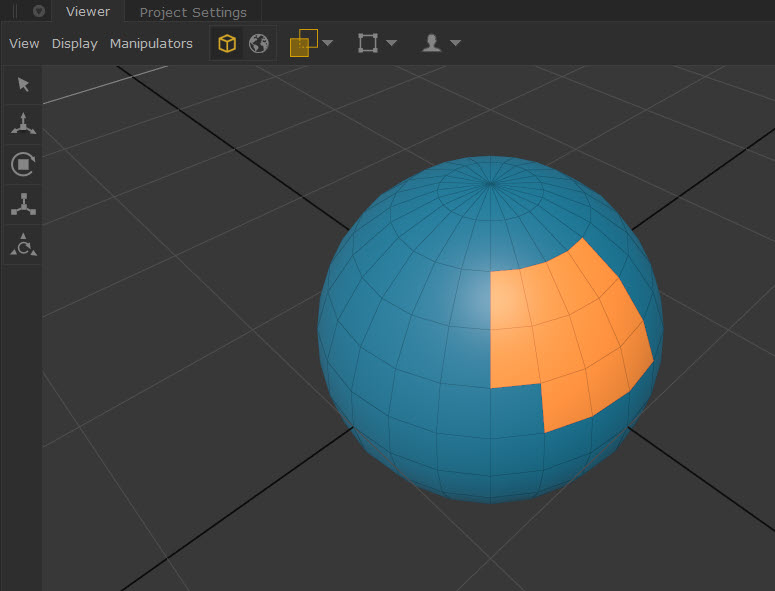
| 3. | Your object displays in a blue color showing that the Front Faces Selection mode is enabled. Select faces on your object using the marquee tool. |
Your object displays the selected faces in an orange color.
| 4. | Hold Ctrl + Shift to select additional faces. |
| 5. | Hold Shift and then click and drag on selected faces to invert the selection. |
Selecting Faces via X-ray Selection
X-ray Selection mode selects all the faces within the marquee including front and back faces. To use this mode:
| 1. | In the Viewport, click an object. |
| 2. | Click the arrow next to the Select Faces button: Select X-ray Selection. |
| 3. | Your object displays in a blue color showing that the X-ray Selection mode is enabled. Select faces on your object using the marquee tool. |
Your object displays the selected faces in an orange color.
| 4. | Hold Ctrl + Shift to select additional faces. |
| 5. | Hold Shift and then click and drag on selected faces to invert the selection. |
Deselecting Faces
To deselect faces you can either:
• Deselect some faces by holding Ctrl and dragging your cursor over the selected faces.
OR
• Click in the Viewport to undo your face selection all together.
Storing Face Set Selections
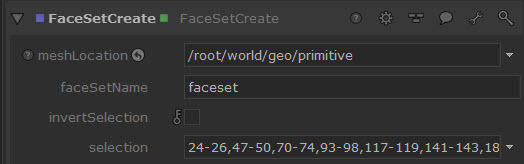
You can also use the FaceSetCreate node to store face set selections.
| 1. | Add a FaceSetCreate node to your node graph. |
| 2. | Add the location of the mesh under meshLocation. |
| 3. | Under selection, click the downwards arrow, and Adopt Faces from last Selection. |
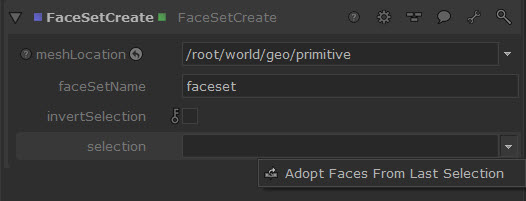
| 4. | This will then store your previous selection within the face set location. You'll see its numerical values appearing in the selection field. This can then be used to assign a separate material to a different part of the mesh, if they're not already separated out as individual meshes, for example. |