Adding Nodes
You can add nodes to the Node Graph using the Tab menu, the New menu, or the right-click menu.
To add a node using the Tab menu:
| 1. | With the mouse over the Node Graph tab, press the Tab button. |
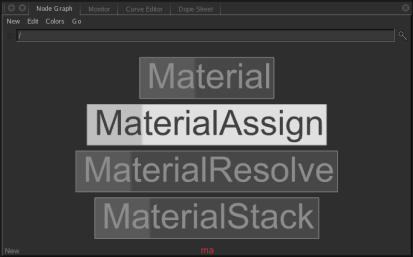
Katana displays a list of all available nodes.
| 2. | Narrow the list of nodes by either: |
• typing the starting letters of the node name, or
• typing the capital letters that make up the node name (for instance, typing MA for the MaterialAssign node).

| 3. | To select the node you want to add from the list, either: |
• click it, or
• scroll to it with the Up and Down arrow keys and press Return.
| 4. | Click on an empty space in the Node Graph to place the node. |
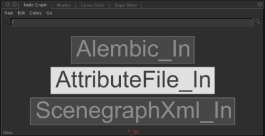
Tip: To add another copy of the last node created using this method, simply press Tab and then Return. Katana accepts wildcards while typing the name of the node to create. For instance, *_In would give you the following options:
To add a node using the New menu:
| 1. | In the Node Graph tab, click New and select the node you want to add. |
| 2. | Click on an empty space in the Node Graph to place the node. |
To add a node using the right-click menu:
| 1. | Right-click on the Node Graph (or press N) and select the node you want to add from the menu. |
| 2. | Click on an empty space in the Node Graph to place the node. |
Tip: While the node is floating with the mouse cursor, you can cancel the node's creation by pressing Esc. To have Katana automatically connect the new node to the currently selected node, check the option Edit > Auto Connect New Nodes Based On Selection within the Node Graph. Instead of placing the node and then connecting it, you can connect the node straight into the node tree by either clicking on a connection, or clicking on another node’s input or output, followed by clicking an empty space in the Node Graph.

