Using UsdMaterial
To create and edit native USD materials and shaders, you can use the UsdMaterial node. This enables you to create shaders that contain images. However, currently it is not possible to create a native USD material network and connect materials together (this is being worked on) so this node may only be useful for simple workflows or for debugging purposes.
Note: For more complex material setups, you can create a material network in Geolib (NetworkMaterialCreate) and then convert it as USD using KatanaToUsd node. With your materials in USD, you then can use a UsdMaterialAssign node to assign these to USD Native meshes. Learn more about this workflow at UsdMaterialAssign Workflows.
Creating Materials
|
1.
|
Insert a UsdMaterial node and ensure the edit flag is set by double clicking it. |
|
2.
|
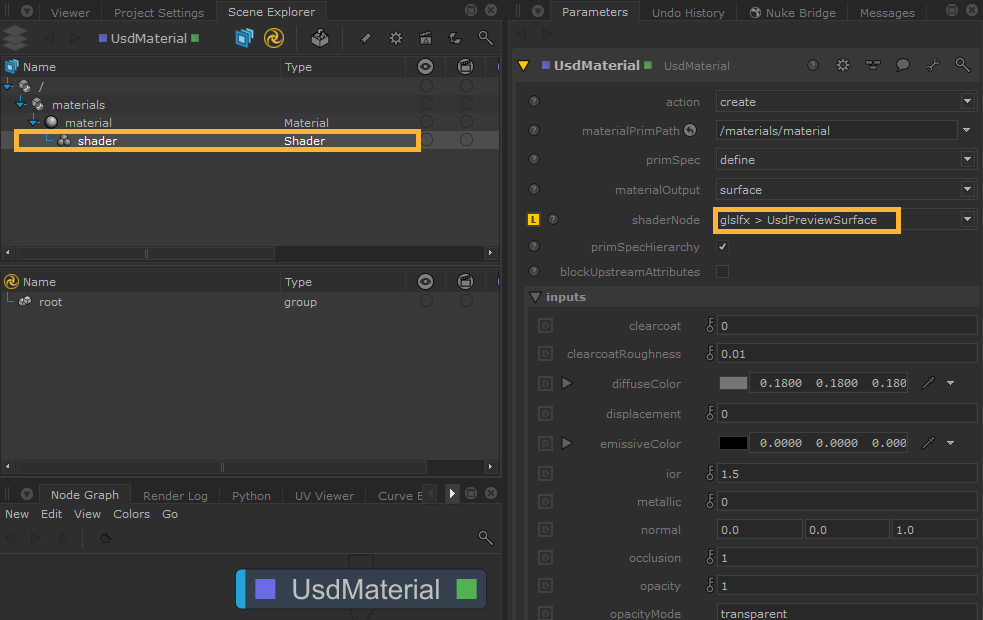
In the action parameter, select create. This gives you the ability to create one material from one node. |
|
3.
|
In the materialPrimPath, specify the location in the scene graph hierarchy of the new material prim. |
|
4.
|
In the materialOutput, there is a dropdown where you can select from surface, displacement, and volume. |
|
5.
|
Using the shaderNode dropdown, you can add a shader. The dropdown will show all the terminal ports - it will dynamically call any shaders within the shader registry. You’ll see that the shader will be added to your scene graph. |
Editing Shaders and Materials
You can also use the UsdMaterial node to edit an existing shader or material in the stage. When this is loaded, it will show the incoming parameter values in the Parameters tab, and you can then override these where needed.
|
1.
|
Insert a UsdMaterial node and ensure the edit flag is set by double clicking it. |
|
2.
|
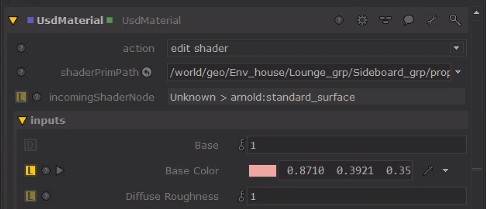
In the action parameter, select edit shader (for shaders) or edit interface (for materials). |
|
3.
|
In the shaderPrimPath or materialPrimPath, specify the shader or material you wish to edit. This shows incoming stage values for this shader’s parameters. |
|
4.
|
Editing any of the parameters will then show as an override (visible via to the yellow square L icon). |