Global Options
Selecting the Live Render Camera
You can change the render view point at any stage in the Live Render process using the Look Through Lights and Cameras menu in the Viewer tab.
To activate the Live Render from viewer camera option, do the following:
| 1. | In the Viewer tab, click on the toggle button |
The toggle button is now blue ![]() indicating that the Live Render from viewer camera option is activated.
indicating that the Live Render from viewer camera option is activated.
| 2. | In the Look Through Lights and Cameras menu, select the camera or light you want the Live Render to render from. |
The image in the Monitor tab is updated in response to your actions in the Viewer tab.
Note: The Live Render from viewer camera option supports Continuous and Pen-up modes at the moment but not Manual mode.
Selecting Which Lights Trigger Updates
To specify which light changes you want to send to the renderer, do the following:
In the Scene Graph tab, tick the relevant boxes in the Live Render Updates ![]() column depending on which light changes you want to send to the renderer.
column depending on which light changes you want to send to the renderer.
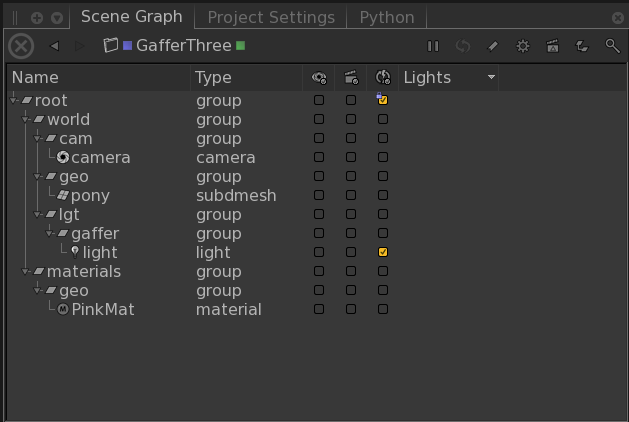
Note: If a light is to be used as the Live Render camera, it is enabled in the Scene Graph Live column.
Selecting Which Materials Trigger Updates
To specify which material changes you want to send to the renderer, do the following:
In the Scene Graph tab, tick the relevant boxes in the Live Render Updates ![]() column depending on which material changes you want to send to the renderer.
column depending on which material changes you want to send to the renderer.
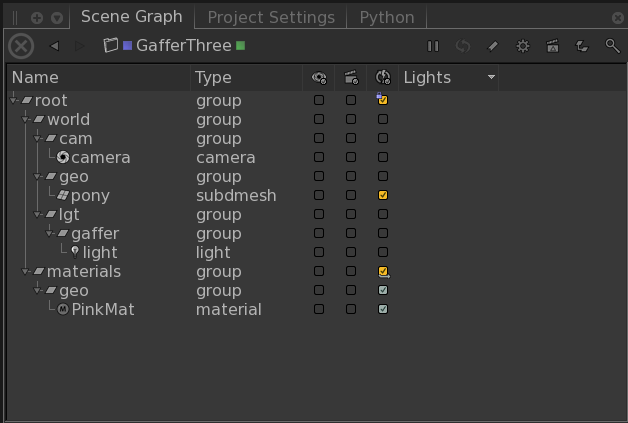
Note: In the Scene Graph tab, when you want to send changes of a material to the renderer you must also select the geometry location to which the material is applied for the Live Render to process it.
Changing How to Trigger a Live Render
There are three different ways of triggering a Live Render update. You can select your preferred method from the 3D Update Mode dropdown in the Scene Graph, Monitor, and Viewer tabs as well as in the menu bar. The options are:
• Manual - changes to materials, lights, or geometry transformations do not trigger an update of the scene. To have the changes take effect, click the Trigger 3D Update button ![]() .
.
• Pen-Up - changes to materials, lights, or geometry transformations trigger an update of the scene only when the mouse button is released or a parameter change is applied.
• Continuous - changes to materials, lights, or geometry transformations, including some manipulations in the Viewer tab, continuously trigger an update of the scene.
3D node parameter values are finalized with all pending changes prior to performing a render.
|
3D Update Mode on |
Indicators |
|---|---|
|
Manual mode |
|
|
Pen-up mode |
|
|
Continuous mode |
|
Note: Whether or not changes to the node graph topology are supported by a renderer plug-in depends on the capabilities of that plug-in or the renderer that it represents.
Note: As the Manual 3D Update Mode currently defers all scene graph cooking in response to 3D parameter edits, parameter interfaces that rely on scene graph data, such as GafferThree’ s scene graph view and shader selection interfaces, don't update whilst certain parameter edits are pending. This mode is therefore only suggested for use while editing individual parameters in the Parameters tab or while manipulating objects in the Viewer tab.
Taking a Snapshot of the Current Render
You can create an entry in the Catalog tab for the current render image. To add the entry to the Catalog tab, click the Create Snapshot in Catalog button in the Live Render menu in the Monitor tab.