Search is based on keyword.
Ex: "Procedures"
Do not search with natural language
Ex: "How do I write a new procedure?"
Edge Masks
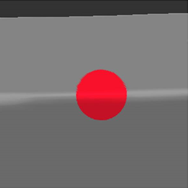
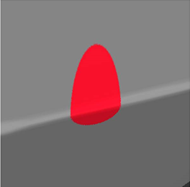
Mari projects paint directly onto the surface of your model based on your view. In other words, it applies paint to what you can see, from the angle you see it. If you paint something you can see, but you're not facing it directly, there might be falloff, where what you've painted has “smeared”. For example, the images below show a spot painted onto a surface of an anvil. From the angle it was painted, it looks like a circle. But if you rotate it, you can see that it “stretched” over the edge.
|
|
| Circle painted front on. | Rotated, you can see the falloff. |
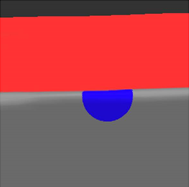
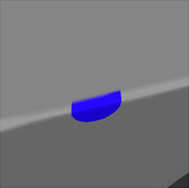
To prevent this from happening, you can configure an edge mask, which masks the falloff area so you can't paint on it (or so that you can, but the falloff is minimized). The following illustration shows the edge mask tinged in red, and the result of the painting, again baked and rotated.
|
|
| Circle painted front on, with edge mask. |
Rotated, you can see the mask prevented falloff. |
Generally, you wouldn't want such a sharp edge to the paintable area, so Mari lets you specify falloff start and end points to make it fuzzy (unlike the illustration above, where the start and end points are the same). The falloff start is where the masking begins, a proportion of where the projection deviates from directly facing the view. From there, the projection fades out as the mask blends to the falloff end, at which point the projection ends completely (is completely masked) till it hits 90 degrees from facing. You can control how fast the masking falls off.
To see how this works, the following illustrations show the result of painting a stripe on the model, like this:
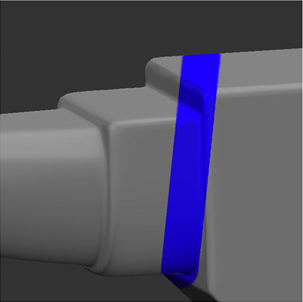
If we bake it, and then rotate to see how much “smeared” into the falloff area, you can see the results of using masks at falloff end/start points of 1.00/0.00 and 0.75/0.25:
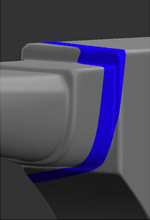
|
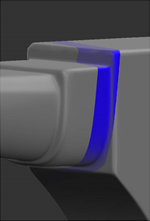
|
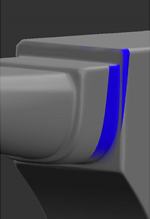
|
| No mask. | Mask Falloff: End 1.00, Start 0.00. |
Mask Falloff: End 0.75, Start 0.25. |
Tip: If you want to, you can set the end to a higher value than the start. This reverses the masking - the facing surfaces are masked and the oblique surfaces are paintable.
To use edge masks, set the options under Edge Mask:
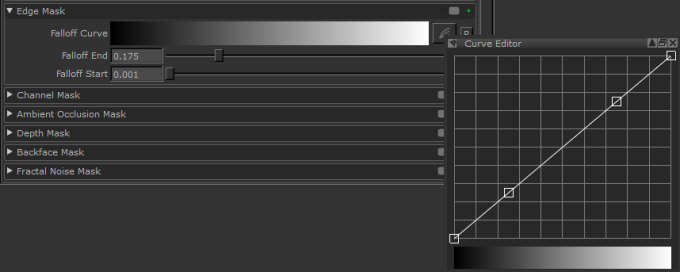
• Falloff Curve - use the curve control to set how the masking falls off between the Start and End points. The start point is at the left of the curve, the end is at the right, and the degree of masking is on the vertical axis.
• Falloff End - where the projection completely fades and the painting is completely masked.
• Falloff Start - is where the masking begins, a proportion of where the projection deviates from directly facing the view, at which point the projection starts gradually fading as the masks blends to the falloff end.
Enable the masking by turning on the toggle at the top of the section.
When enabled, the ![]() icon displays in the status bar.
icon displays in the status bar.
Video: You can use shortcut keys to enable/disable the edge mask (G) and hide/show the masking (,). Watch this quick demo.
This video shows the workflow using Mari 3. Even though the Mari 4 workspace is different, the workflow remains the same. To have a look at the main UI differences, see Mari 3.3 vs 4.0.
Sorry you didn't find this helpful
Why wasn't this helpful? (check all that apply)
Thanks for your feedback.
If you can't find what you're looking for or you have a workflow question, please try Foundry Support.
If you have any thoughts on how we can improve our learning content, please email the Documentation team using the button below.
Thanks for taking time to give us feedback.