Search is based on keyword.
Ex: "Procedures"
Do not search with natural language
Ex: "How do I write a new procedure?"
Ambient Occlusion Node
Access: Nodes > Geometry > Ambient Occlusion
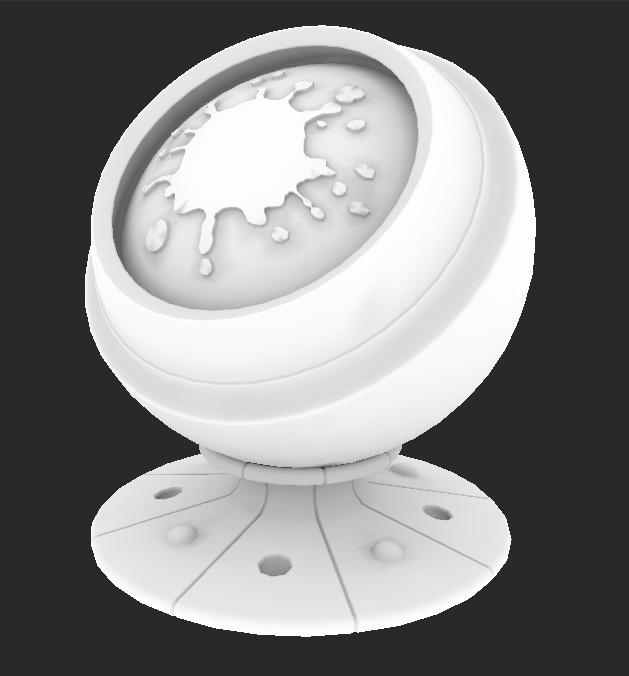
The Ambient Occlusion (AO) node uses the object in your scene to create a black and white texture that represents the occlusion on your object. Crevices are filled with a dark shadow using black or grey, and open, smooth surfaces are white. Ambient occlusion is great for making your textures appear more realistic.
|
Ambient Occlusion applied to a model. |
Baking the Ambient Occlusion
| 1. | Open the Objects menu and click Ambient Occlusion. |
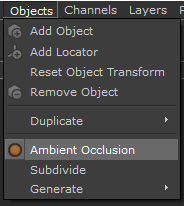
The Ambient occlusion option inside the Objects menu.
| 2. | Wait for the Ambient Occlusion to calculate. |
You can monitor the progress in the bottom right corner of the application window.
| 3. | Add an ambient occlusion node to your node graph by right-clicking and selecting Nodes > Geometry > Ambient Occlusion. |
| 4. | Connect the Ambient Occlusion node output to either the Ambient Occlusion channel on your BRDF shader, or directly into the Viewer. |
The calculated Ambient Occlusion appears on your object in the viewer.
Note: If any changes are applied to your object, you need to re-calculate the ambient occlusion.
Ambient Occlusion Node Workflow Example
Example - Combining Ambient Occlusion with Maps
Using an ambient occlusion node allows you to produce a quick mask for crevices or areas where dirt, grime, or dust would naturally build up. Then, a Levels node helps you to add contrast and darken the black areas of the ambient occlusion. You can use an ambient occlusion node as the base for Specular Roughness as those areas are often rougher due to grime build up, or at the end just to add some variation to the map.
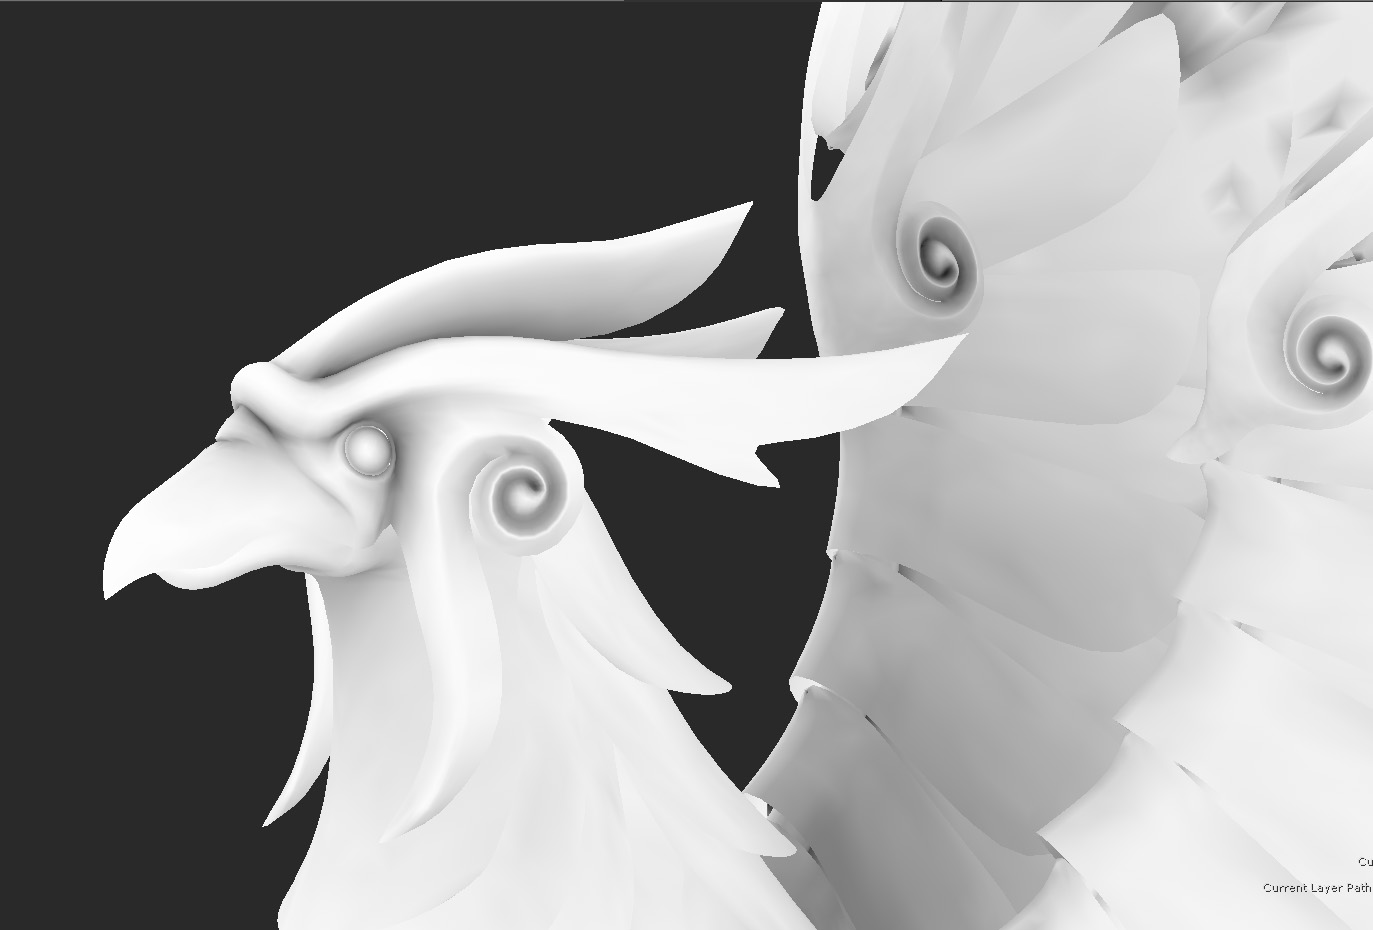
The darker areas are where dirt and grime would build up.
After baking the ambient occlusion and placing down an ambient occlusion node, you need an Invert node to invert the black and white values of your map so you can make use of a Levels node. Specular roughness uses white as rougher and black as tighter. You can add a Levels node so that you have a bit more control over how much or how little the Ambient occlusion affects your textures.
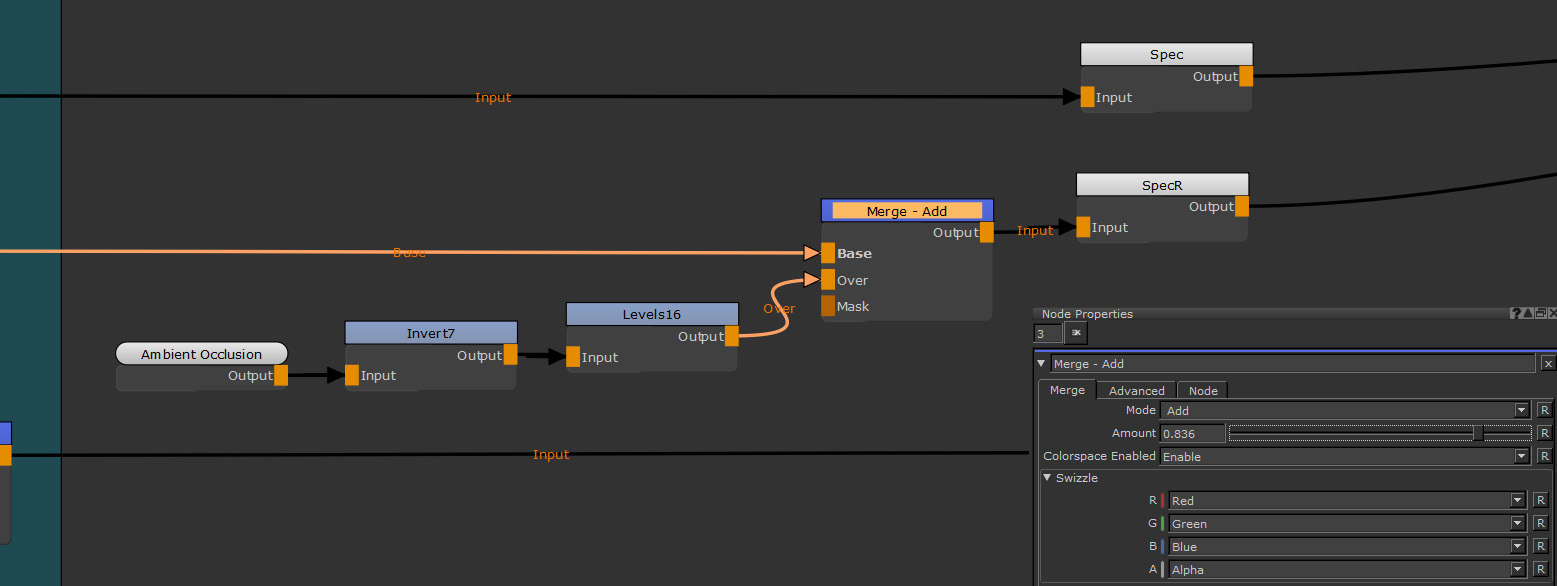
The image shows the node graph setup with Ambient occlusion, Invert, and Levels plugged into a Specular roughness ('SpecR' in the image above) channel node.
The Invert node flips the Ambient occlusion so it works with your Specular roughness values. The white values become black, and the black values become white. You can then use a Levels Node to make the Ambient occlusion darker or lighter, pushing or lessening the effect it has when merged. The blend mode when merging is Add.
A Merge node is needed to combine the ambient occlusion with the Specular Roughness. As you want to use the Ambient occlusion to add roughness, then the blend mode of Add adds the inverted white from your Ambient Occlusion node.
Experiment with the Merge node’s opacity to choose how much you want the ambient occlusion to affect your final Specular roughness. Using ambient occlusion can help make your textures look more realistic. The node can be used elsewhere, such as in the Base color to dirty your base color up, or in a Metallic channel to add metallic wear.
In the image, the crevices of the mesh are lighter in the Specular Roughness, which creates a dirty and dusty look.
Related Nodes
Sorry you didn't find this helpful
Why wasn't this helpful? (check all that apply)
Thanks for your feedback.
If you can't find what you're looking for or you have a workflow question, please try Foundry Support.
If you have any thoughts on how we can improve our learning content, please email the Documentation team using the button below.
Thanks for taking time to give us feedback.