Mirror Projection
You can mirror the contents of the paint buffer, including any paint strokes and painted-through textures it contains, based on a world space location. Mirror Projection allows symmetrical and asymmetrical painting as you can orientate the mirror plane about the X, Y, and Z axes. You can also use masking options to paint on only one side of the mirror plane.
Note: Mirror projection re-projects the same paint buffer from a symmetrical angle. This means for tools like Clone Stamp, Blur, and TowBrush to work with Mirror Projection, the paint on the model needs to already be symmetrical, or you may find artifacts appear on the mirrored side.
Accessing Mirror Projection Controls
You can access the Mirror Projection controls in two places: the Project Controls toolbar and the Painting palette.
Project Controls Toolbar
On the Project Controls toolbar, you can select the Mirror Projecting modes. These modes set the position of the mirror plane perpendicular to the selected axis. You can also disable Mirror Projection by setting it to No Mirror Projecting.
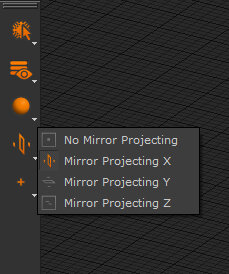
Note: If you can't see the Project Controls toolbar, right-click on the toolbar area and choose Project Controls from the context menu.
The Mirror Projecting modes are described below, with example paint strokes illustrating the symmetry or asymmetry for each option:
|
|
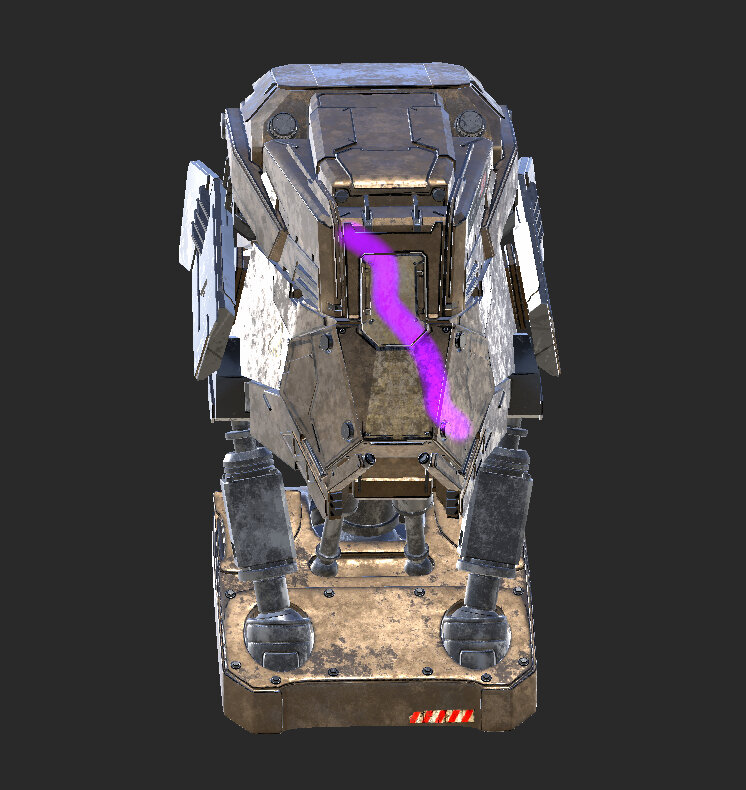
By default, mirror projection is disabled. |
|
|
|
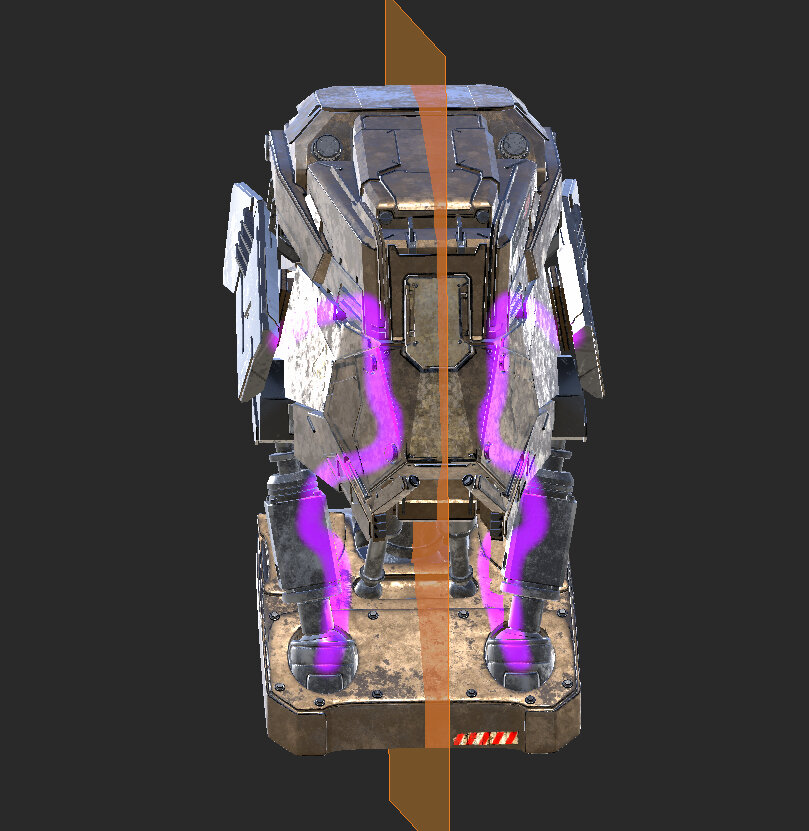
With Mirror Projecting X selected, the mirror line appears vertically. Paint strokes created on either the left or right side of the mirror plane project the same strokes on the other side. |
|
|
|
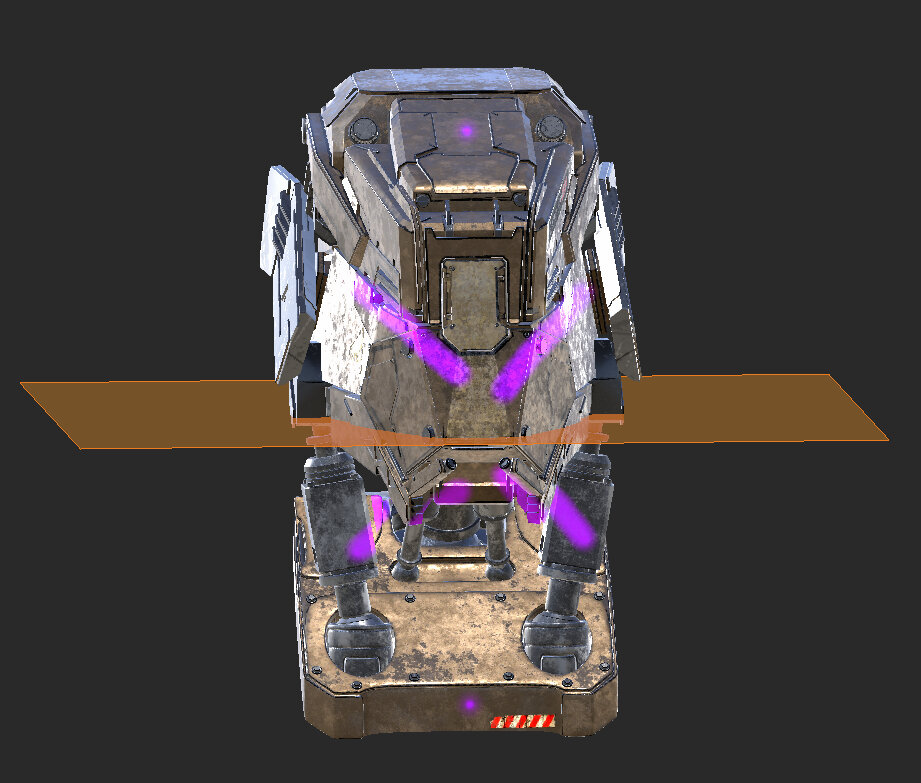
With Mirror Projecting Y selected, the mirror line appears horizontally. Paint strokes created either on top or under the mirror plane project the same strokes on the other side. |
|
|
|
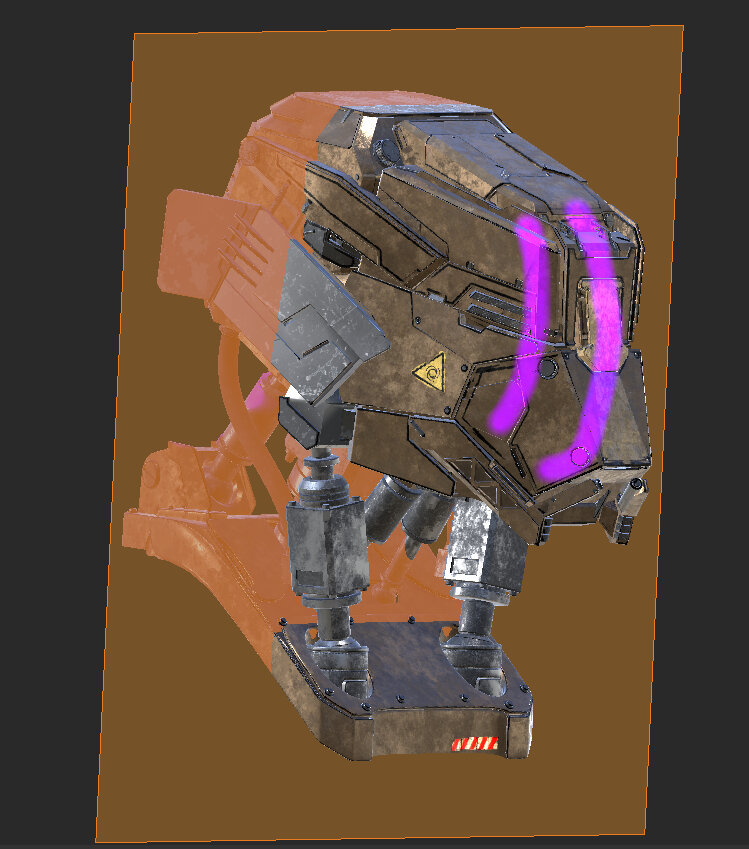
With Mirror Projecting Z selected, the mirror line appears vertically intersecting the profile of the asset. Paint strokes created either at the front or back of the mirror plane are projected on the opposite side of the geometry. |
Front 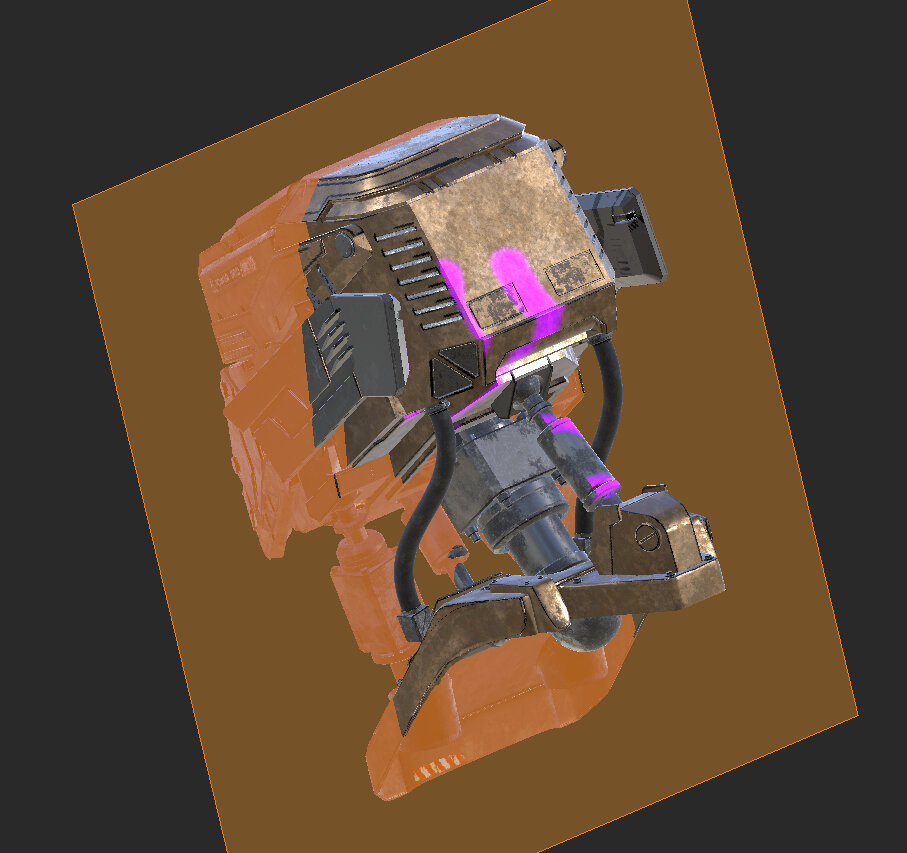
Back |
Painting palette
You can also access the Mirror Projection controls in the Painting palette in the Mirror Projection section.

In the Mirror Projection section, you can select one of the Mirror Projecting modes using the Axis dropdown menu. You can also select an object or create a locator to which the mirror plane is attached, using the Attach To dropdown menu and controls. This allows you to move and rotate the mirror plane for different mirroring effects, see Transforming the Mirror Plane. The Masking dropdown menu let you select the masking modes to paint on only one side of the mirror plane, see Using Masking Modes.
Transforming the Mirror Plane
You can transform the mirror plane using locators to align it with objects that are not orientated in line with the origin. The mirror plane attaches to an object or locator, which can then be moved or rotated through 3D space.
Attaching the Mirror Plane to a Locator
| 1. | Navigate to the Painting palette > Mirror Projection section and toggle on Mirror Projection. |

| 2. | Select an Axis to choose between vertical (X), horizontal (Y), or vertically front facing (Z) painting. |
OR
From the Project Controls toolbar, select one of the Mirror Projecting controls.
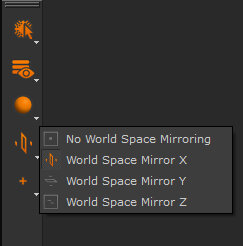
| 3. | Select a locator in the Attach To dropdown menu. |
OR
Click the + button to create a new locator.
Note: If nothing is selected in the Attach To dropdown, the mirror plane cannot be transformed.
| 4. | Ensure the newly-created locator in the Attach To dropdown menu is selected. |
| 5. | In the Painting palette > Mirror Projection section, click the P button. |
The transform handles appear on the canvas. This allows you to move and rotate the mirror plane. See Moving, Viewing, and Locking Objects for details on how to use transform handles.
| 6. | Using the transform handles, drag an arrow or drag a specific axis ring to move and rotate the mirror plane. |
Note: Once you have placed the mirror plane, in the Objects palette, make sure to select the required object before painting.
Attaching the Mirror Plane to an Object
| 1. | Navigate to the Painting palette > Mirror Projection section and toggle on Mirror Projection. |

| 2. | Select an Axis to choose between vertical (X), horizontal (Y), or vertically front facing (Z) painting. |
OR
From the Project Controls toolbar, select one of the Mirror Projecting controls.

| 3. | Select an object in the Attach To dropdown menu. |
Note: If nothing is selected in the Attach To dropdown, the mirror plane cannot be transformed.
| 4. | In the Painting palette > Mirror Projection section, click the P button. |
The transform handles appear on the canvas. This allows you to move and rotate the object along with the mirror plane. See Moving, Viewing, and Locking Objects for details on how to use transform handles.
| 5. | Using the transform handles, drag an arrow or drag a specific axis ring to move and rotate the object along with the mirror plane. |
Using Masking Modes
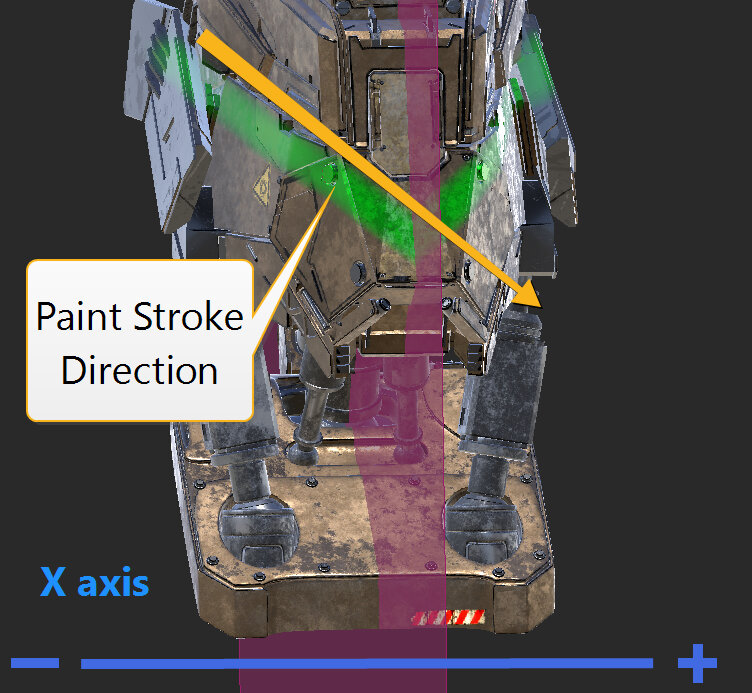
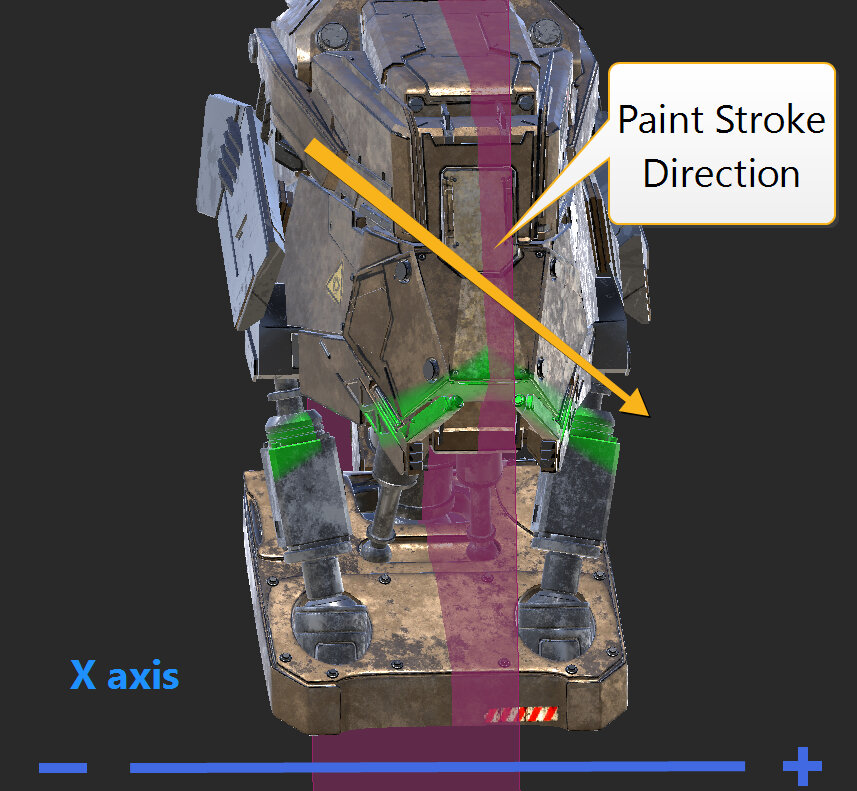
The Mirror Projection masking modes let you paint on only one side of the mirror plane so that your paint strokes can't cross over the mirror plane line, giving your paint a reflected edge result. You can choose between the following modes:
• Off - This disables the Mirror Projection masking.
• Dynamic - This masks the side (positive or negative) of the mirror plane that is on the opposite side to the current canvas view.
• Positive - This masks the positive side of the current mirror axis, X, Y, or Z, allowing you to paint on the negative side only.
• Negative - This masks the negative side of the current mirror axis, X, Y, or Z, allowing you to paint on the positive side only.
For instance, in the example below, the Mirror Projecting mode is set to Mirror Projecting Y, and a paint stroke is drawn diagonally from top to bottom.
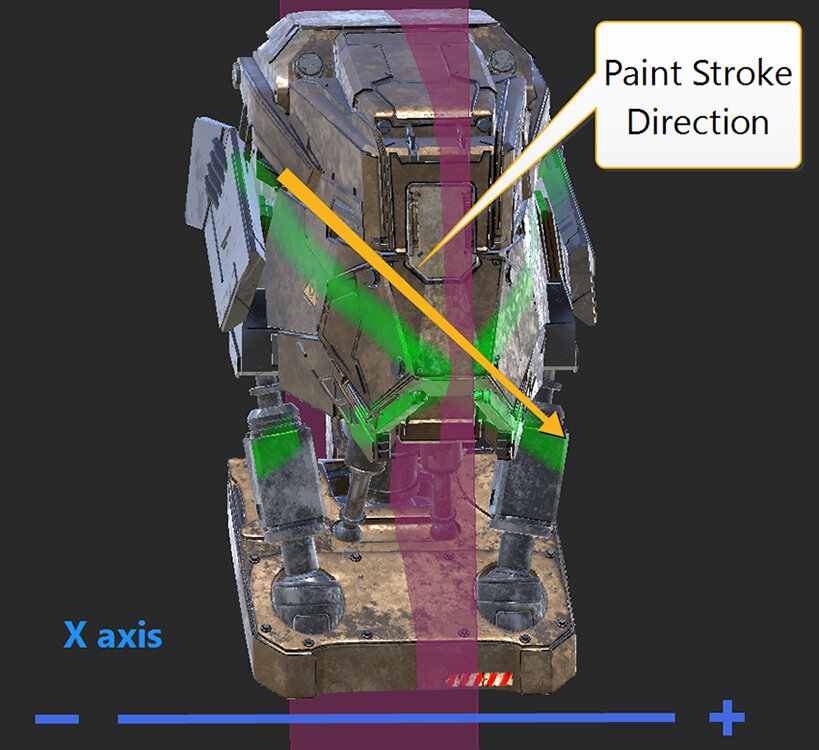
|
|
|
| Masking set to Off | Masking set to Positive | Masking set to Negative |
Changing the Mirror Plane's Painting Style and Color
To change the color and the painting style of the mirror plane:
| 1. | Right-click on the canvas and select Display Properties. |
This opens the Display Properties dialog.
| 2. | In the Mirror Plane section, select the Color, and for the Painting Style select either Mirror Plane or Mirror Line in the dropdown menu. |
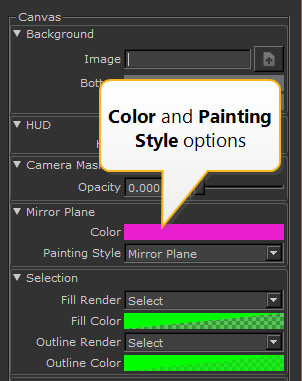
| 3. | Click OK to apply changes. |
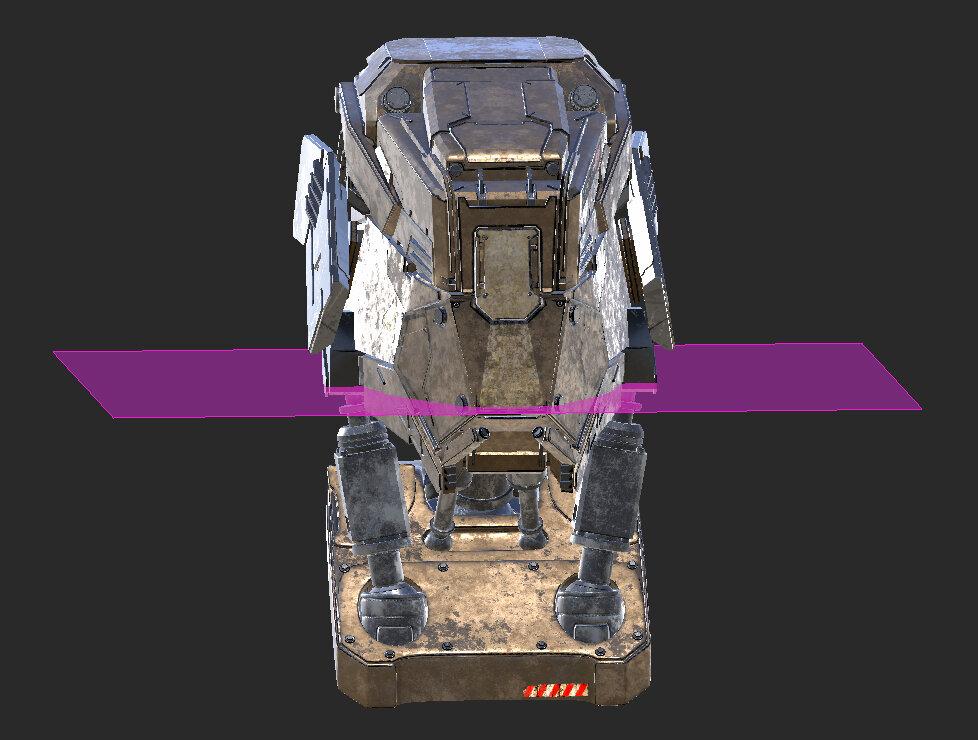
|
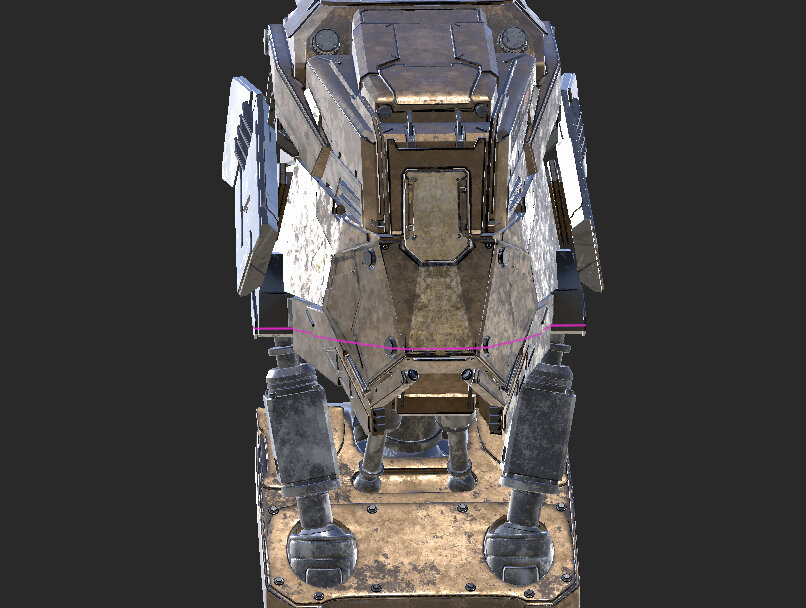
|
| Painting Style set to Mirror Plane | Painting Style set to Mirror Line |
Note: The Painting Style is used while painting whether it is set to Mirror Plane or Mirror Line, however for better visibility the Mirror Plane option is always used when transforming the mirror plane. See Transforming the Mirror Plane.
