Working with Objects
Mari allows you to load multiple objects and child objects into a scene, and paint them at the same time. This lets you paint objects in context - for example, you can paint all the elements of a character's costume by loading them up onto the character. You can show and hide objects, so you can easily switch between working only viewing a single object, and seeing how it fits with the other objects.
You can load multiple copies of a single object into the project. This allows you to, for example, build up a road scene with twenty sections of pavement, two lamp posts and a fire hydrant from three basic models (pavement section, lamp post, and hydrant).
When you create a project, you must load in an object. Once you've created the project, you can add more objects to it.
|
|
|
|
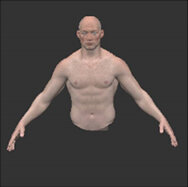
Initial project, with only the |
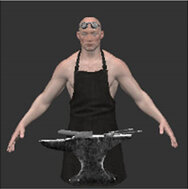
With other objects loaded. |
If a project has two or more objects, you can remove objects from it. All projects must have at least one object. Removing an object from a project has no effect on the source file for the object. The objects within a project are listed in the Objects palette.
Video: For more on working with objects, have a look at the Managing Geometry in a Project video.
This video shows the workflow using Mari 3. Even though the Mari 4 workspace is different, the workflow remains the same. To have a look at the main UI differences, see Mari 3.3 vs 4.0.
Channels and Shaders on Multiple Objects
Each object in the project has its own set of channels. When you add channels, you have the option to apply the action to all objects in your project.
When you add a new object, Mari creates a single channel, diffuse, to hold the diffuse color. You can add more channels as you would normally.
Similarly, each object has its own shaders. As with channels, there are default shaders but you must set up your custom shaders separately for each object. If you want to copy shaders from the Shaders palette of another object, use the Ctrl/Cmd+C and Ctrl/Cmd+V shortcuts to copy the shader and paste it into the Shaders palette for the current object.


