Setting the Paint Through Options
| 1. | Start Mari and open your project. |
| 2. | Click to select the Paint Through |
| 3. | Open the Tool Properties palette. |
The current properties for Paint Through display. Scroll down to view them all.
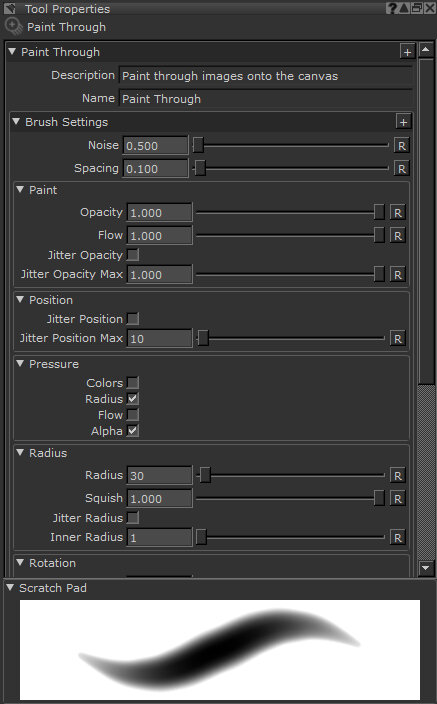
| 4. | To customize the brush you're using for Paint Through, set the options under the Brush Settings and Brush Tip sections. |
These are the same options available for brushes in general, see Brush Properties.
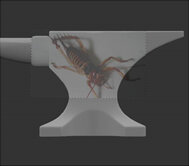
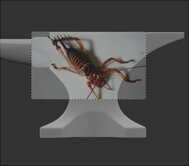
| 5. | To change the prominence of the onscreen image that you're painting through, under Texture > Preview, set the Preview Alpha. |
Higher values make the preview clearer, but make it harder to see the model underneath.
|
|
|
|
Preview alpha of 0.35. |
Preview alpha of 0.75. |
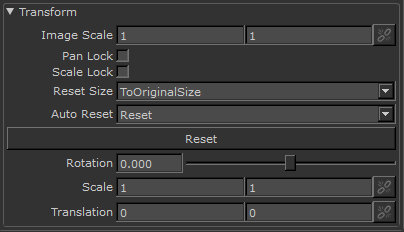
| 6. | You can lock the source image proportions using the Image Scale button, so that any changes to scale are applied proportionately to both axes. If Image Scale is off, you can alter the image by different amounts on the vertical and horizontal axes. |
| 7. | Set Mari to automatically pan or scale the source image using the Pan Lock and Scale Lock settings. |
When the locks are enabled, Mari locks the image position and size relative to the model. If you pan or zoom the model in or out, the image that you're painting through pans or zooms in or out too.
If Pan Lock and Scale Lock are disabled, the image position and scale does not change when you change the view of the model.
Video: Watch a quick demo on how to use Pan Lock and Scale Lock.
This video shows the workflow using Mari 3. Even though the Mari 4 workspace is different, the workflow remains the same. To have a look at the main UI differences, see Mari 3.3 vs 4.0.
| 8. | To set whether Mari resizes source images to fit the paint buffer, change Reset Size setting, under Texture > Transform: |
• ToOriginalSize - Displays and paints through the source image in its original size, in screen pixels. For example, a 1024x1024 image takes up 1024x1024 pixels on screen. This is the default.
• RelativeToPaintBuffer - Displays and paints through the source image resized so that one pixel in the image matches one pixel in the paint buffer. For example, a 1024x1024 image in a 2k (2048x2048) paint buffer appears onscreen as half the size of the paint buffer.
| 9. | To set whether Mari preserves transformations when you switch source images, change the Auto Reset setting, under Texture > Transform: |
• DoNotReset - Preserves any transformations (such as moving, resizing, or rotating) you have made to the source image that you're cloning, if you switch to using another source image. This is the default.
• Reset - Resets the image to the default size, location, and rotation, each time you switch to another source image. For example, if you're using a 2k paint buffer (maximum size) and a 4k image, the image always appears to be twice the size as the paint buffer onscreen.
Tip: Use DoNotReset if you want to paint through several images of the same size. This is specifically useful if you want to switch between using multiple 4k textures, as it saves you having to resize the source image preview from the huge default every time you switch.
Now you've set up how the Paint Through tool works, you can get on and start painting.