Applying a Color Grade as You Clone
You can apply a color grade to your source image as you paint. You can apply the color grade to any clone operation, whether from an external image or from a channel's surface. You can:
• Change the color values in the source image, either all at once, or by RGB channel.
• Alter the Contrast or Saturation.
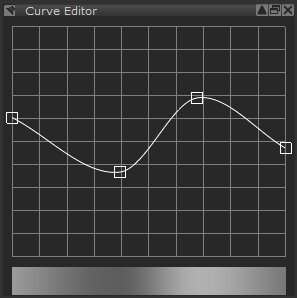
• Use the value curve to apply a specific change to the colors. Mari grades the colors by converting the input value (on the x axis) to the matching value on the y axis.
For example:
|
Setting |
Result |
|
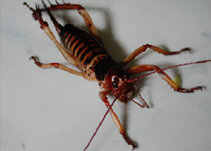
Default settings |
|
|
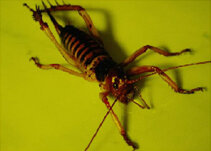
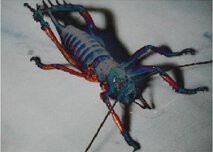
Blue component turned down:
|
|
|
Colors at default settings, but Contrast turned down:
|
|
|
All colors and Contrast at default values, but the following value curve applied:
|
|


To color grade the image:
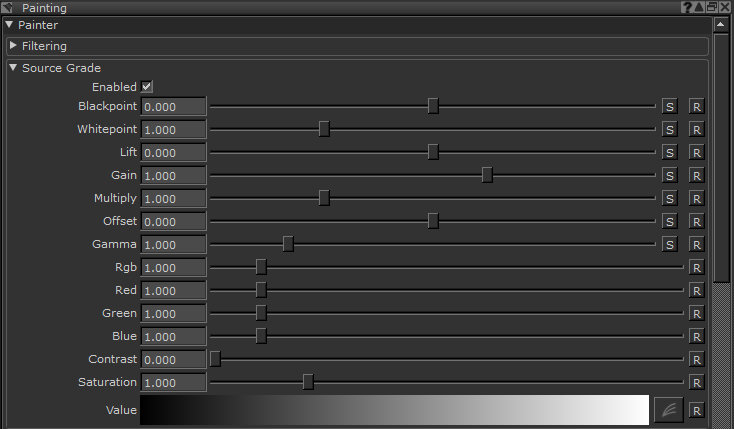
| 1. | Open the Painting palette and scroll down to the Source Grade section. |
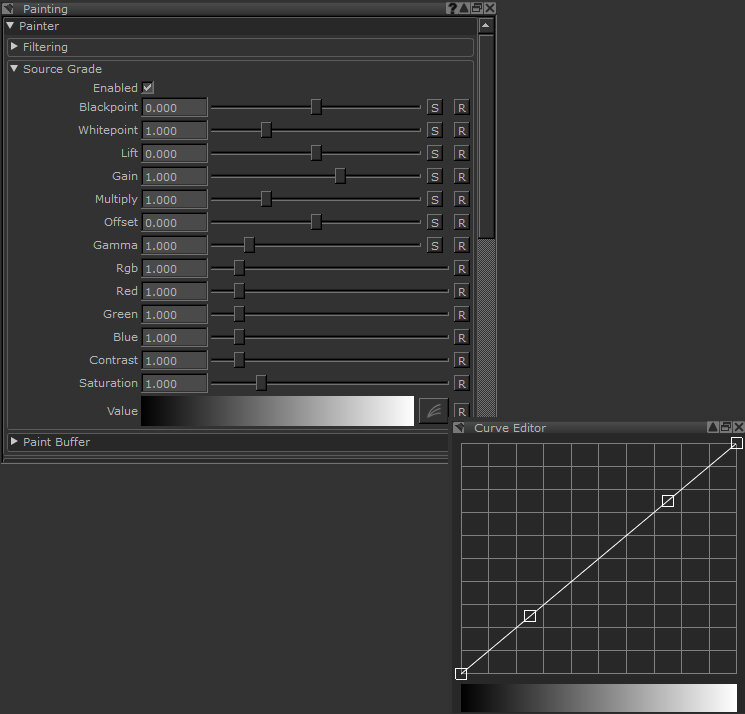
This section lets you control the color grade for your source image.
| 2. | Click to check the Enabled box. |
| 3. | You can use the controls to, among others: |
• Change the color values in the source image, either all at once (using the Rgb slider) or one by one.
• Alter the Contrast or the Saturation.
• Use the value curve to apply a specific change to the colors. Mari grades the colors by converting the input value (on the x axis) to the matching value on the y axis.
Note: For more information about the Source Grade controls,
| 4. | Select the clone tool. |
| 5. | Paint some sample strokes, experimenting with the settings in the Source Grade section. |
Tip: Use the sliders to change the color balance in the red, green, and blue components. Try altering the contrast. Use the value curve control to change the color values in the source image. Paint a number of sample strokes to see how the color grading works.