Saving Selections on the Model
Mari lets you save selections and come back to them later. Once you've made a selection (in any mode - objects, patches, or faces), you can create a selection group. Clicking on a selection group selects the items in that group.
Video: Watch a quick demo on saving selections.
This video shows the workflow using Mari 3. Even though the Mari 4 workspace is different, the workflow remains the same. To have a look at the main UI differences, see Mari 3.3 vs 4.0.
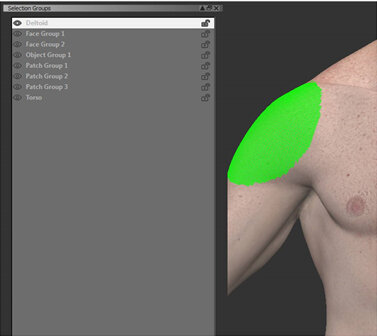
Example of a selection group containing patches
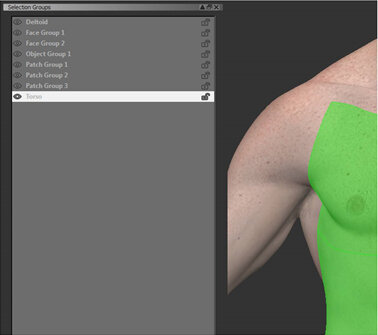
Example of a selection group containing faces
You can use this to set up face selections of specific areas on your model, and then to reuse these selections. This lets you define your own selection areas for relevant features that aren't necessarily reflected in how the patches on the model are put together. For example, you could use this to create a selection for the blacksmith's deltoid muscle, or his collarbones.
| 1. | With the Select tool, create your selection. |
You can select in any mode - object, patch, or face.
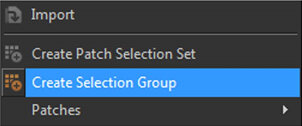
| 2. | Right-click on the selection. From the dropdown menu, pick Create Selection Group. |
| 3. | Open the Selection Groups palette. |
This displays all the selection groups for your project.
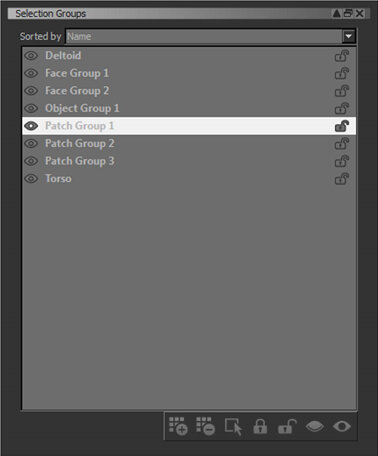
| 4. | Click to select a selection group. |
When you click on the selection group, Mari changes to show that selection. You can switch between selection groups by clicking them in the list, or by selecting a face in the canvas, when the Type is set to Selection Group, and clicking on it repeatedly to cycle through the selection groups to which it belongs.
Object groups can be added to selection groups. You can create up to 200 of these groups.
Note: If you have Type set to Selection Group, and have clicked on a face but nothing happened, the face may not belong to any selection groups.
If you have a selection group highlighted in the list, but have used the Select tool to make another selection, you can reload the selection group by clicking on the ![]() button. You can also lock and unlock selection groups, as well as showing and hiding them.
button. You can also lock and unlock selection groups, as well as showing and hiding them.
|
To... |
Click on... |
|
lock the selection group |
|
|
unlock the selection group |
|
|
hide the selection group |
|
|
show the selection group |
|
Tip: You can also create patch selection sets by right-clicking on your selection and selecting Create Patch Selection Set. This can also be done in the Patches palette by right-clicking on your selection and selecting Create Set.
You can add selections to or subtract selections from a selection group by using modifier keys to adjust what selections are visible on the canvas. This allows you to view which faces or patches are selected, or create a new selection group from existing groups.
| 1. | To add selection groups together, select a selection group from the Selection Groups palette then Shift+click on another selection group. |
The canvas updates to display the two selection groups as they would appear if they were one group, by adding the first selection in the palette to the second.
| 2. | To subtract a selection group from another, select a selection group from the Selection Groups palette then Ctrl/Cmd+click another selection group. |
The canvas updates to display the first selection group without any of the selections from the second group.