Search Tips
Sample Project: Material Design
Where to access: Help > Example Projects > Create Example Material Design Project.
The MaterialDesign project is based around procedural workflows. It uses materials and smart masks to achieve the textures.
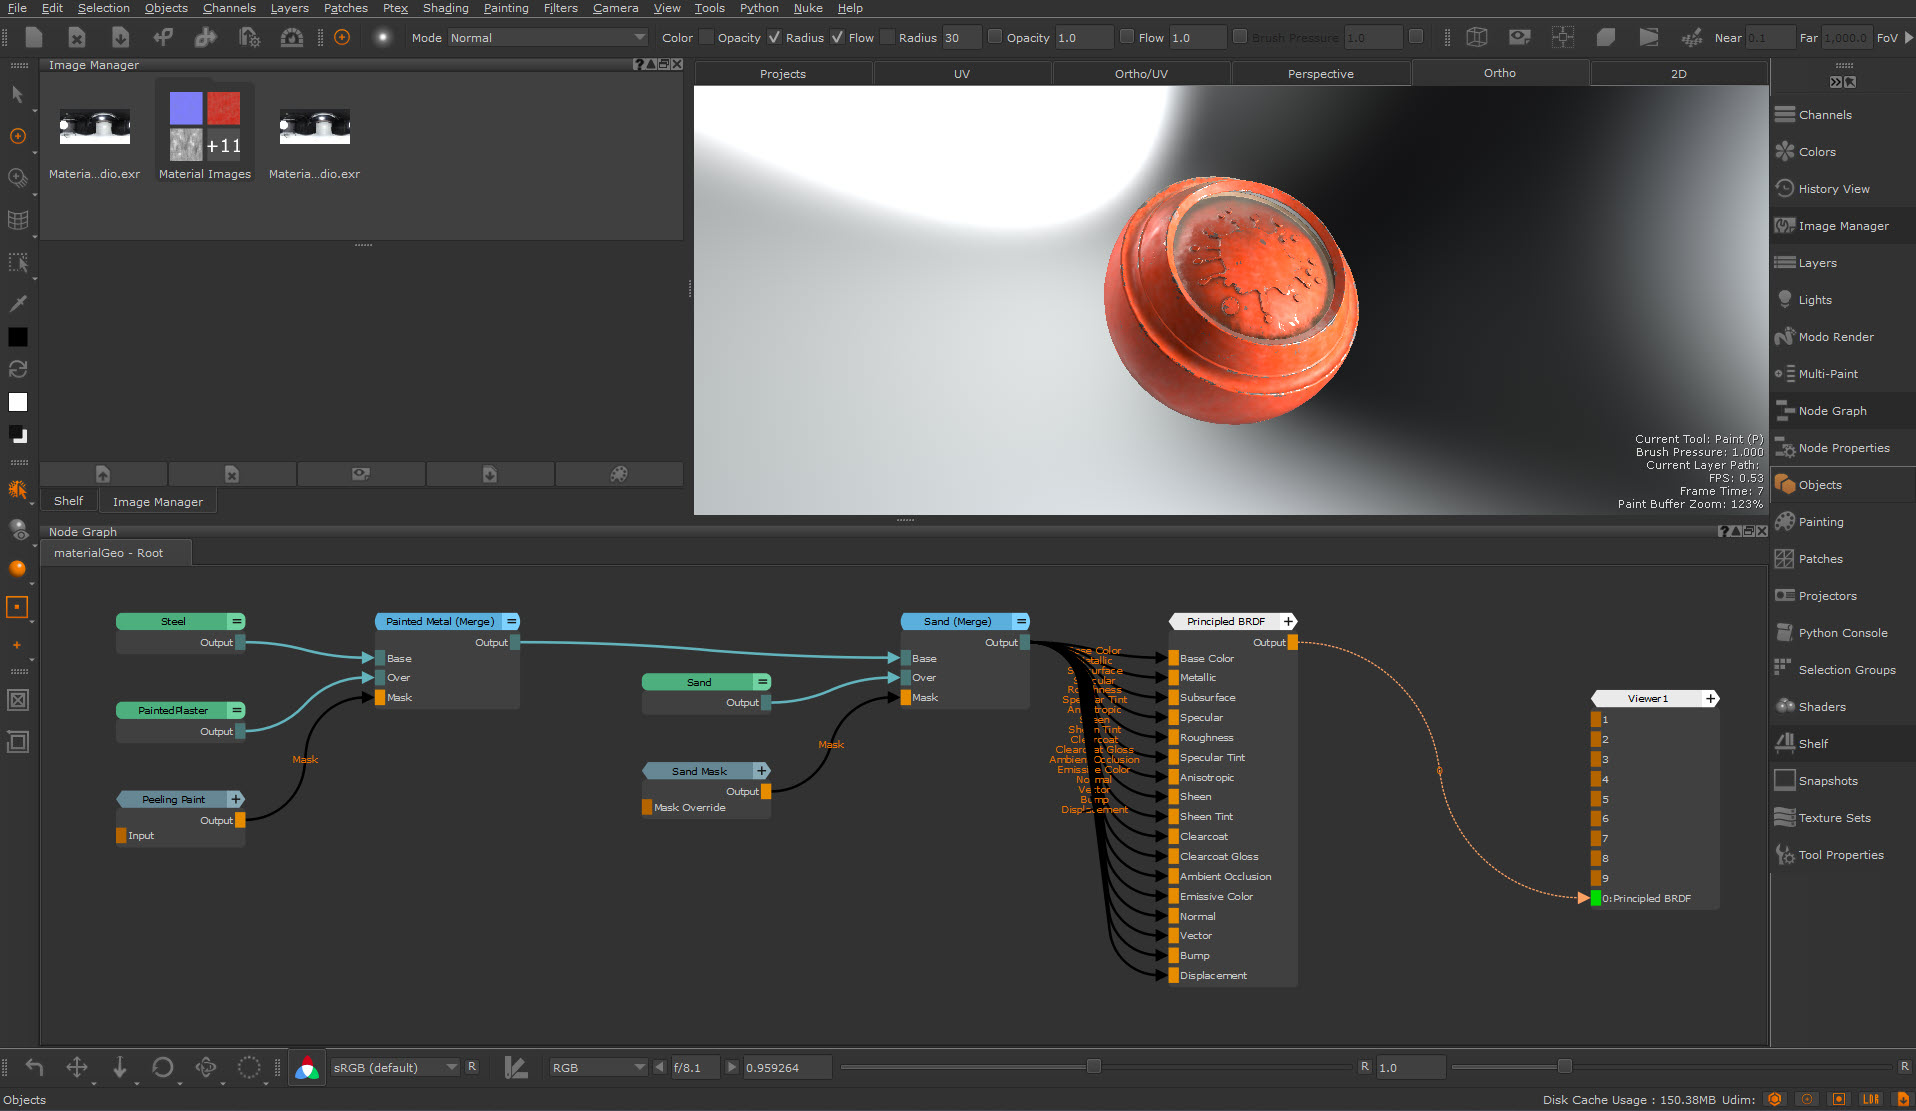
Walk-through
This sample project is split into three sections:
• Creating Painted Metal
• Adding a Sand mask
• Shader network
Creating Painted Metal
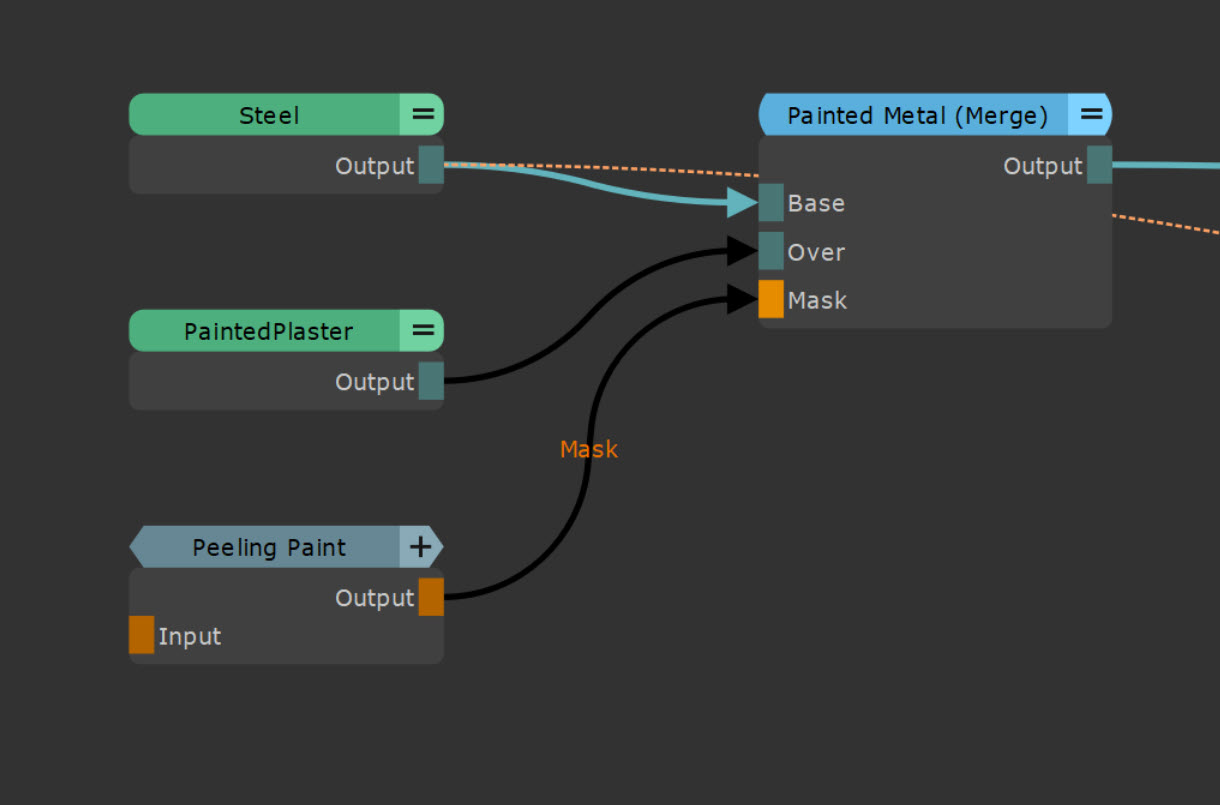
The first part of this project sets up the base materials that the object is made out of. In this example, the object is made of steel that is painted.
This is completed using the following steps:
• The Painted Metal (Merge) node is aMulti-Channel Merge Node, which enables you to merge two materials together.
• The Steel material (from theWorking with Materials in the Node Graphshelf) is plugged into the Base input of the Painted Metal (Merge) node.
Tip: Select the Steel material node and press 1 to view what the base steel material looks like without the paint texture on top of it.
• PaintedPlaster is another material from the Materials shelf. This goes on the Over input of the Painted Metal (Merge) node, which places it on top of the Base input.
Without applying a mask to the Merge node, the material in the Base input will not be visible. This is because the Paint is an opaque layer that covers the steel, so the opacity for each of the channels in the multi-channel merge node is set to 1.
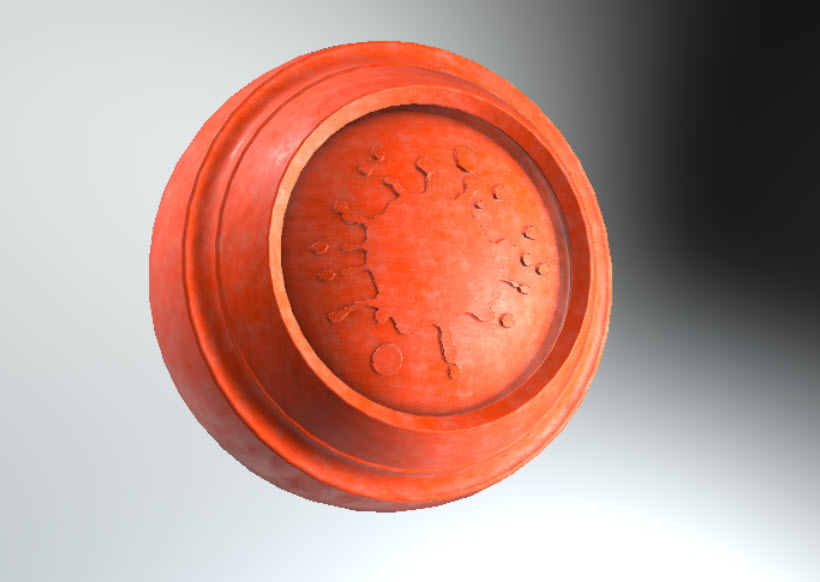
A view of the Painted Metal (merge) node before applying a mask. The Base material is not visible.
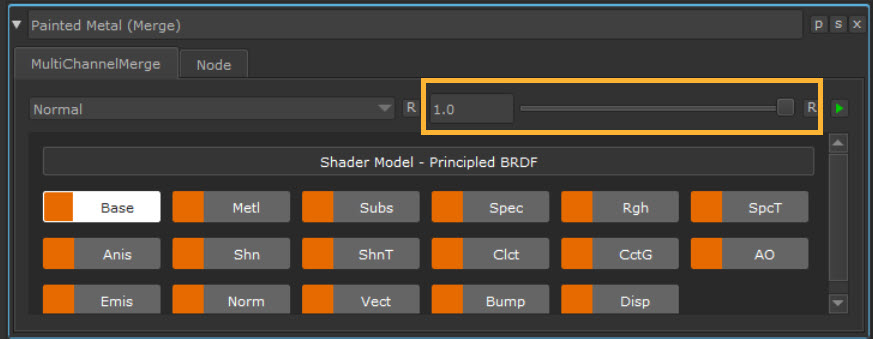
The Multi-Channel Merge node properties, displaying the Base Channel’s opacity value as 1. You can click through each channel to see each of their settings.
• To create the peeling paint effect that is realistic, the next step applied in this sample project is the Peeling Paint mask.
• A mask is a black and white image that defines where the Base material (Steel) will be visible and where the Over material (PaintedPlaster) material is visible. This effect is applied with a Smart Mask Node.
• This project uses the preset Peeling Paint mask that can be found at Shelf > Mari > Smart Masks.
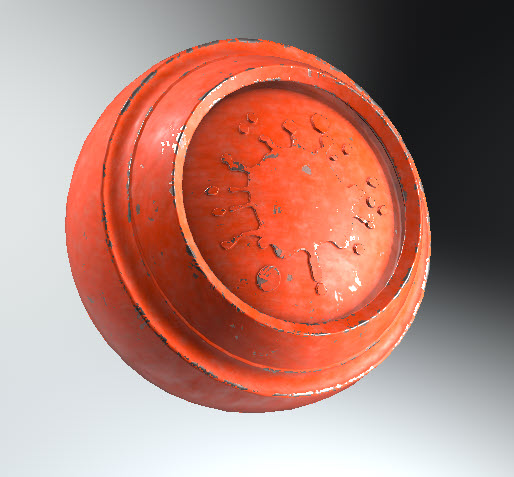
The Peeling Paint mask applied to the Painted Metal (Merge) node
Experiment: Clicking on the Peeling Paint node will open up the Node Properties panel with the node’s parameters. From here you can adjust the pattern and Curvature properties to alter the look of the paint.
Tip: Watch this video - Behind the scenes: Smart Masks in Mari 7.1 - to understand more about Smart Mask structure.
Experiment: Open up the Peeling Paint mask using Ctrl+LMB or Ctrl+Enter to view the structure of the Smart Mask.
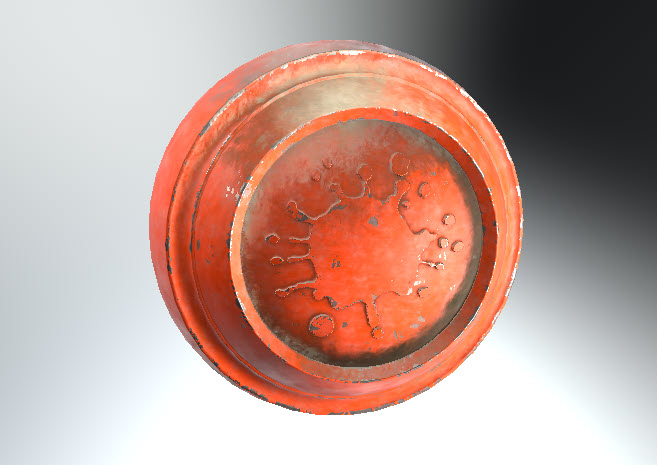
Now that the effect of a painted steel object has been completed, another texture is applied on top of it - sand that is gathering in the creases of the object and settling on top of it.
Now that the effect of a painted steel object has been completed, another texture is applied on top of it - sand that is gathering in the creases of the object and settling on top of it.
This effect is created with the following steps:
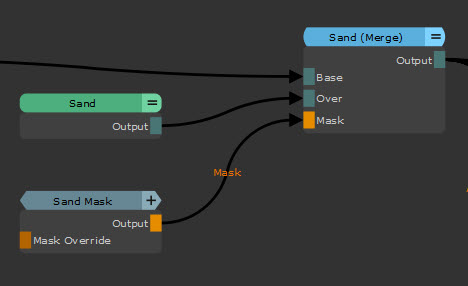
• A new Multi-Channel Merge node - labelled Sand (Merge) - is created and the Painted Metal (Merge) node is plugged into the Base input. This means that another texture can be applied on top of the peeled paint effect.
• The Sand material is placed in the Over channel. This material can be accessed from Shelf > Mari > Materials.
• The Sand Mask node is plugged into the Mask input, defining how the sand material will appear on the object. This smart mask is another preset found at Shelf > Mari > Smart Masks. In the Node Properties panel of the mask, you can edit the look of the sand by adjusting the Ambient Occlusion, Topdown and Edge Pattern parameter values.
Shader Network
The output of the Sand Merge node is then attached to a Principled BRDF Shader node. Shaders control how Mari displays the model on the canvas under certain, user-specified lighting conditions. This shader node is attached to a Viewer (which is created when a project is created). The viewer defines what is visible on the canvas.
Where to go from here
Check out the other Sample projects available in Mari:
• Patches Sample Project
• Example Project