Projection Node
Access: Nodes > Projection > Projection
The Projection node is used to project an image onto the surface of an object in world space. The node can either use planar, cylindrical or spherical projection and allows you to use any object, camera, locator or light in your scene as the projector.
This node can be especially useful for placing an image in a specific position on an object. It avoids the need for the paint buffer and, if the image is being projected through a locator, it allows for continuous transformation using the Transform Selected Objects tool.
Because the image is being projected, moving the perspective or orthographic camera does not disturb the image's position unless the projector is set to Perspective or Ortho.

Example Node Network for Projection Node
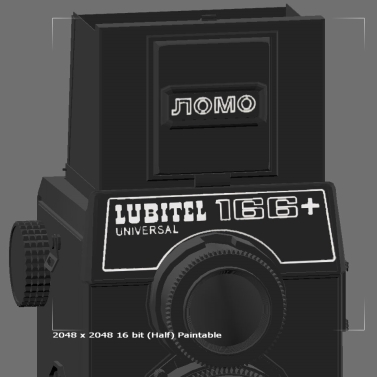
Planar Projection Example
Projection Node Inputs
|
Input |
Description |
|
Position |
Assigns the input position to the position of the projection. |
Projection Node Outputs
|
Output |
Description |
|
Output |
Assigns the Projection output to the input of another node. For example, the Base or Over inputs of a Merge node or the Input of a Channel node. |
|
UV |
Outputs the UV coordinates that are in use when projecting the image so they can used repeatedly when sampling multiple images. |
| Masks |
Contains the various mask values packed together. When output to specific RGBA channels, this is how the output is broken down: • R - Clipping mask • G - Distance mask • B - Facing mask • A - All masks multiplied together |
Projection Node Properties
|
Image file upload |
Upload an image to project. |
|
Projection Mode dropdown list |
This defines how the image is projected onto the surface. Planar - The image is projected onto the XY plane defined by the projector. Cylindrical - The image is projected cylindrically, with the cylinder axis aligned along projector's Y axis. Spherical - The image is projected spherically, with the poles aligned along projector's Y axis. |
|
Clip dropdown list |
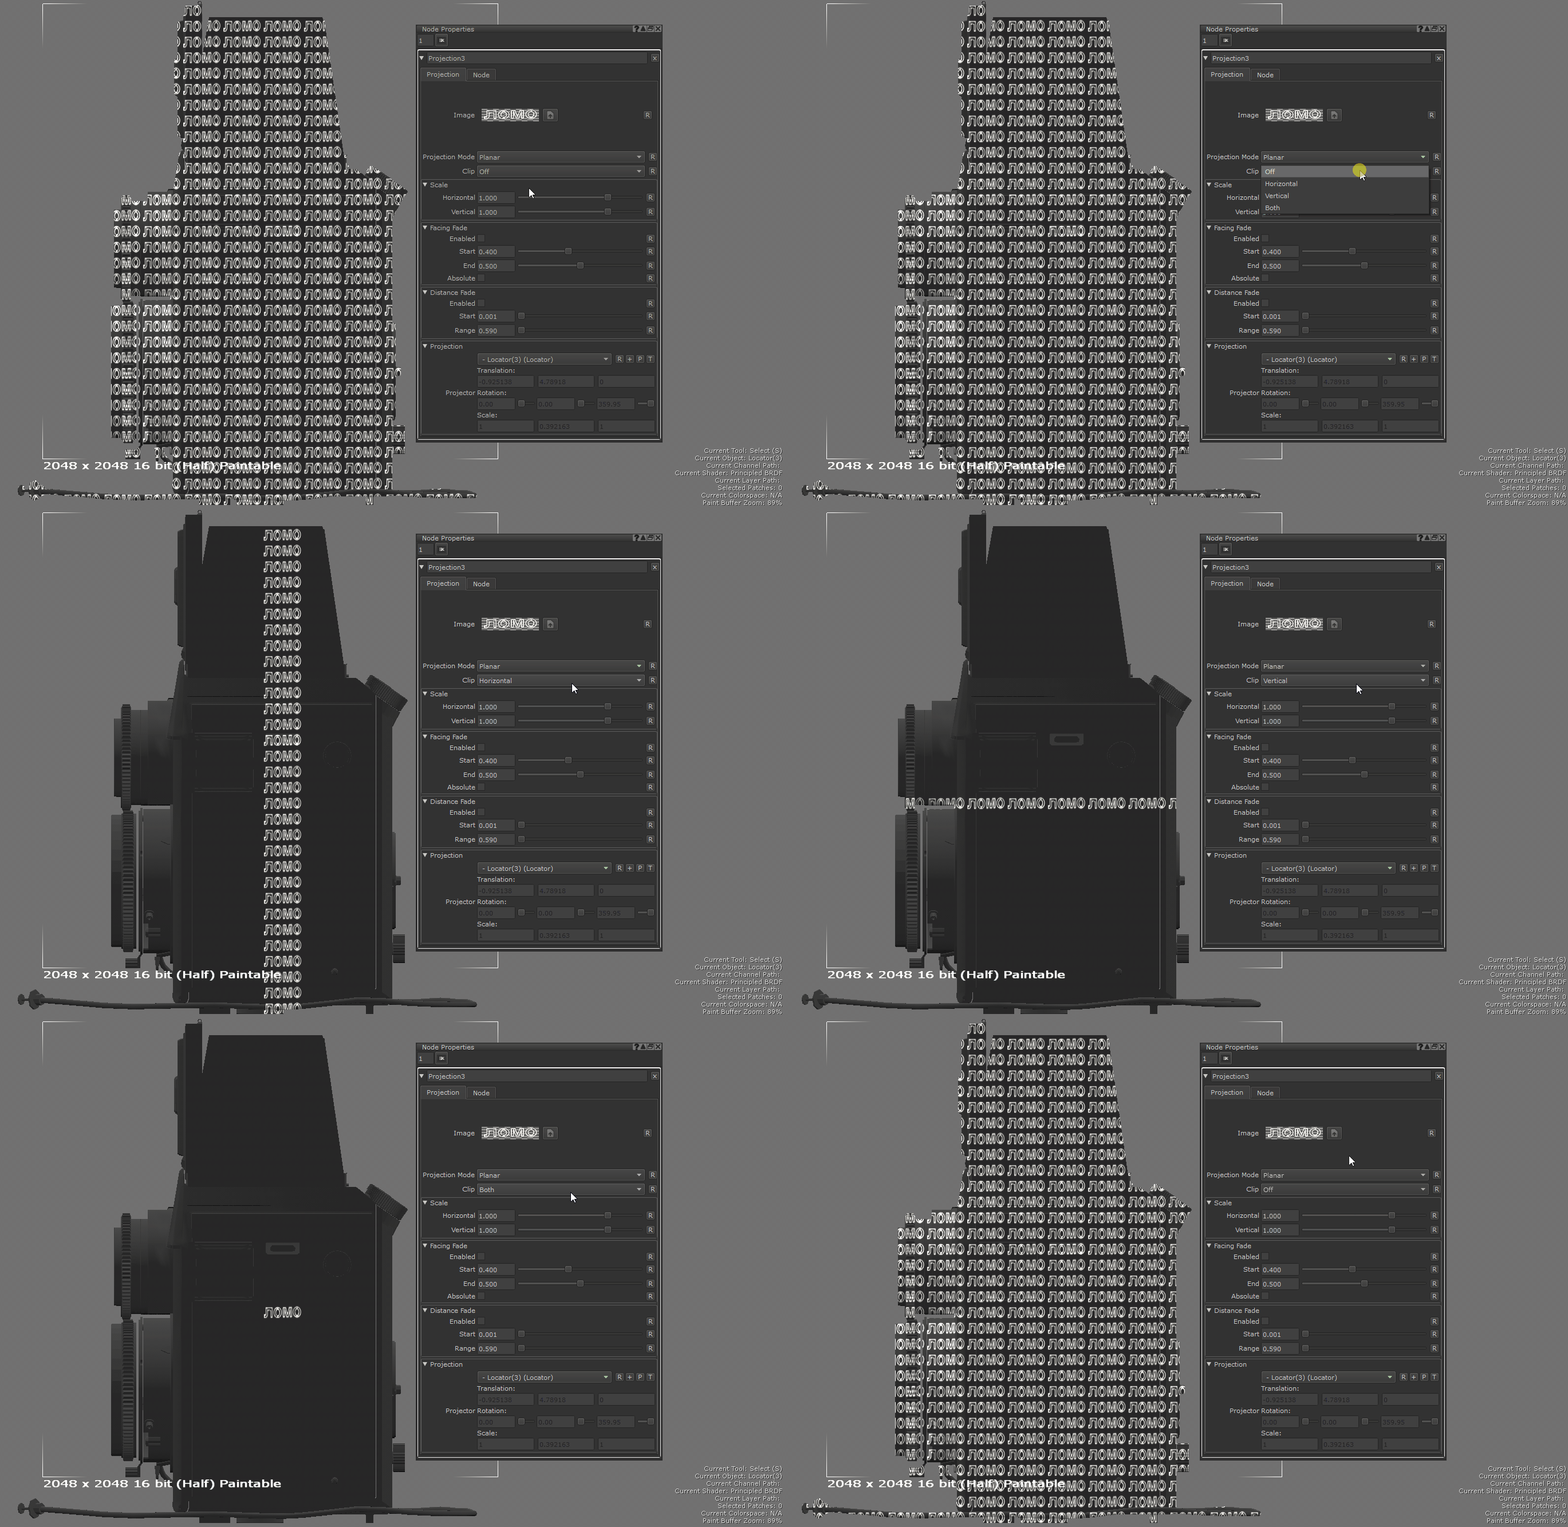
This defines how the image is repeated across the projection. Off - The image is not clipped, therefore repeated vertically and horizontally. Horizontal - The image is clipped horizontally, therefore only repeated vertically. Vertical - The image is clipped vertically, therefore only repeated horizontally. Both - The image is clipped vertically and horizontally, therefore only shown once.
|
Scale
|
Horizontal text field, slider |
Scale the image horizontally. |
|
Vertical text field, slider |
Scale the image vertically. |
Facing Fade
|
Enabled checkbox |
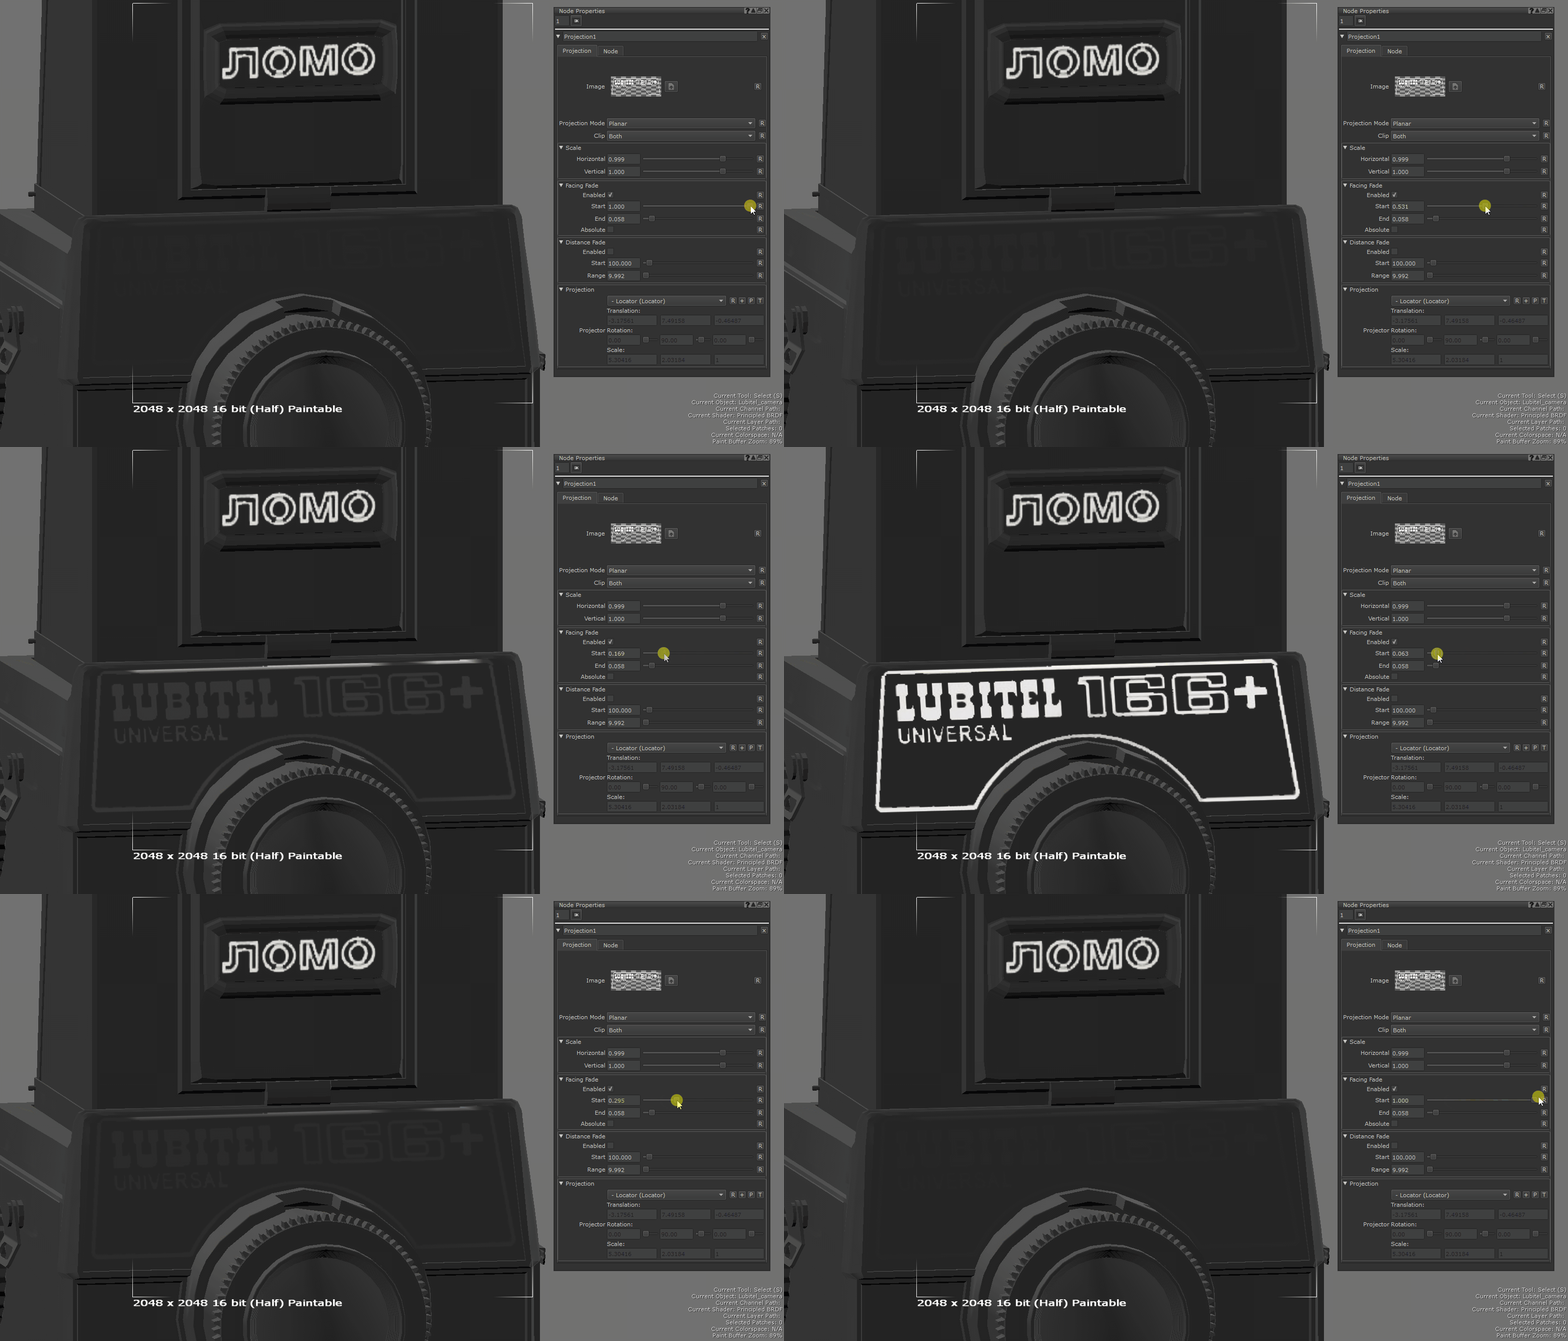
This option determines whether the image fades out based on how much it faces towards the direction of projection. |
|
Start text field, slider |
This defines at what point the image starts to fade out based on the amount that the image is facing the direction of projection. A value of 0 means the image starts to fade out if it is facing the direction of projection. A value of 0.5 means the image starts to fade out if is it facing perpendicular to the projection direction. A value of 1 means the image starts to fade out if it is facing away from the projection direction.
|
|
End text field, slider |
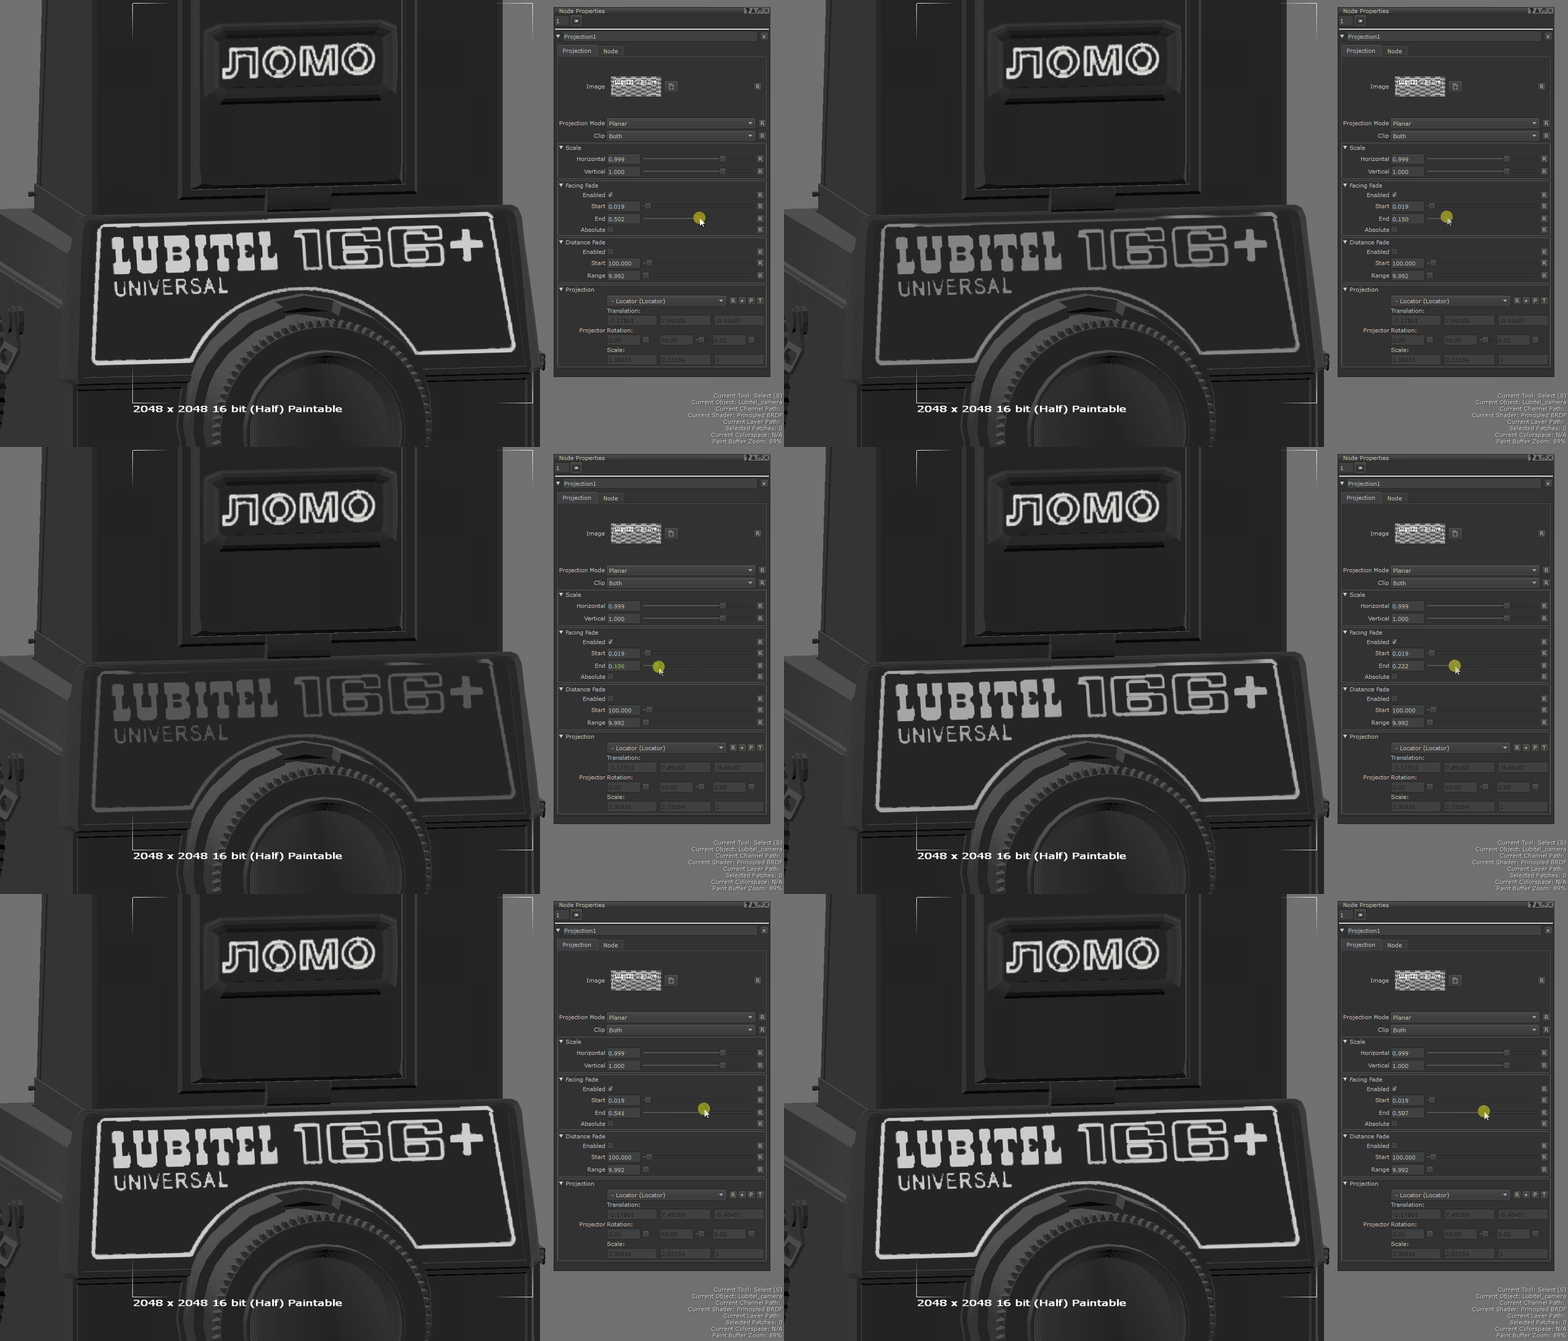
This defines at what point the image is entirely faded out based on the amount that the image is facing the direction of projection. A value of 0 means the image is entirely faded out if it is facing the direction of projection. A value of 0.5 means the image is entirely faded out if is it facing perpendicular to the projection direction. A value of 1 means the image is entirely faded out if it is facing away from the projection direction.
|
|
Absolute checkbox |
This makes the facing value absolute. |
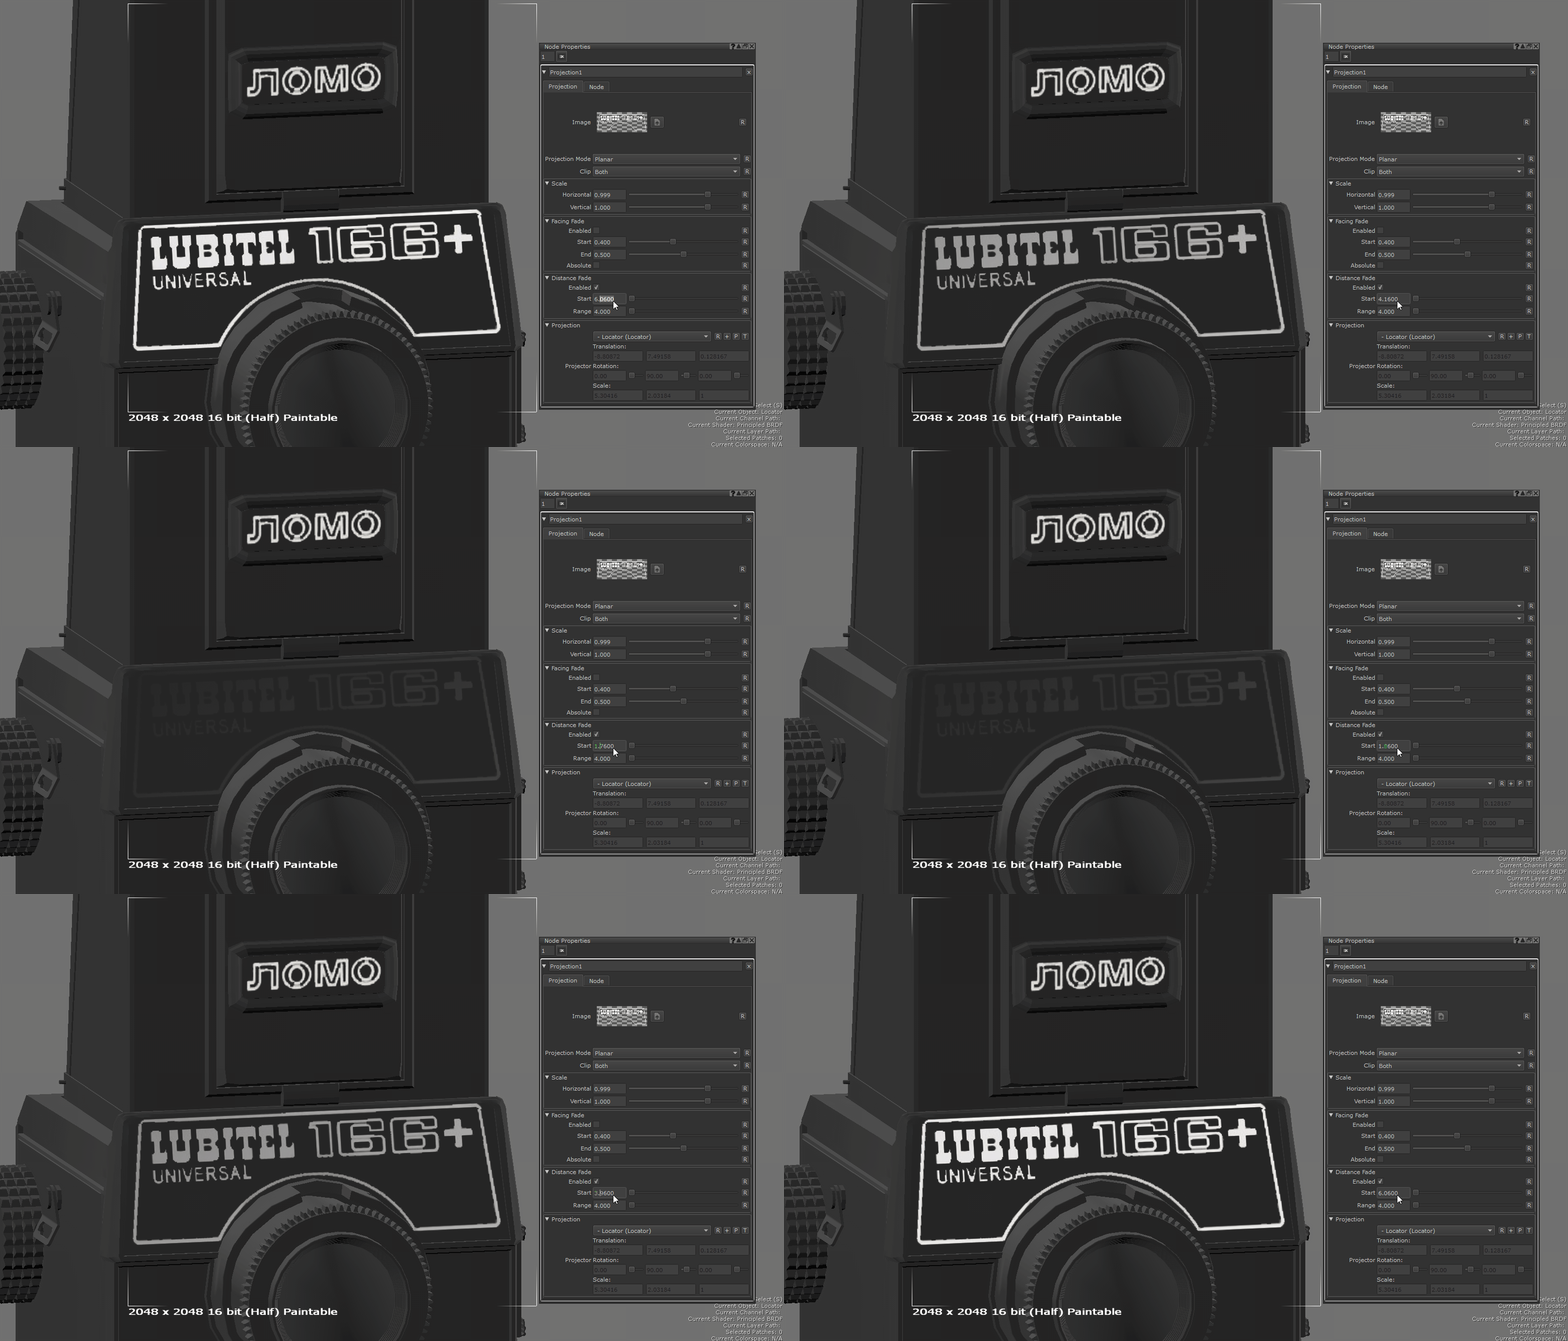
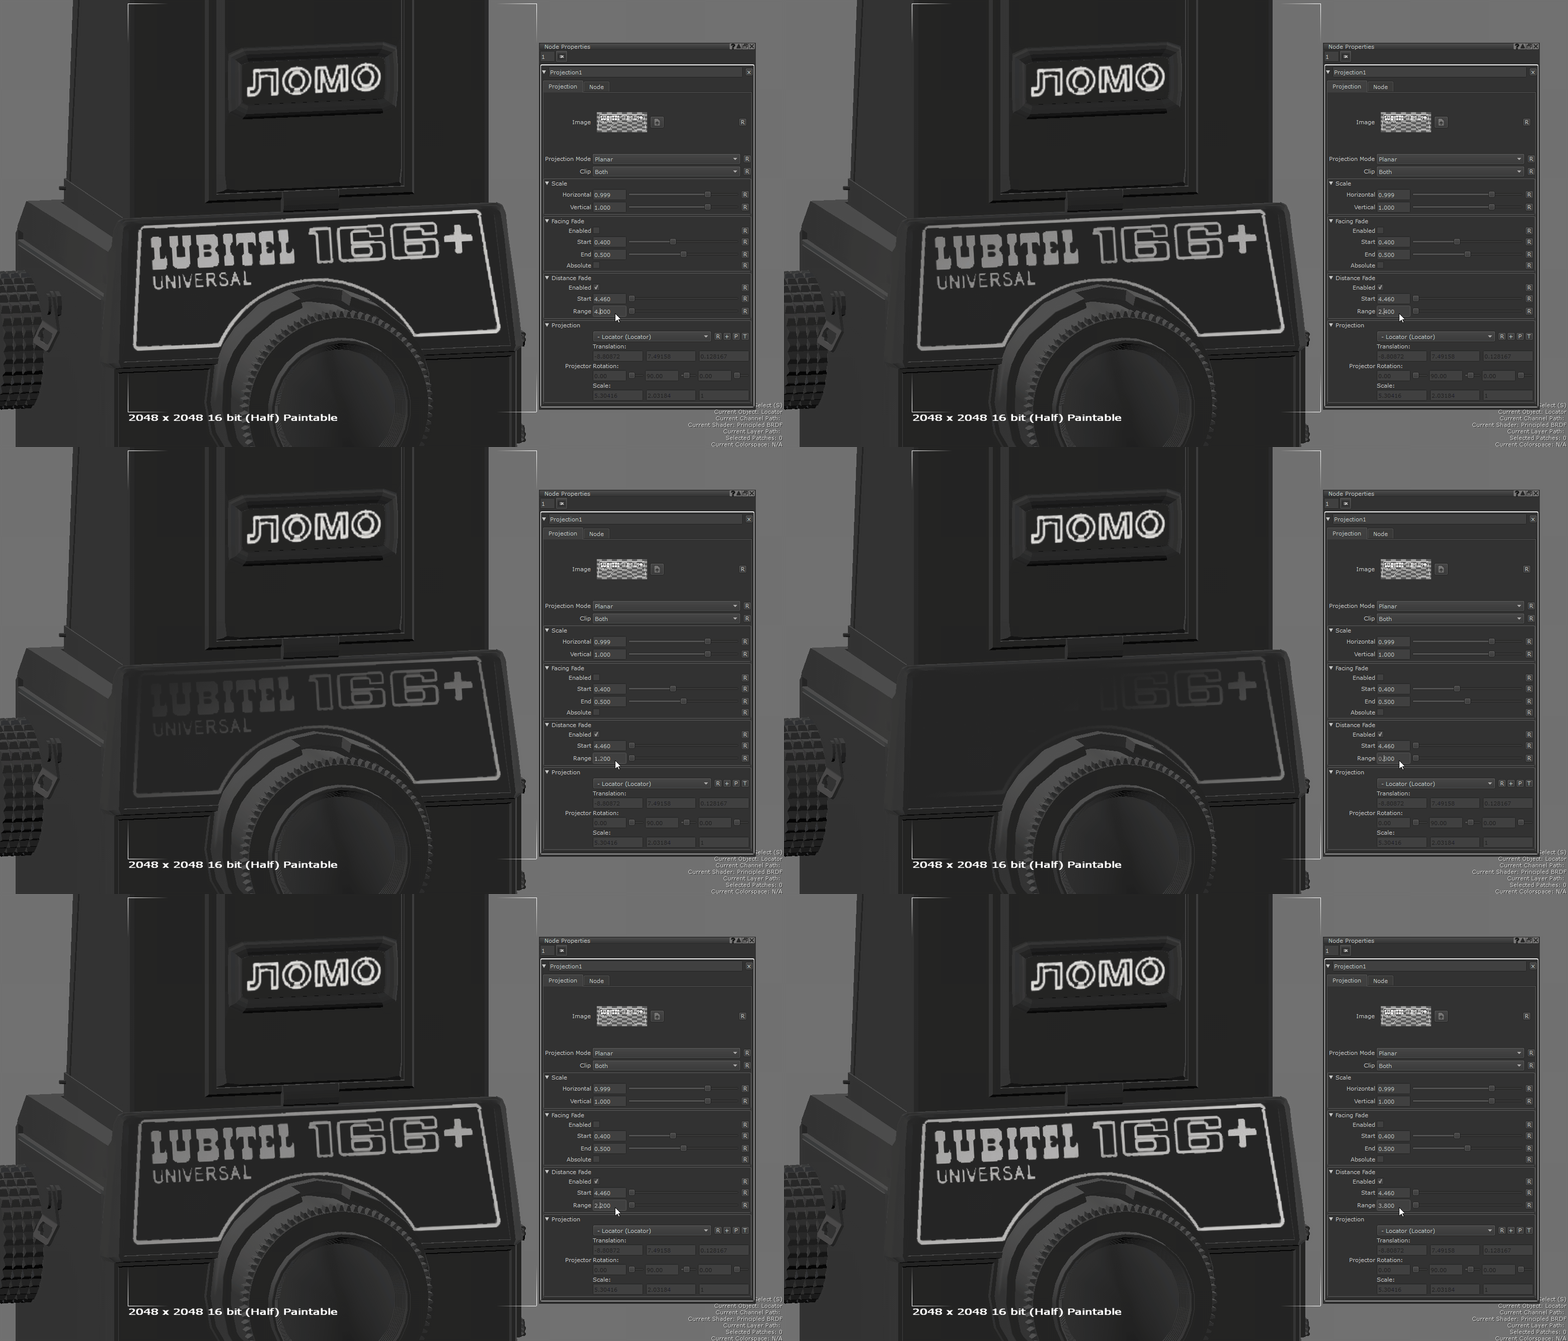
Distance Fade
|
Enabled checkbox |
This option determines whether the image fades out based on the distance to the origin or the projector. |
|
Start text field, slider |
This determines the distance from the projector origin at which the image begins to fade out.
|
|
Range text field, slider |
This determines the distance beyond the Start value at which the image has faded out entirely.
|
Projection
|
Projector dropdown list |
Select what the image is projected from. The list displays all the Objects, Locators, Cameras and Lights in the scene which can be used as a projector. |
|
+ button |
Add a new locator and set it as the projector. |
|
P button |
Make the projector locator current and switch to the Transform Object tool. |
|
T button |
Toggle the visibility of the transform fields. |
|
Translation text field |
Used to translate the projection in the x, y and z axis. Note: The transform fields (Translation, Projector Rotation, Scale) lock if you have something selected in the field. The transform field values mirror those of whatever you have selected. |
|
Projector Rotation text field |
Used to rotate the projection around the x, y and z axis. |
|
Scale text field |
Used to scale the projection in the x, y and z axis. |
