Default Shaders
In any project, Mari has five default shaders that you start with before adding any custom shaders. These default shaders are:
- Current Channel - displays the paint in your selected channel.
- Current Layer and Below - displays the paint in your selected sub-stack (such as a mask or adjustment stack) up to the selected layer. If you don’t have a sub-stack selected, it shows the parent stack up to the selected layer.
- Current Layer - displays the paintable paint and masks in your selected layer.
- Current Paint Target - displays the paint in your selected layer, including any mask or mask stack, adjustment, filter or groups associated with the layer.
- Current Material - displays the currently selected material, node, or group on the model in the viewport. This allows you to isolate your material from the rest of your channel data so you can make edits to your material with a more lightweight shader.
These shaders are also found on the Project Controls toolbar and allow you to switch between each shader.
Note: If you can't see the Project Controls toolbar, right-click on the toolbar area and choose Project Controls from the dropdown menu.
Tip: If you want to see how your paint looks for a single layer, then compare it when added to the rest of the layer stack, switching between the Current Layer and Current Layer and Below views can assist you.
Adjusting the Look of a Material with the Current Material Shader
The Current Material shader is a lightweight solution to viewing and editing materials or multi-channel groups on your models. Instead of viewing your user shader to lookdev materials, which can be an expensive operation, you can isolate a specific material on the model in the viewport.
|
|
|
|
|
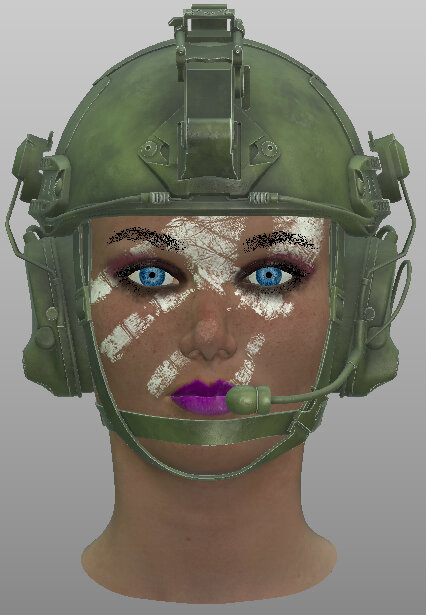
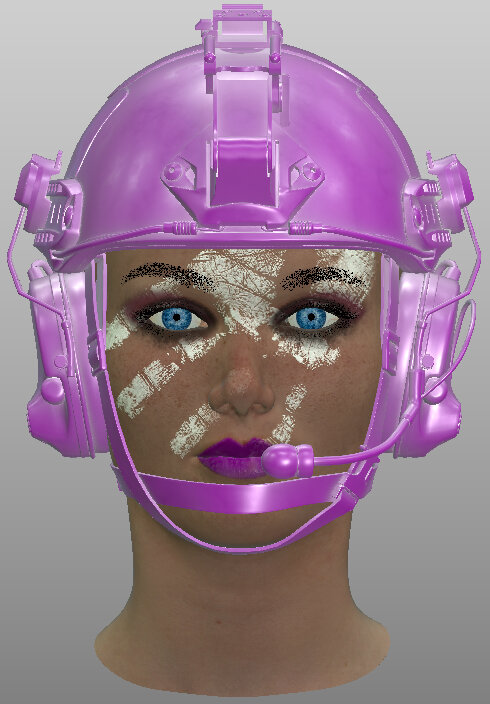
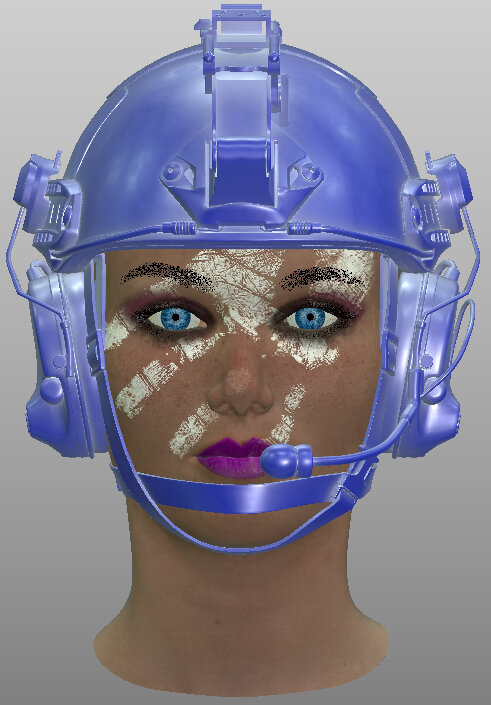
Viewing the helmet green base material with the Current Material shader in the viewport. |
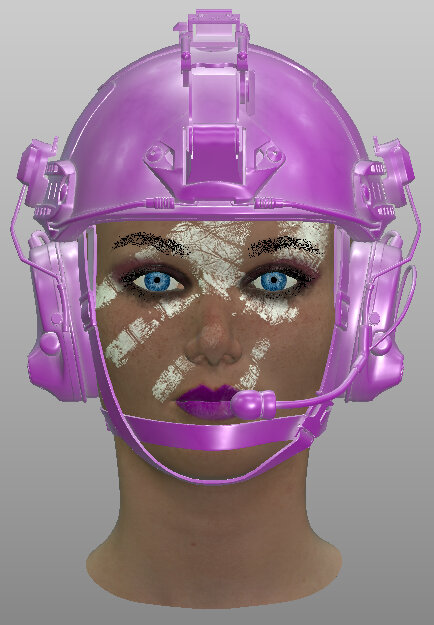
Viewing the helmet pink plastic material with the Current Material shader in the viewport. |
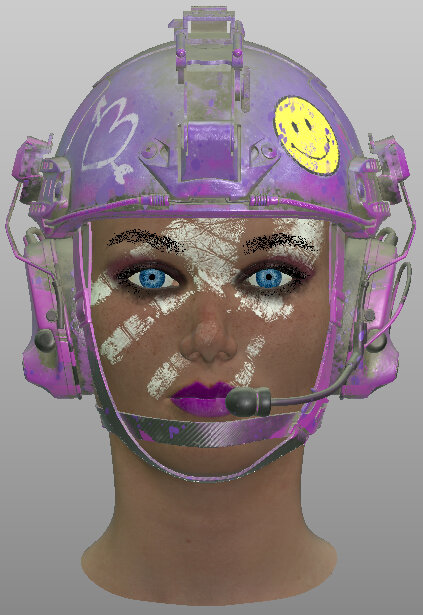
Viewing all materials on the model with the Arnold Standard Surface shader in the viewport. |
To view and edit your material:
- Select a material or multi-channel group layer in the Layers palette.
- Open the Shaders palette and select Current Material, or
- Make adjustments to your material with the exposed material properties in the Layers palette.
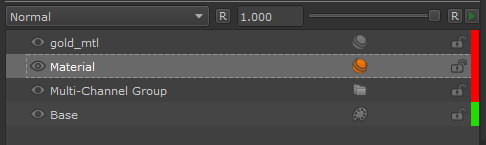
A material selected in the Layers palette.
Note: When a material in the Layers palette is selected, it appears with an active Material ![]() icon. Unselected materials appear with an inactive Material
icon. Unselected materials appear with an inactive Material ![]() icon.
icon.
• click and hold the View Shader ![]() button on the Project Controls toolbar, and click Current Material, or
button on the Project Controls toolbar, and click Current Material, or
• hover over the viewport, press
The selected material or multi-channel group is shown in the viewport.
Note: The View Shader ![]() button always shows the current mode so the icon may appear differently.
button always shows the current mode so the icon may appear differently.
Note: To learn more about exposing material properties in the layer palette, see Exposing Material Properties Using the Promote Button.

Exposed material properties shown in the Layers palette.
|
|
|
Adjusting the color in the material while viewing the model with the Current Material shader.
Note: If you switch to a non-material layer while viewing your model with the Current Material shader, the model appears blank in the viewport. Select the Current Layer shader to view your currently selected layer.
Tip: You can press the Material ![]() icon in the Layers palette to open and edit the material in the Node Graph.
icon in the Layers palette to open and edit the material in the Node Graph.
Viewing Multi-Channel Nodes in the Node Graph
If you would like to view a specific material assigned to a multi-channel node in the Node Graph:
- Select the Material or Multi-Channel node in the Node Graph.
- Press 1.
- Select the user shader from the top of the pop-up list.
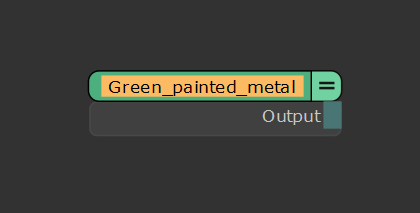
A material node selected in the Node Graph.
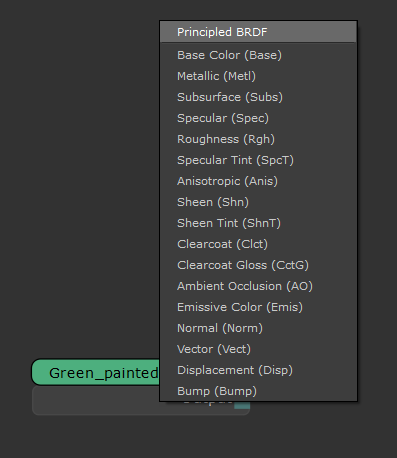
Selecting the Principled BRDF shader from the pop-up list.
The material assigned to the multi-channel merge node is shown on the model in the viewport. You can now view and edit your material in isolation, with a full PBR lighting response context.
Note: If you would like to learn more about Material and Multi-Channel Merge nodes, see Material Node and Multi-Channel Merge Node.