Backdrop Node
Access: Nodes > Misc > Backdrop

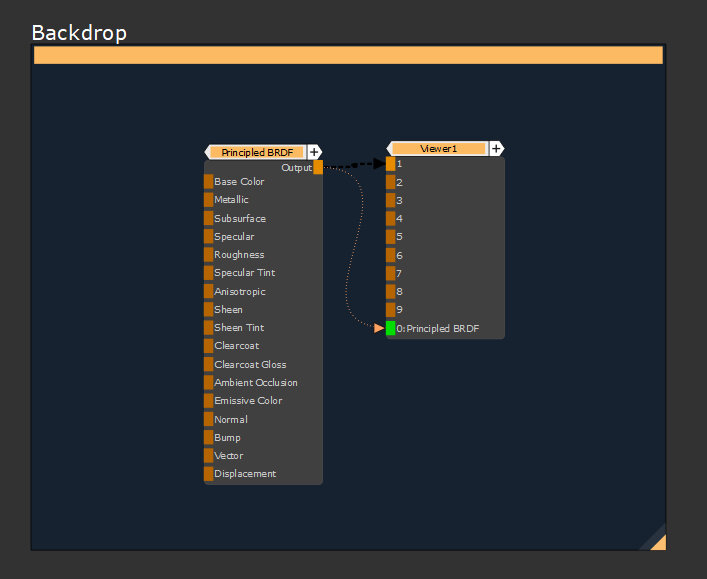
The Backdrop node is a great way to organise things inside your Node Graph. When you place a Backdrop node down, you create a colored rectangle which groups its contents.
The name of the Backdrop is easily visible even when you zoom out, as it scales with the view. Since the Node Graph can get quite busy, this node is perfect for finding nodes quickly and organizing sections of your material creation to make them easily accessible.
It can be helpful to use Backdrop nodes to group sections of your node tree. For example, all the masks you want to use in multiple places, or a section of your node tree that creates the Specular Roughness Channel.
Tip: To easily move a Backdrop node with all of its contained nodes, press and hold [W] and drag the whole Backdrop to a new location. [Shift] and [Ctrl] modifiers can be used to add or remove from the current selection.
Tip: Selecting a Backdrop while holding [B] will select the Backdrop but not any of its contained nodes. The shortcut can be customized in the Shortcut Manager.
Backdrop Node Properties
|
Name text field |
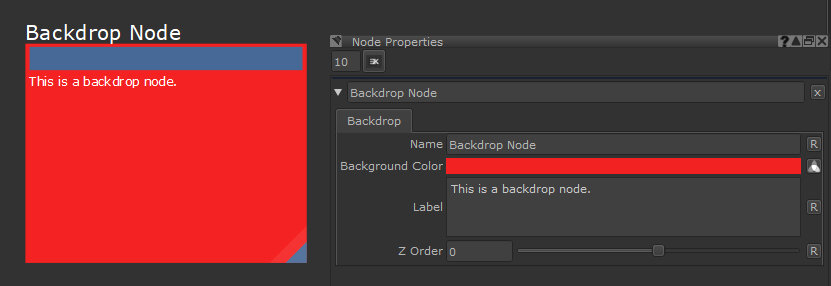
Changes the name of the node. When zoomed in this Name is displayed in the top of the node.
|
|
Background Color text field, slider |
Changes the color of the Backdrop node background. If you make the Background Color a very light color the Name text color will change from white to black.
Default is a navy blue (0.09, 0.132, 0.19). |
|
Label text field |
Adds text along the top of the Backdrop. This text does not scale like the Name property. HTML code can be used for formatting.
Default is empty. |
|
Z Order slider |
When you have two Backdrop nodes overlapping each other, the highest Z Order number is shown on top of the lower one.
Default is 0. |
Backdrop Node Workflow Example
Clean Scenes with the Backdrop Node
The Backdrop node is great for keeping a project from getting cluttered. When you start sharing nodes across your tree for the sake of optimization you get a lot of crossed pipes. But straight away you can see the Backdrop nodes when you zoom out, and because of that you know exactly where to go if you want to make a change to areas of the material creation.
Due to the nature of the Node Graph flowing from left to right, if you want to find the base color or tiling texture of a certain area, you know to look on the left side of a Backdrop node as they are going to have been set up at the start.
Clean scenes are important in case you ever need to hand your project over to someone else. You want them to be able to understand how to use your setup. Or maybe you come back to a project a few months after starting it, it’s going to be a lot easier if everything is nicely organized and easy to find.


