Channel Masks
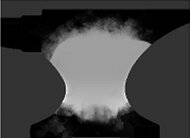
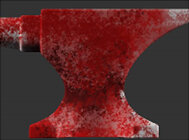
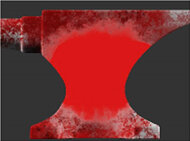
You can use a channel mask to manually define your own painting mask. You do this by painting into a channel and then using it to control where paint applies to the surface.
|
|
|
|
Channel mask. |
Paint buffer without channel mask. |
|
|
|
|
Paint buffer with channel |
|
Mari applies the channel mask based on color values on the surface of the channel. This is set up through a curve control:
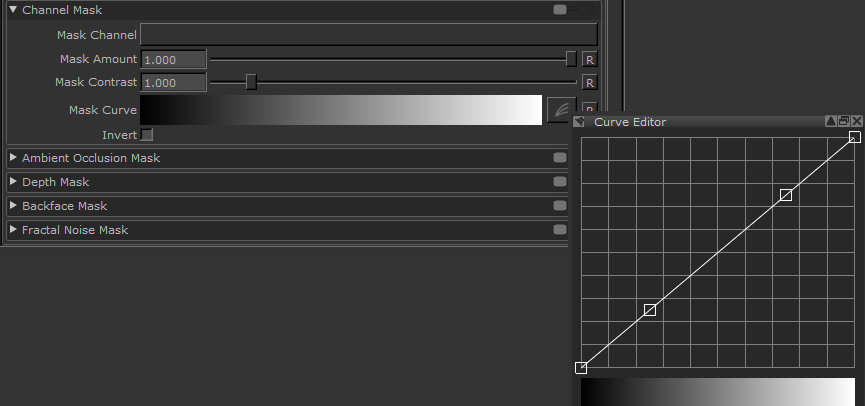
By default:
• White pixels (value of 1,1,1) are completely masked (totally unpaintable).
• Black pixels (value of 0,0,0) are completely unmasked (totally paintable).
• Other pixels are less masked as their color values approach 0, more masked as they approach 1. For example, 50% gray (0.5,0.5,0.5) creates a mask with 50% opacity.
|
|
|
|
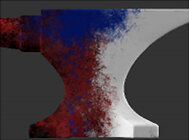
Mask channel including colored |
The resulting paint mask. |
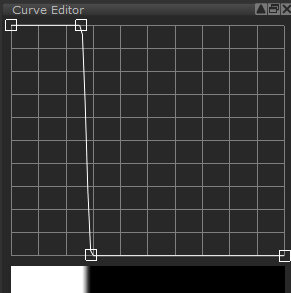
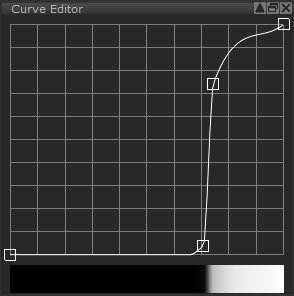
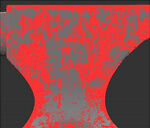
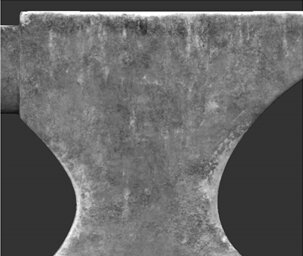
By altering the curve control, you can set how Mari masks different color values. For example, if you use a displacement map channel as your mask source, you can adjust the mask value to mask out everything except the darkest areas. This gives you a mask that covers everything except the “cracks” in your mask texture.
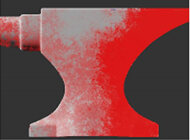
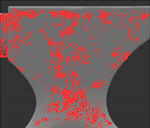
For example, here's the result of different settings using this displacement map as a channel mask:
|
Setting |
Result |
Notes |
|
|
|
This paints into the dark areas – the cracks in the texture. |
|
|
|
This only unmasks the lightest (that is, the highest) points in the map. |
You can also set the contrast for the mask. Mari applies this contrast to the mask channel when producing the final mask.
Tip: Mari expects masks to be black on white. That is, colors are less masked as they approach 0, more masked as they approach 1. However, if you prefer to paint your masks white on black, you can invert the mask input.
To use channel masks, set the options under Channel Mask:
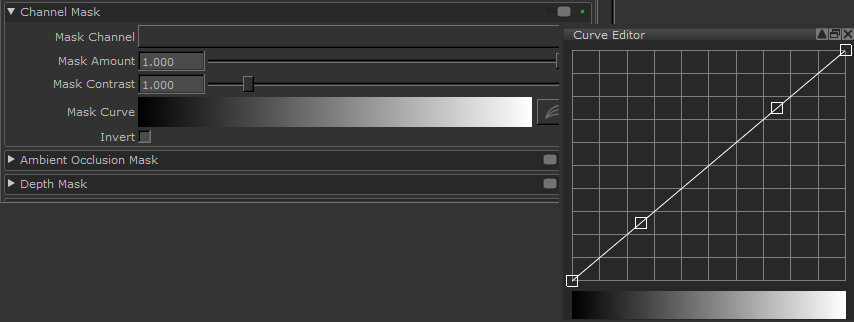
• Mask Channel - lets you select a channel to use as a mask (if you are using a channel mask, you need to create and paint a mask in a channel first).
• Mask Amount - controls the strength of the masked texture coming through, how much unmasked texture to apply. For example, at 0.5, Mari applies the unmasked paint with alpha of 0.5.
• Mask Contrast - controls the contrast used on the mask texture. This controls how sharply defined the mask is – at 1.0, this is just the original mask texture, lower values are fuzzier and higher values are sharper.
• Mask Curve - controls how the input pixel values relate to the degree of masking. The horizontal axis is the darkness of the input pixel (black to the left, white to the right), the vertical axis is the degree of visibility. By default, this is a direct line, where white pixels are totally masked, black pixels are totally unmasked, and 50% gray is 50% masked.
• Invert - applies the mask in reverse. Mari expects masks to be black on white, where the white areas are masked and black is unmasked. However, if you prefer to paint white on black, you can invert the mask input.
When enabled, the ![]() icon displays in the status bar.
icon displays in the status bar.
Tip: If you want to turn channel masking off, just select the blank entry from the Mask Channel list.
