Projecting onto a Model Using .fbx Files
To project onto a model using an .fbx file, you need the following files created using a 3rd party application:
• a 3D model (.obj format)
• a camera file (.fbx format)
• texture files (.jpg format for example)
Tip: To make things easier later on, you should use the same naming convention for the camera and texture files when you create them.
| 1. | Start Mari and import your model file. |
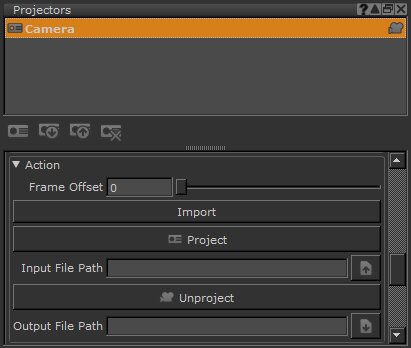
| 2. | In the Projectors palette either: |
• right-click and select Load Projector, or
• click ![]() .
.
The Load Projector dialog box displays.
| 3. | Locate the .fbx file associated with your model and click OK. |

Mari imports the camera data from the .fbx file and creates a corresponding number of projectors in the Projectors palette.
You can click on the individual projectors in the Projectors palette to view the camera angles that you imported.
| 4. | Select a projector in the Projectors palette and either: |
• enter the location of the associated texture file in the Path > Input File Path field, or
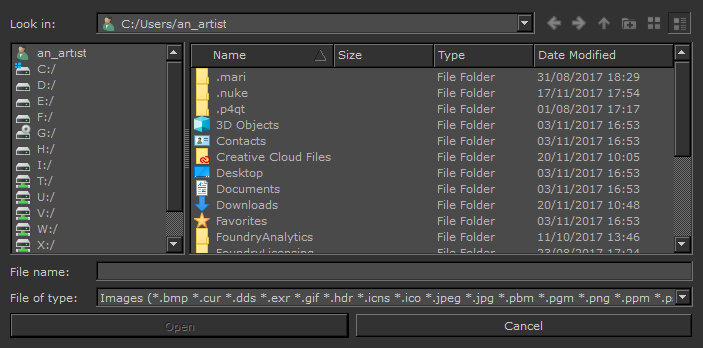
• click ![]() to browse for the file location.
to browse for the file location.
| 5. | Select the required file and click Open. |
You can set the other Projector attributes in the same way as described in Creating the Projector.
| 6. | In Projectors > Action, select either: |
• Import - to load the texture from the projector into the paint buffer, or
• Project - to load the texture and bake it onto the surface.
Mari projects the texture onto the model as specified.
Once the texture is loaded, you should be able to tell immediately if you’ve loaded the wrong texture - simply change the file location in Projectors > Input File Path if this is the case.
| 7. | Repeat steps 5 and 6 for all the imported projectors to complete the process. |
| 8. | Once you’re happy with the results, you can export your work as described in Exporting Textures from Channels, Generating a Turntable from a Projector, or Saving, Loading, and Deleting Projectors in the same way as regular projectors. |
Note: It’s worth mentioning that projection using .fbx files is not fool-proof and some extra texturing inevitably is required. You can reduce the extra work needed by using more camera angles when creating the .fbx file.
Experiment: Try: Loading some textures through the wrong projector. Can you see that the image is incorrect? Loading textures in a different order. Notice how the textures overlay each other?