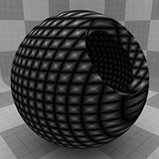
Grid Procedural
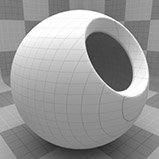
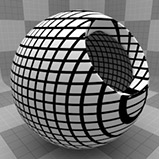
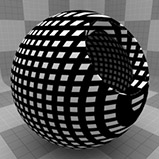
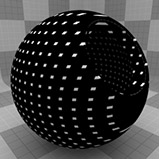
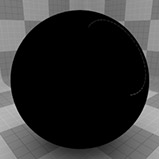
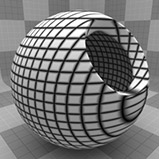
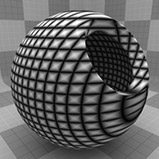
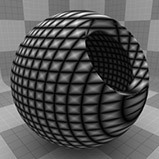
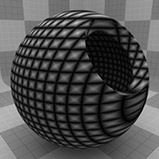
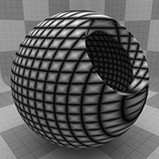
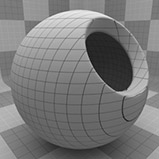
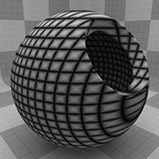
The Grid texture creates a grid pattern between two value or color settings: Line Value/Color and Filler Value/Color. The pattern of the lines is determined by the Type setting, and their thickness by Line Width. Between the lines and the filler exists a transition zone, which is determined by the Transition Width. The grid is procedurally created at render time and therefore has no fixed resolution; it can be magnified with no visual loss in detail.
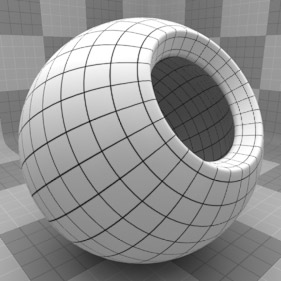
For information regarding adding and working with Shader Tree Items Layers, see Shader Tree.
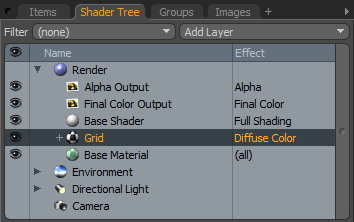
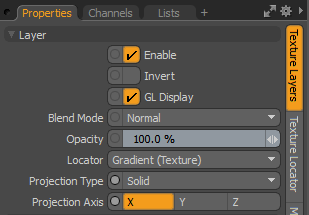
Layer Properties
|
Enable |
Toggles the effect of the layer on and off. This duplicates the functionality of toggling visibility in the Shader Tree. When disabled, the layer has no effect on the shading of the scene. However, Modo saves disabled layers with the scene, and they are persistent across Modo sessions. |
|
Invert |
Inverts the colors (RGB values) for the layer to produce a negative effect. |
|
Blend Mode |
Affects the blending between different layers of the same effect type. With this, you can stack several layers for different effects. For more about blending, see Layer Blend Modes. |
|
Opacity |
Changes the transparency of the current layer. If there are layers below this layer in the Shader Tree, reducing this value increasingly reveals the lower layers. Reducing the value always dims the effect of the layer. |
|
Locator |
Sets the association for the Texture Locator. Most texture layers have a Texture Locator that Modo automatically creates in the Item List. This defines the mapping of the texture (how Modo applies the texture) to the surface. You can specify alternate locators, but this is normally not required. Although you may want multiple texture items to share a single locator. |
|
Projection Type |
Defines how a texture/material is applied to a 3D surface. Types vary significantly in their effects. For a guide to each Projection Type see Projection Type Samples. |
|
Projection Axis |
The texture/material is projected down this axis. This applies to Planar, Cylindrical, Spherical, Cubic, Box, and, Light Probe projection types. |
Grid Properties
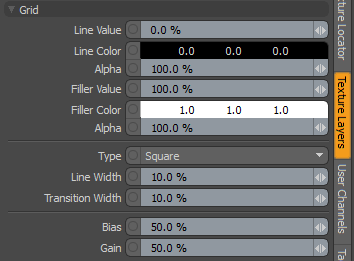
|
Grid |
||||
|
Line Value |
The similarity of the line color to the color of the surroundings (Filler Color). You can use this to adjust the line intensity. At 0%, the lines are the Line Color; at 100%, the lines are the Filler Color. |
|||
|
Line Color |
Determines the color of the texture where lines appear, ramping toward the Filler Color based on the Transition Width. The Alpha value determines the level of transparency. |
|||
|
Alpha |
The opacity of the line. Note: You can adjust the Alpha value using the Color Picker. |
|||
|
Filler Value |
The level of the filler color along the range from the Line Color to the Filler Color. At 0%, the filler color will be the same as the Line Color; at 100%, the color matches the Filler Color. |
|||
|
Filler Color |
Determines the color of the areas between the lines. The Alpha value determines the level of transparency. |
|||
|
Alpha |
The opacity of areas between the lines. |
|||
|
Type |
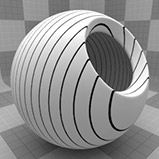
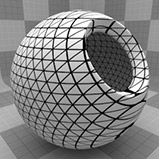
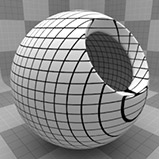
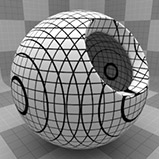
The Grid can be generated in many different styles. These styles are determined by the Type setting: • Line - This pattern consists of parallel straight lines. The orientation of the lines is determined by the Texture Locator Axis setting. • Triangle - This pattern interconnects a series of parallel lines with additional diagonal lines that intersect to create triangles. • Square - Two sets of lines running perpendicular to each other to create a square shaped grid. This is the default setting, as it creates what we traditionally visualize when thinking of a grid. • Hexagon - One series of parallel lines is intersected by a series of interconnecting lines that create hexagons at each of the intersection points. • Cube - This pattern is similar to Square, generating a grid pattern with a third set of parallel lines projected from the Z axis to produce a grid with depth. |
|||
|
|
|
|
|
|
|
Line |
Triangle |
Square |
Hexagon |
Cube |
|
Line Width |
This setting determines the width of the lines as a percentage of the texture area. Setting this value higher, results in thicker lines until the lines completely cover the surface at 100%. Reducing the value results in thinner lines. Tip: When using extremely small values to create very thin lines, make sure to leave a small amount of Transition Width to provide an anti-aliasing effect on the fine texture. |
|||
|
|
|
|
|
|
|
Line Width 0% |
Line Width 25% |
Line Width 50% |
Line Width 75% |
Line Width 100% |
|
Transition Width |
This setting determines the width of the gradient ramp between the line value or color, and the filler value or color. |
|||
|
|
|
|
|
|
|
Transition Width 0% |
Transition Width 25% |
Transition Width 50% |
Transition Width 75% |
Transition Width 100% |
|
Bias |
Increasing this value causes the texture to favor the first color or value over the other, whereas decreasing the value causes the secondary color or value to be favored. This value is dependent on the Transition Width as it works across the gray tones of the image. |
|||
|
|
|
|
|
|
|
Bias 0% |
Bias 25% |
Bias 50% |
Bias 75% |
Bias 100% |
|
Gain |
This setting is similar to a gamma control that effects the falloff of the gradient ramp between the two color values. Setting the Gain to 100% creates a very sharp falloff effect whereas setting the value to 0% creates a plateau around the value or color mid-point with sharp falloff on either extreme of the gradient. This value is dependent on the Transition Width as it works across the gray tones of the image. |
|||
|
|
|
|
|
|
|
Gain 0% |
Gain 25% |
Gain 50% |
Gain 75% |
Gain 100% |
