Morph Slicer
Use the Vertex Map > Morph Slicer to copy an existing morph using symmetry to create a left and right version of it.

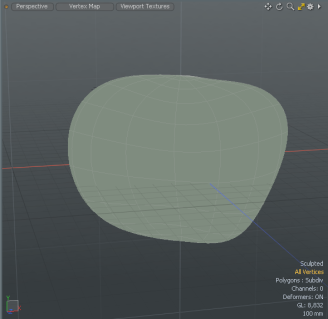
Before

After displaying the right side of the morph map
| 1. | Download this example. |
| 2. | In the Model layout, open the Items list on the right panel, and select the Sphere. |
| 3. | Open the Lists tab, expand the Morph Maps item, and select Sculpted. |
The morph map is applied to the Sphere and displayed in the 3D viewport.

| 4. | On the menu bar, click Vertex Map > Morph Slicer. |
New Sculpted_LT and Sculpt_RT items are listed under Morph Maps.

| 5. | In the Items list, under Morph Maps, select Sculpted_LT. |
The new morphed map is applied to the sphere and displays only on the left morph influence on the sphere.