Search is based on keyword.
Ex: "Procedures"
Do not search with natural language
Ex: "How do I write a new procedure?"
Using Modo VR
Controllers
The main way to interact with Modo VR is through hand controllers. When wearing the HMD you should see the two controllers.
Tip: If the controllers are missing, make sure they have not powered down.
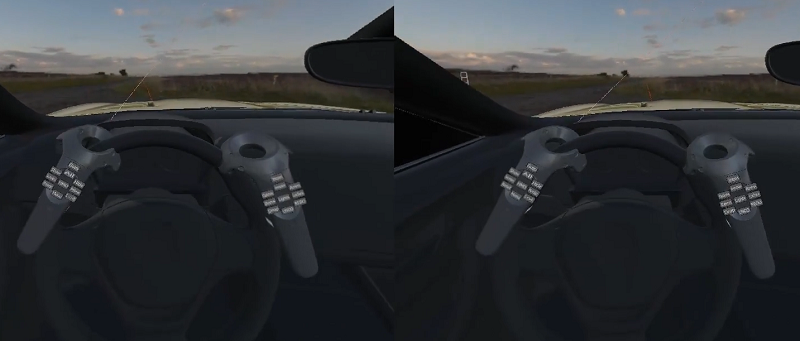
Each of them should look slightly different. One will have a laser line emitted from the front. This is the Pointer controller and is used as the master controller.
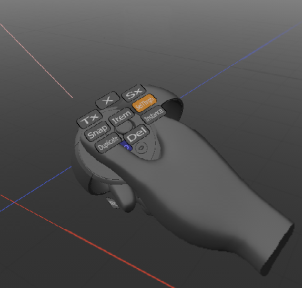
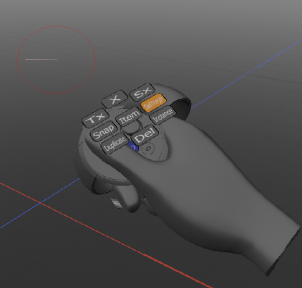
Each controller has a trigger on the underside that works like the left or right mouse button to activate tools or selection using the laser pointer. Any buttons with actions assigned will have labels on them.
If a button is touch sensitive, the label will change color when touched (blue) and again when pressed (orange).
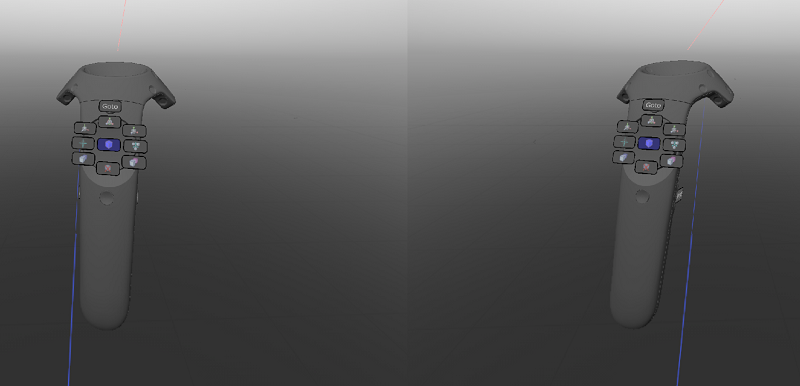
This is most noticeable when a controller has a touchpad or joystick that is segmented into button regions; the label highlights and vibrates when you move your finger or thumb into that button’s region, letting you know that clicking at that point activates that action.
Note: The touchpad or joystick on a controller can be used without having to look at it. When your finger moves over a button the controller will vibrate to let you know a new button is active and ready to be clicked.
Tip: Buttons on diagonals can be easily found by first moving your finger in a vertical or horizontal motion and then sliding around the touchpad or joystick until you feel the next vibration.
Laser Pointer and Target Modes
The laser pointer has two modes of operation: Pointer mode and Target mode; which you can switch between using the Laser Mode options.
|
|
|
|
Pointer Mode |
Target Mode |
Pointer Mode
The pointer mode is the default mode of operation and can be seen as a line that emanates from the controller and points in the controller’s forward direction. Point the laser line at the items you would like to interact with, as you would a laser pointer on a screen.
Target Mode
The target mode is shown as a circle with a small line within it. This works by looking through the line in the circle at the items you would like to interact with. There is still a laser line (the short line you can see inside the circle) but it always points in the direction of your head. This method is harder to learn, but improves on some of the issue that affect the Pointer mode, like hand shake.
Oculus
Oculus Touch controllers use a finger pointing mode. This is the same as target mode (above), but uses the end of your index finger as the focus point.
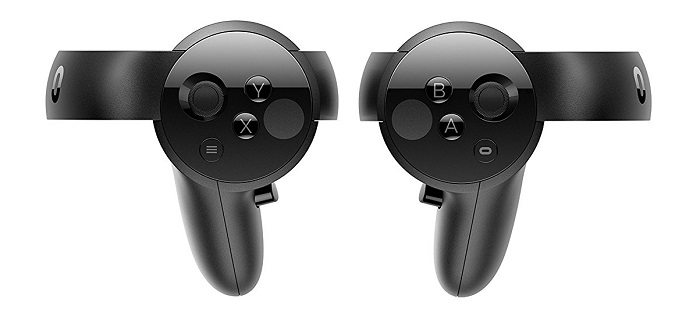
Note: Although this section refers to the A and B buttons, the instruction equally applies to the left-hand X and Y buttons.
To activate this mode use the point action: touch the A+B+Grip, do not touch the Trigger. The controllers will vanish leaving just the hand in the pointing pose. You can use either hand.
To trigger an action or piece of UI press the Grip button: touch the A+B, do not touch the Trigger, press the Grip.
When using Oculus Touch controllers a number of hand actions will trigger different modes of operation, i.e. finger pointing and grab actions. To stop these from happening, reset your thumb on the Thumb Stick instead of on the controller casing or other buttons.
Selection
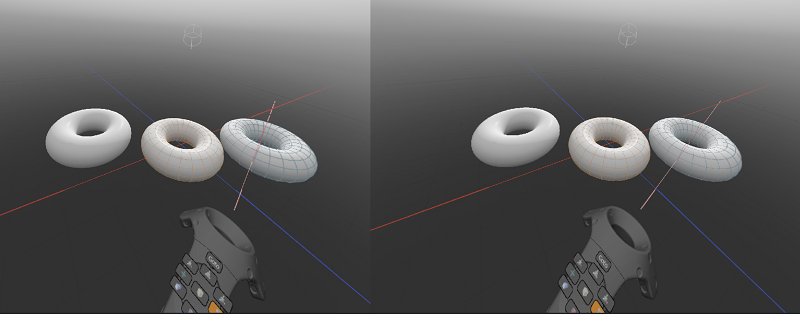
The default mode for the controllers is a selection mode. If you point the laser pointer at an object, its wireframe will change color (blue) to show it is highlighted. If you then use the pointer’s trigger, the object will be selected (yellow).
Tool Handles
When tool handles are active you can use the laser pointer to highlight and drag different parts to perform operations. Pointing at a part of the tool handle will highlight it, changing its color to yellow.
While highlighted, you can hold the trigger and move the controller to drag the tool handle. For example, highlighting and dragging one of the transform tool handles’ arrows will move the selection on that axis.
Use the Drop button to deactivate a tool handle and go back to Selection mode.
Note: For a full description of the different tool handles, see Transform Item Tools.
Teleport and Goto
There are two main ways to teleport yourself around a large scene: Teleport tool and Goto action.
Goto Action
The Goto action works by pointing the laser pointer at a location and pressing the Goto button. This moves you to the new location. This will work while any other tool mode is active without deactivating that tool mode.
Teleport Tool
Pressing the Teleport button activates the Teleport tool. This changes the pointer from its previous mode (usually the Selection tool) to the Teleport mode. Pointing the laser line at a location now shows you an indication of where you will appear once teleportation has happened. To perform a teleport, use the trigger button.
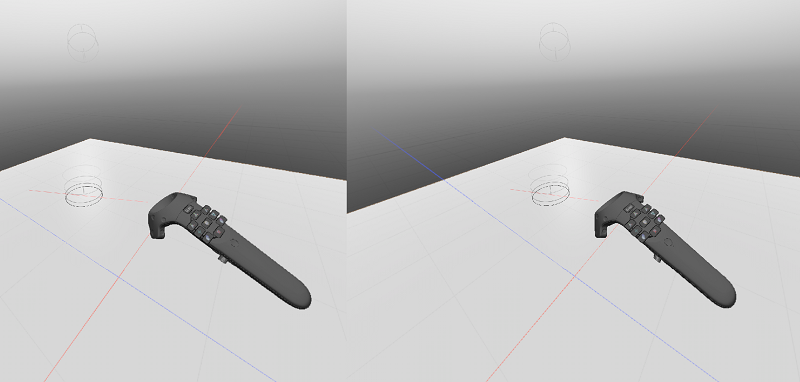
Once you have finished with the Teleport tool, use the Drop button to go back to the default tool.
Pinch to Navigate
An alternative to the Teleport and Goto options is Pinch to Navigate (P2N). This involves holding down the navigation buttons on each controller.
Note: For the HTC Vive controllers, these are the grip buttons on the underside of the controllers.
There is also a label on both sides of each controller. Only one button per controller has to be held down. Once held down, the scene around you can be translated, rotated, and scaled by moving both controllers as follows:
• Scale - move the controllers closer together or further apart to scale the scene.
• Rotate- move the controllers around a center point to rotate the scene around the point.
• Translate - move the controllers in the same direction to translate the scene.
Tip: P2N needs some practice to get used to as it is easy to lose track of the present scale of the scene.
To help with scale, there is a UI element that appears between the controllers when P2N is activated.

The UI element represents the present absolute scaling of the scene. By default the scaling is x1, which is shown by the single white marker on the UI. For every 4 marks, the scale goes up or down by a factor of x10. Use this UI element to check that you are only changing the scene scale when you intend to.
Note: The menu item P2N Reset will place you back at the origin with a normal scale.
When using Oculus Touch controllers it is possible to translate and rotate using either hand. To activate this mode use the grab action (touch the A+B+Trigger and press the Grip button) , the controllers will vanish leaving just the hands.
Button Sets
Some of the buttons on the non-pointer controller and menu items will change the actions assigned to the buttons on the pointer controller. These are called Button Sets and represent different groups of actions. Once activated you will see the labels on the pointer controller change.
The table below lists all available button sets.
|
Options |
Display options for tweaking performance from within the HMD. |
|
Anim |
Animation controls. |
|
Annotations |
Annotation creation tools and UI. |
|
Items |
Item move tool handles, duplication and deleting. |
|
Lights |
Light creation and move tool handles. |
|
LocTrack |
Locator Tracking controls. |
|
Navigate |
D-Pad style navigation. |
Sorry you didn't find this helpful
Why wasn't this helpful? (check all that apply)
Thanks for taking time to give us feedback.
