Search is based on keyword.
Ex: "Procedures"
Do not search with natural language
Ex: "How do I write a new procedure?"
Tools and Commands
Channel Haul: With the Channel Haul tool, you can adjust any selected channel by dragging the pointer in the active viewport.
To activate the Channel Haul tool, select a channel within either the Channels or Properties viewport and click the Channel Haul Tool button or press the C key. Modo displays the Channel Haul tool's interface within the 3D viewport. By clicking a channel name and dragging horizontally, you can interactively adjust the value within the viewport. Alternatively, if you click the value itself, you can type a new value. With the Channel Haul tool, you can modify up to 6 selected channels simultaneously. When any value is edited, a yellow dot appears to its right, clicking the yellow dot will discard any changes made to the channel.
If you do not select a channel, Modo displays this reminder that the tool is still active.

Center to Bounding Box: Each Mesh Item in Modo, regardless of shape, has a virtual rectangular bounding box that is defined by an item's overall size (height, width, and depth). With the Center to Bounding Box command, you can easily re-position an item's center to a specific position in that bounding box.
By choosing Edit > Center to Bounding Box > position, you can precisely position the center element in relation to the geometry in that layer.
Center: Positions the item's center element at the very center of the bounding box itself (as opposed to the World Origin).
Top/Bottom/Left/Right/Front/Back: Positions the item's center element at the center of the plane that defines that specific surface of the bounding box's volume.
Pivot to Bounding Box: By choosing Edit > Pivot to Bounding Box >Position, you can precisely position the pivot element relation to the geometry in that layer. These command works similarly to the Center to Bounding Box commands; however, only the pivot moves and the center element remains unchanged. For information about centers and pivots, please see the Animation Overview topic.
Center: Positions the item's pivot element at the very center of the bounding box itself (as opposed to the World Origin).
Top/Bottom/Left/Right/Front/Back: Positions the item's pivot element at the center of the plane that defines that specific surface of the bounding box's volume.
Displaying All Available User Channels in the 3D Viewport
Modo allows you to control the state of the User Channels while working in the 3D Viewport. By using the Channel Haul tool, you can view all of the available User Channels of selected items in the 3D Viewport. The following procedure explains the workflow. For more information about the Channel Haul tool, see Tools and Commands.
To view all the available channels:
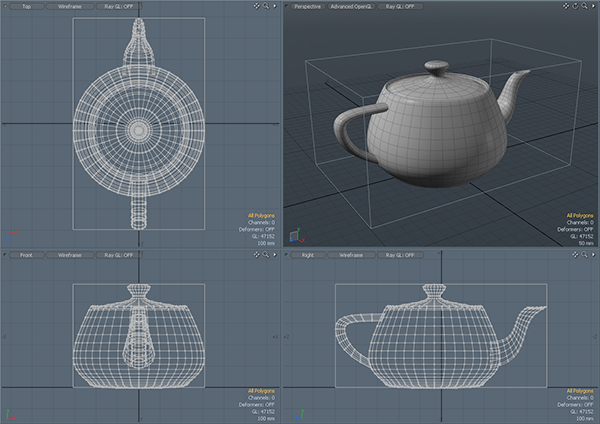
| 1. | Download our example scenes and open channel_haul.lxo. |
| 2. | On the right panel, open the Items tab and select Locator. |
| 3. | In the right panel, open the Channels tab, in the lower portion of the panel, select a channel. In this example, select one. |
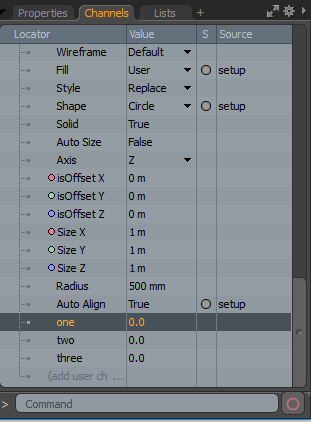
| 4. | Press C on your keyboard. |
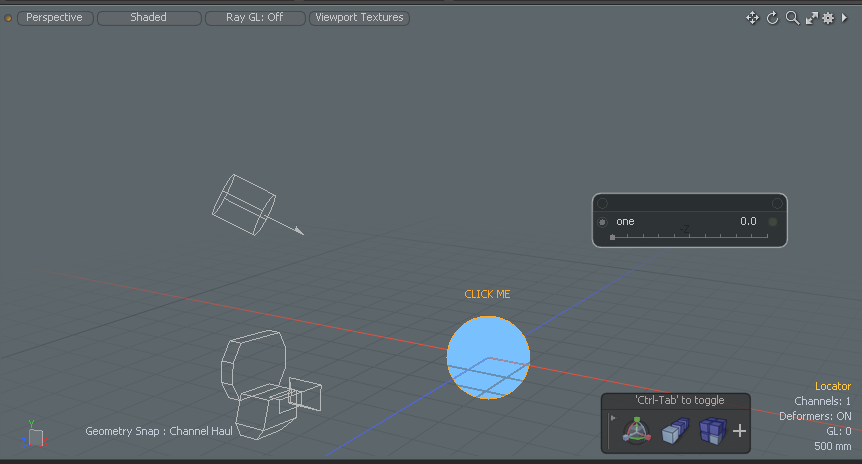
The available User Channel displays.
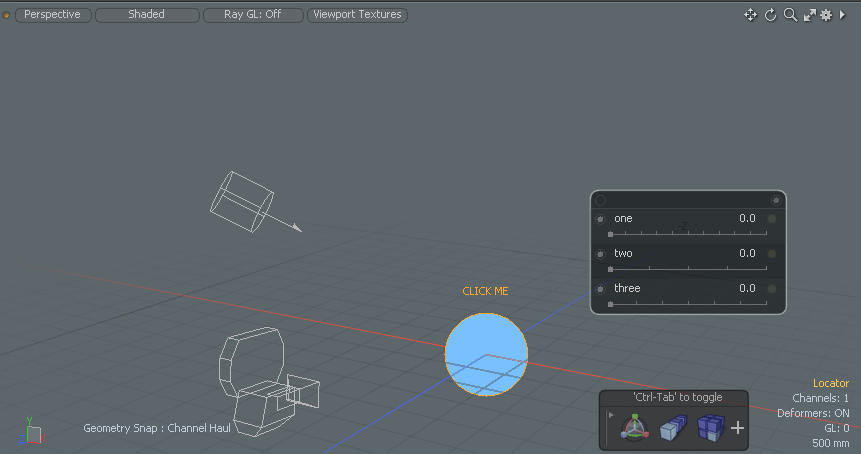
| 5. | On the top right corner of the Channel Haul tool, click the circular radio button to view all available User Channels. |
| 6. | Press C to dismiss the Channel Haul tool. |
Bake
Baking sets (or freezes) the effects of a constraint on an item over time so that, when the constraint is removed, the item retains the modifications. You may use this feature when exporting an animation out of Modo or if network rendering and using pre-evaluated transforms would reduce the possibility of errors. You can also use baking to convert cached Dynamics for Rigid Bodies to individual keyframes.
To use, select one or more items that are affected by a constraint, Channel Modifier, or dynamics, and then choose Animate > Bake. This command opens a dialog for you to specify the bake options. After you assign the desired values, click OK to actually bake the specified keyframes.

Start Frame/End Frame: Defines the frame range to convert the constraint-related values on the keyframes.
Remove Constraints: When enabled, removes the constraints driving the item at the completion of the bake process. The item solely uses the baked keyframes for its motion. When disabled, the constraints remain.
Slope Type: Specifies which type of slope Modo assigns to the resulting keyframes: Auto, Stepped, or Flat. The slope defines the type of interpolation between keyframes. See the Graph Editor topic for more information.
Sorry you didn't find this helpful
Why wasn't this helpful? (check all that apply)
Thanks for your feedback.
If you can't find what you're looking for or you have a workflow question, please try Foundry Support.
If you have any thoughts on how we can improve our learning content, please email the Documentation team using the button below.
Thanks for taking time to give us feedback.