Search is based on keyword.
Ex: "Procedures"
Do not search with natural language
Ex: "How do I write a new procedure?"
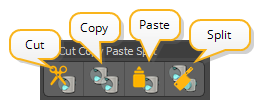
Cutting, Copying, Pasting, and Splitting in MeshFusion
You can cut, copy, and paste elements of a Fusion Item. This can be useful if you want to include parts of one Fusion Item in another. You can also divide a complicated Fusion Item into multiple items, using the Split tool.
You can access the tools in the Fusion sub-tab of the Modeling toolbox, which is the left-side panel of the Model layout.
Note: Standard cut, copy, and paste tools and their shortcuts don't apply to Fusion Items.
The elements you can edit with these tools are called Fusion Branches. A Fusion Branch is a Primary mesh and any Trims affecting it. For more information on Primaries and Trims, see Mesh Roles and Relationships.
Cutting and Pasting Elements
To cut and paste from a Fusion Item to a Fusion Branch:
| 1. | Select the Primary you want to cut. |
| 2. | Click the Cut |
The selected Primary and its associated Trim is removed from the source Fusion Item.
Note: The Trim affecting the Primary also remains in the source item.
| 3. | Select the destination Fusion Item either in the Item List, or by selecting any of its Primary meshes in the 3D viewport. |
| 4. | Click the Paste |
The selected Primary is attached to the destination Fusion Item.
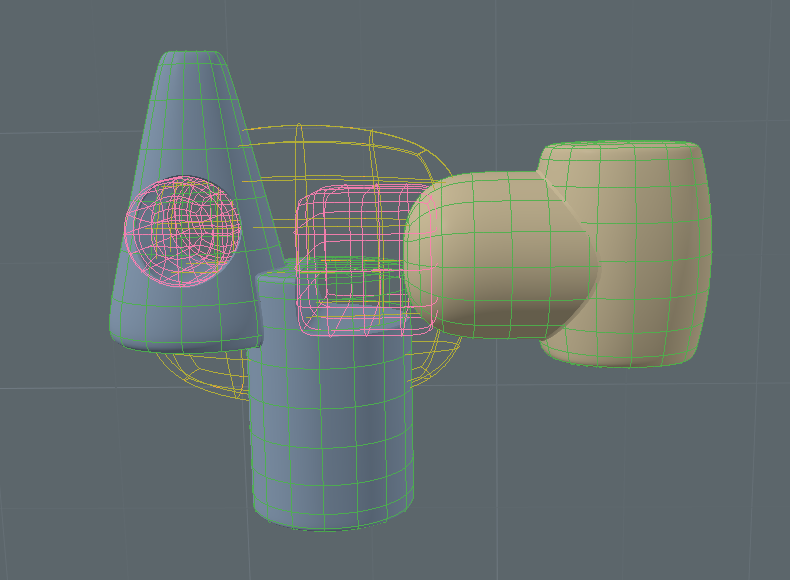
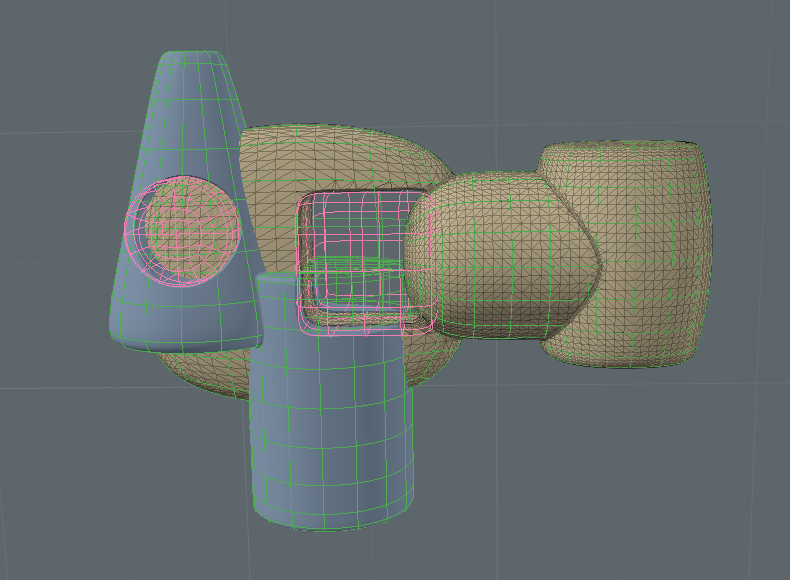
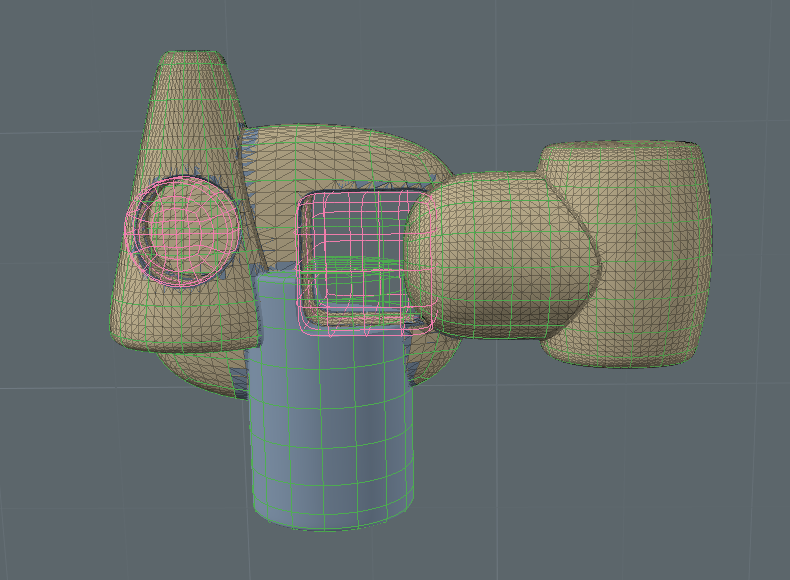
In the following example, an element is cut and pasted from the blue Fusion Item to the yellow Fusion Item.
|
|
|
|
|
The wireframe of the selected Primary is highlighted in yellow. |
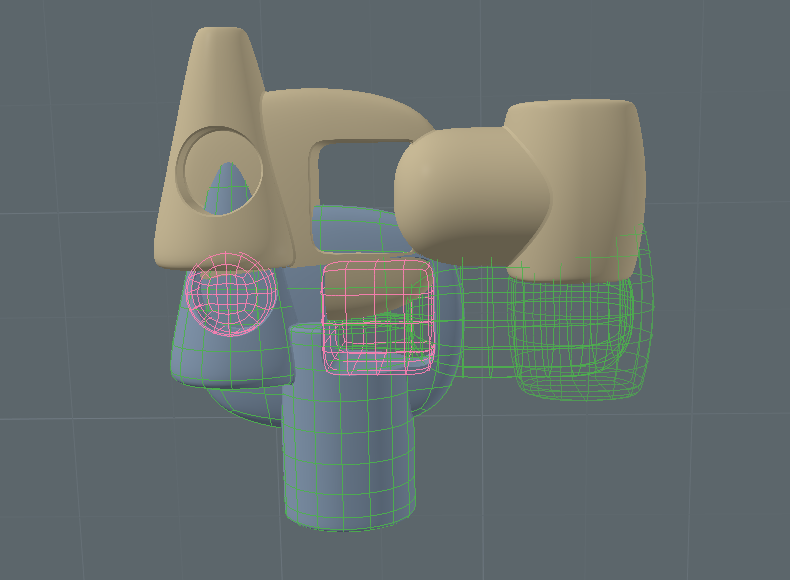
The Primary is cut. |
The Primary is copied onto the destination Fusion Item. |

Copying and Pasting Elements
Copying elements works similarly to cutting and pasting.
| 1. | Select the Primary you want to copy. |
| 2. | Click the Copy |
| 3. | Select the destination Fusion Item either in the Item List, or by selecting any of its Primary meshes in the 3D viewport. |
| 4. | Click the Paste |
A duplicate of the selected Primary is attached to the destination Fusion Item. The copied elements overlap with the source elements. You can reposition them using the standard Transform tools.
Note: For more information on the standard Transform tools, see Transforming Items.
In the following example, two elements are copied and pasted from the blue source Fusion Item to the yellow destination Fusion Item.
|
|
|
|
|
The wireframe of the selected Primary is highlighted in yellow. |
The Primaries are pasted onto the destination Fusion Item. |
The destination Fusion Item is repositioned for clearer visibility. |
Splitting Elements
You can divide Fusion Items into multiple elements. This allows you to simplify complex Fusion Items to improve performance, or to make the modeling process more flexible.
To split a Fusion Item:
| 1. | Select the Primary you want to detach from the item. |
| 2. | Click the Split |
The selected Primary is separated from the original Fusion Item, and a new SubDFusion item is created in the Item List.
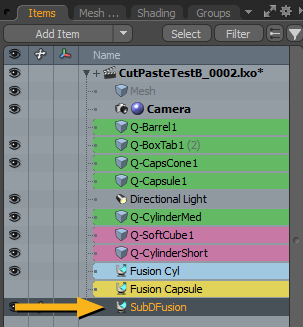
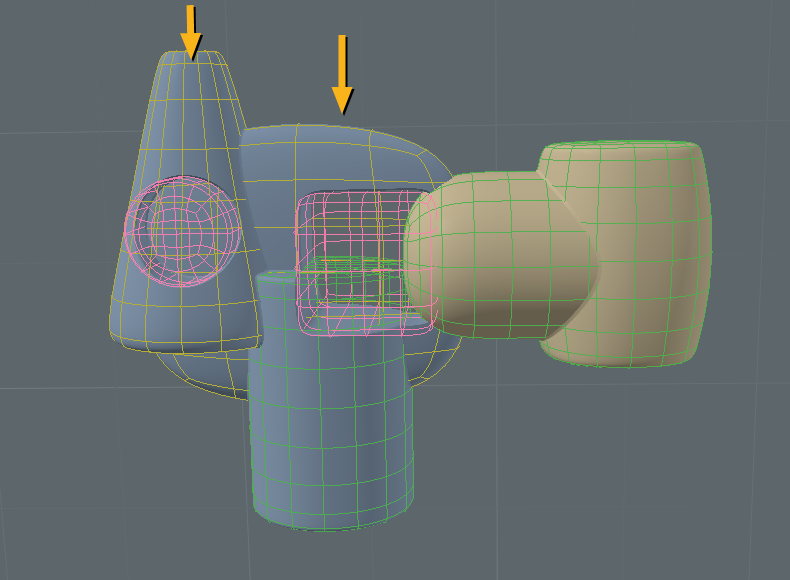
In the following example, the cone is split from the Fusion Item.
|
|
|
|
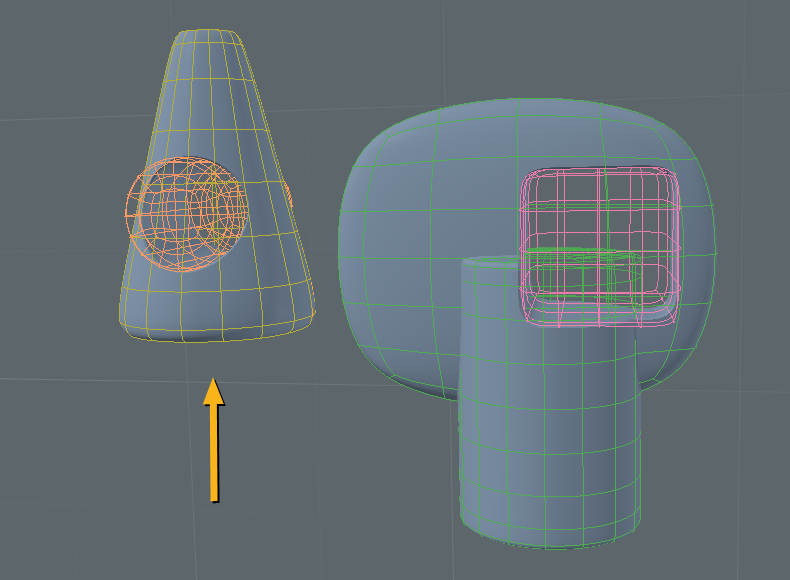
The wireframe of the selected Primary is highlighted in yellow. |
The cone is detached from the Fusion Item and it no longer inherits its material properties. |

Sorry you didn't find this helpful
Why wasn't this helpful? (check all that apply)
Thanks for your feedback.
If you can't find what you're looking for or you have a workflow question, please try Foundry Support.
If you have any thoughts on how we can improve our learning content, please email the Documentation team using the button below.
Thanks for taking time to give us feedback.