Search is based on keyword.
Ex: "Procedures"
Do not search with natural language
Ex: "How do I write a new procedure?"
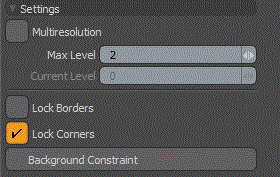
Locking Borders and Corners
The Sculpt Tools provide locking options to allow you to lock borders and corners.
Lock Borders
You can find the Lock Borders checkbox in the Paint layout at the bottom of the Sculpting toolbox on the left panel. When enabled, Lock Borders locks the position of any open edges to make them immovable by sculpting tools. Setting this option has a variety of uses, but it is particularly useful for sculpting on a mesh where the edges need to seamlessly meet up with another mesh.

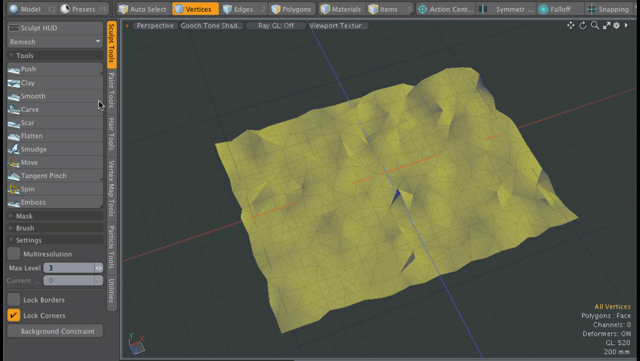
You can distinguish open edges by selecting all the geometry in a layer in Polygons mode by pressing Alt+Shift+A. Then press Ctrl/Cmd, which changes the Edges button to the Boundary button. When you click Boundary, Modo indicates all the open edges in the selection. If there are no edges indicated, then the geometry has no open edges and is considered water-tight.
|
|
|
|
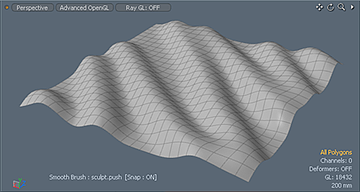
Lock Borders disabled during sculpting |
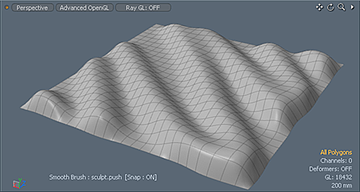
Lock Borders enabled during sculpting |
Lock Corners
You can find the Lock Corners checkbox in the Paint layout at the bottom of the Sculpting toolbox on the left panel. When enabled, Lock Corners locks the vertex positions at corner vertices with a valence of 2 and makes the corner vertex immovable by the sculpting tools. The corner vertex is shared by single surface polygon and it is on the Boundary.
The following is an example of applying the Smooth tool and enabling the Lock Corners option. Corners are smoothed and remain sharp after smoothing.
Sorry you didn't find this helpful
Why wasn't this helpful? (check all that apply)
Thanks for your feedback.
If you can't find what you're looking for or you have a workflow question, please try Foundry Support.
If you have any thoughts on how we can improve our learning content, please email the Documentation team using the button below.
Thanks for taking time to give us feedback.