Search is based on keyword.
Ex: "Procedures"
Do not search with natural language
Ex: "How do I write a new procedure?"
Projection Texture
You can use Modo's Projection Texture to project a texture onto an object for a given value, like diffuse color, stencil, and so on. It works the same way as the Projection Shader, but while the Projection Shader is like a material and a shader in one, the Projection Texture is a material, requiring a shader.
Using the Projection Texture
You can add a Projection Texture the following way:
| 1. | In the Shader Tree, click Add Layer > Special > Projection Texture. |
The Projection Texture appears in the Shader Tree, and the Clip Browser window opens.
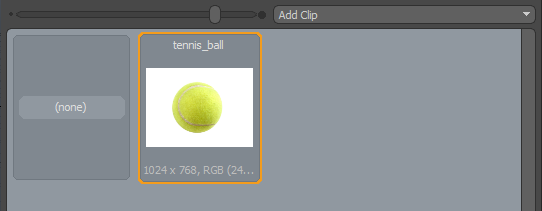
| 2. | Select the desired projection image by clicking the target image. If it's not already loaded, click the Add Clip button, and click (load image). |
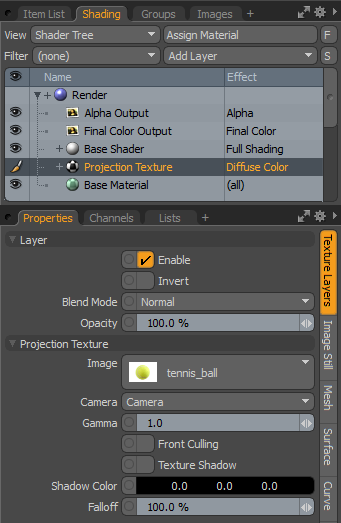
In the Projection Texture's Properties panel, the following Layer options are available:
• Enable - toggles the effect of the layer on and off, duplicating the functionality of toggling visibility in the Shader Tree. When disabled, the layer has no effect on the shading of the scene. However, disabled layers are saved with the scene and are persistent across Modo sessions.
• Invert - inverts the RGB values for the layer, producing a negative effect.
• Blend Mode - affects blending between different layers of the same effect type, allowing you to stack several layers for different effects. For more on blending, refer to the Layer Blend Modes topic.
• Opacity - changes the transparency of the current layer. Reducing these values increasingly reveals lower layers in the Shader Tree if present, or dims the effect of the layer itself on the surface.
The following Projection Texture options are available:
• Image - uses the Clip Browser window to define the projected image. Once loaded, a projected image is stretched to fill the full frame, so make sure that the selected image is the same aspect ratio to avoid any distortion or stretching.
• Gamma - allows you to adjust the mid-tone values of the image, should a gamma correction be necessary. For most cases, the default 1.0 value should suffice, where Gamma is handled by the Color Management system.
• Front Culling - creates a texture shadow, that means it only maps the parts of the geometry directly seen by the camera, the parts hidden from the camera POV use the texturing below.
Tip: You can set the type of projection mapping for the Front Culling option in the Channels tab. Open the Shading tab, select the project image you've added, and then click the Value field for Front Culling. The following options are available: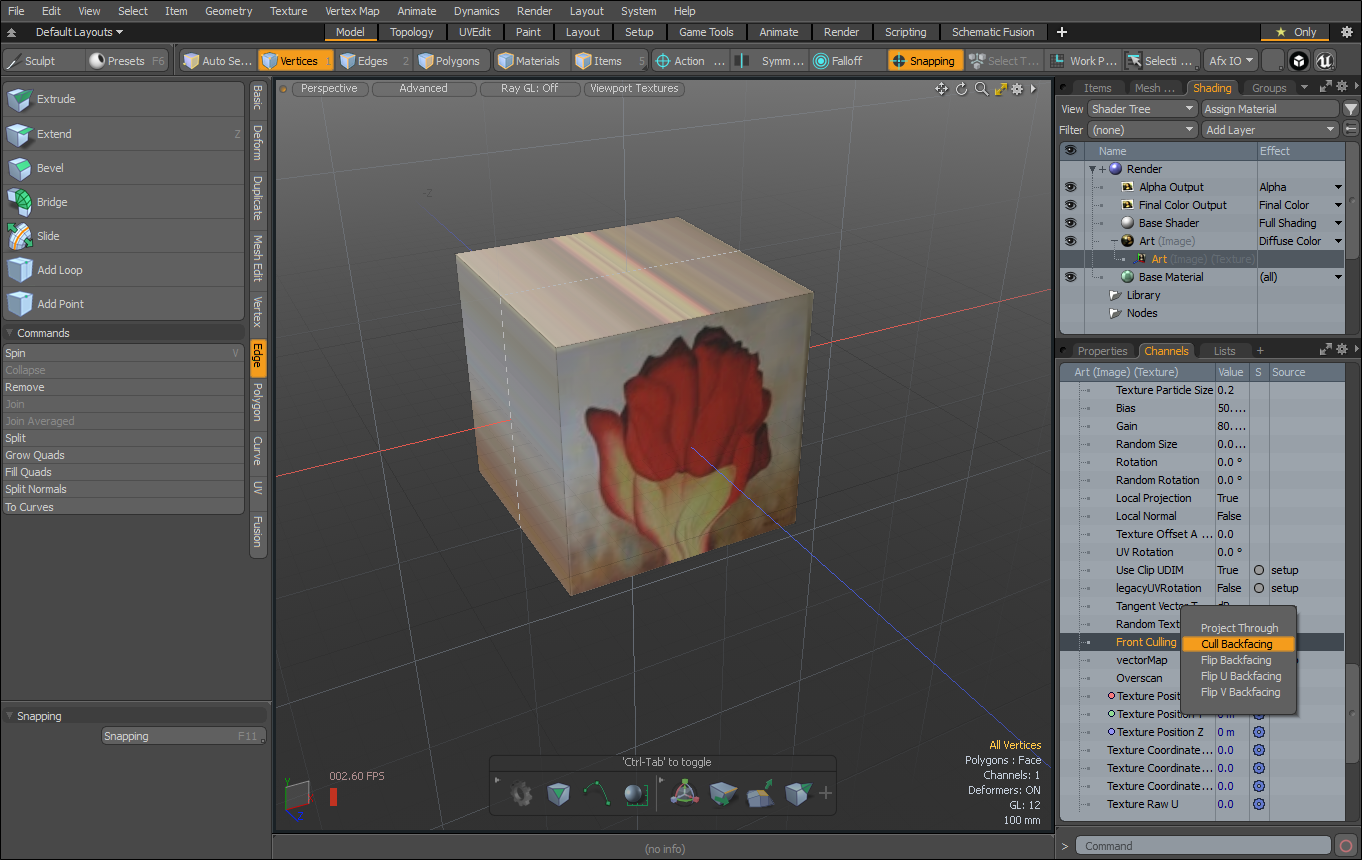
- Project Through: Projects the texture image onto the back face of the mesh, along negative Z direction, and is mirrored to appear the same as the front face image. Click on the image below to view an animation.
- Cull Backfacing: Projects the texture image only on the front of the mesh. Click on the image below to view an animation.
- Flip Backfacing: Projects and flips a texture image on the back of the mesh along the U and V directions. It appears up-side-down. Click on the image below to view an animation.
- Flip U Backfacing: Projects the texture image on a back face of the mesh, flipped along U direction, and it is oriented the same way as front face. Click the image below to view the animation.
- Flip V Backfacing: Projects the texture image on a back face of the mesh, flipped along V direction, and it is oriented the same way as front face. Click on the image below to view an animation.
• Shadow Color - instead of using the texturing of a material in the front-culled areas, you can specify a diffuse color.
• Falloff - sets the amount of falloff from the projection on surfaces not facing the camera.
Sorry you didn't find this helpful
Why wasn't this helpful? (check all that apply)
Thanks for your feedback.
If you can't find what you're looking for or you have a workflow question, please try Foundry Support.
If you have any thoughts on how we can improve our learning content, please email the Documentation team using the button below.
Thanks for taking time to give us feedback.