Search is based on keyword.
Ex: "Procedures"
Do not search with natural language
Ex: "How do I write a new procedure?"
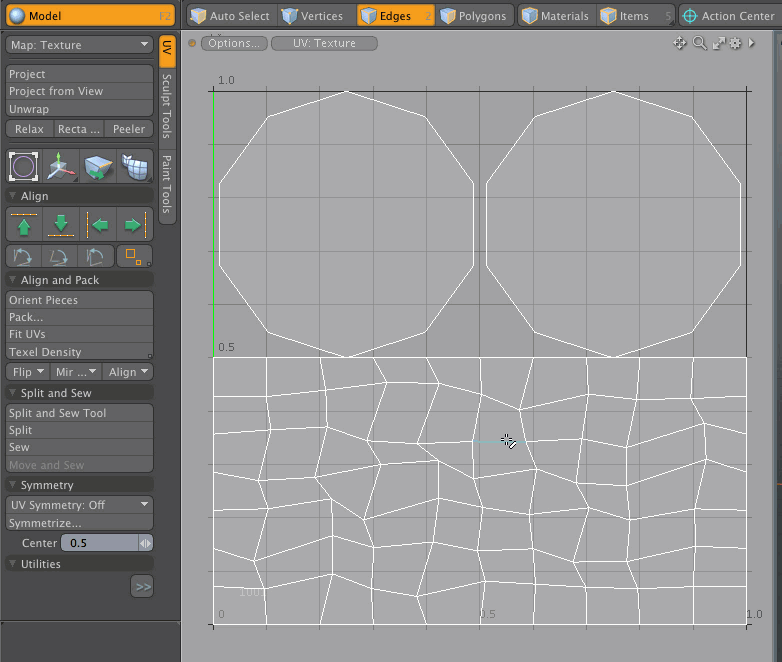
Align UV
The Align tool on the Texture > UV Operations menu takes the bounding box of the selected UV vertices and moves all the vertices in the specified Direction to the line in the box indicated by the Align To option.

The options in the Align UVs dialog include:
|
Direction |
Moves the vertices in the specified direction. Both Up and Down move the vertices in the V direction. Both Left and Right move vertices in the U direction. |
|
Align to |
Determines how to align the vertices in relation to the bounding box. The following options area available: • Low is the minimum value of the box. • Average is the average of all the values. • Center is the center of the bounding box. • High is the max value of the box. |
Other Useful Alignment Tools
On the left panel, under the UV tab, displays tools to quickly align UVs up, down, left, or right.
![]()
|
Option |
Description |
|
|
Flattens selection to the farthest up vertex point position. Tip: Press Alt and click to align multiple edge selections.
|
|
|
Flattens selection to the farthest down vertex point position. Tip: Press Alt and click to align multiple edge selections. |
|
|
Flattens selection to the farthest left vertex point position. Tip: Press Alt and click to align multiple edge selections. |
|
|
Flattens selection to the farthest right vertex point position. Tip: Press Alt and click to align multiple edge selections. |
|
|
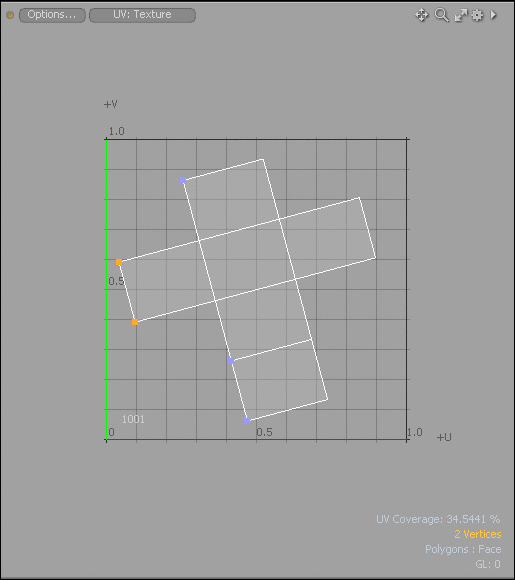
Rotate the UV island so that your first selected edge or the line between your two selected vertices is aligned to the nearest grid axis. (A UV island is a connected group of polygons in a UV map.) Click on the image below to view an animation.
|
|
|
Rotate the UV island so that your first selected edge or the line between your two selected vertices is aligned to the horizontal axis. (A UV island is a connected group of polygons in a UV map.) Click on the image below to view an animation.
|
|
|
Rotate the UV island so that your first selected edge or the line between your two selected vertices is aligned to the vertical axis. (A UV island is a connected group of polygons in a UV map.) Click on the image below to view an animation.
|
|
|
Moves selected UVs so that their extremities are aligned vertically (along V axis) and/or horizontally (along U axis). Each axis (U or V) has options for minimum, maximum, and center. The following Island Align options are available:
The following animation is an example using the Left, Top option.
|


Aligning a UV Island
Modo provides a number of UV alignment tools, which allows you to rotate a UV Island by making a selection of vertices or edges and selecting the appropriate rotate tool. You can align the UV island to the nearest grid axis, horizontal axis, or vertical axis. (A UV island is a connected group of polygons in a UV map.)
To apply an align UV island tool:
| 1. | Open the UV layout and select a mesh item from the Items list on the right panel. |
| 2. | From the Toolbox on the left panel, click Map and select Texture or any other UV Map you have previously created. |
The UV Island displays in the UV Viewport.
| 3. | Enable either the Vertices or the Edges selection mode and make a selection. |
| 4. | In the Toolbox on the left panel, open the UV sub-tab, expand the Align tools, and click one of the following icons. |


The UV island is aligned.
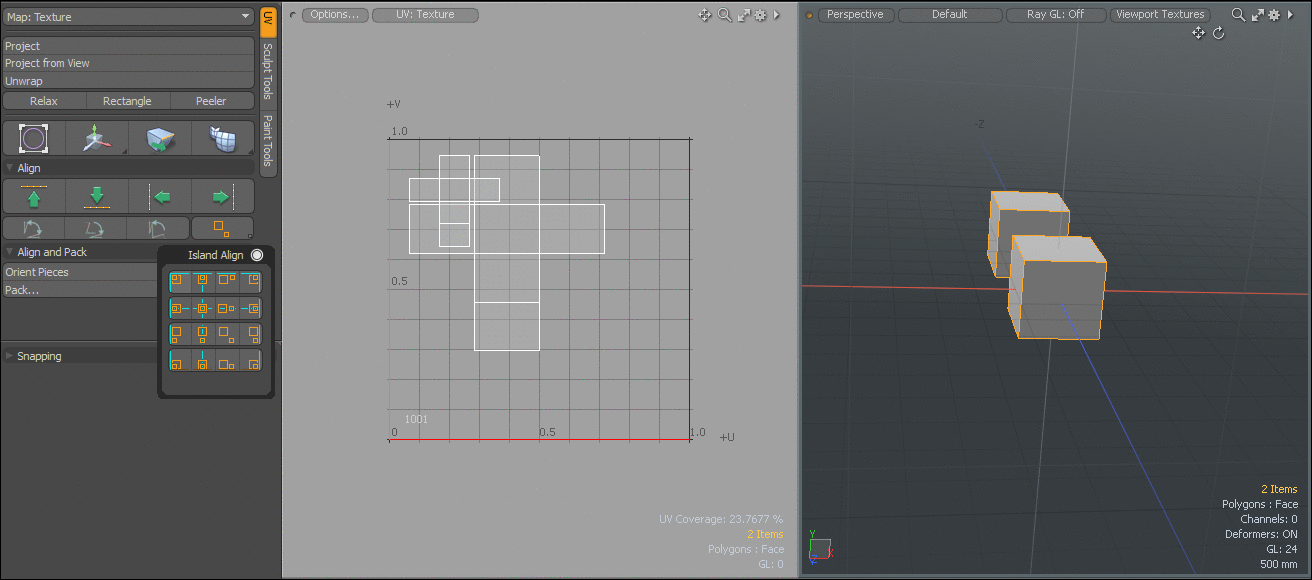
Aligning a Selection of UV Islands
Modo provides a simple workflow to align a selection of UV islands at once.
To apply alignment to a selection of UV Islands:
| 1. | Open the UV layout |
| 2. | From the Items list, on the right panel, select two mesh items. |
Two UV Islands display in the UV Viewport.
| 3. | Enable the Polygons selection mode and make a selection. |
| 4. | In the Toolbox on the left panel, open the UV sub-tab, expand the Align tools, and click the  Island Align icon. Island Align icon. |
The dropdown menu displays, listing a number of different alignment icons.
![]()
| 5. | Click one of the Island Align tools. |
The selection of UV Islands for your mesh items are repositioned to the specified location.
Sorry you didn't find this helpful
Why wasn't this helpful? (check all that apply)
Thanks for your feedback.
If you can't find what you're looking for or you have a workflow question, please try Foundry Support.
If you have any thoughts on how we can improve our learning content, please email the Documentation team using the button below.
Thanks for taking time to give us feedback.