Search is based on keyword.
Ex: "Procedures"
Do not search with natural language
Ex: "How do I write a new procedure?"
Texel Density
The Texel Density tool allows you to quickly scale the size of UV islands or individual polygons such that they span roughly the same number of texture pixels per meter of real size. (A UV island is a connected group of polygons in a UV map.) This is useful when you are dealing with texture density mismatches; in some cases you may either have differently sized UVs or textures, resulting in visibly over-detailed or under-detailed areas relative to the rest of the asset or scene. Making the texel density more uniform can help maintain a standardized level of texture detail across an asset or environment.
The Texel Density tool allows you to specify the resolution of the texture used, allowing the texel density to be calculated appropriately for different texture sizes but still remain visually consistent. For example, a texel density of 512 pixels per meter would need a 1 meter real size to span 2 UV units for a 256 x 256 texture, but only 1/2 UV units for a 1024 x 1024 texture.
This tool is useful in games development and environment texturing workflows.
Note: The Texel Density Toolkit is available from UV layout in the Toolbox UV sub-tab. This toolkit is useful for game art. It includes scripts to pick/apply texel density to meshes and UI functions to normalize texel density for UVs. For details on the options available, see Texel Density.
The Texel Density tool is found in the UV layout, on the Toolbox, under Align and Pack.
The Benefit of Using this Tool
• To make all UVs applied to a mesh use approximately the same texel density for the texture size of their applied material.
• To apply a uniform level of texture detail across many assets which might share the same scene, allowing them to better visually fit together.
Tip: Textures are represented by texels in the same way that pictures are represented by pixels. They are the smallest "puzzle piece" of a texture. They are not the same thing as pixels because a texel is a container for the pixels. Think of them as a texture element, which acts as a single point of color on the surface of your mesh.
Applying Texel Density Tools
The Texel Density, Apply Individually, tool allows you to quickly scale each selected UV Island to use the average texel density value that matches the target. The following example that demonstrates the workflow of applying this tool plus the results of applying the Apply Overall and Normalize UVs tools.
To apply individual texel density values:
| 1. | Download our example scenes and unpack the files. |
| 2. | Extract example_texel_density.zip and open the .lxo file in the UV layout. |
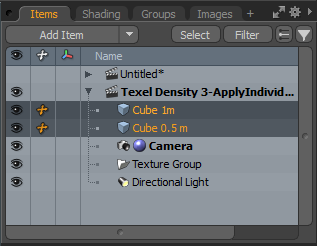
| 3. | In the Items list, on the right panel, select both mesh items; Cube 1m and Cube 0.5m. |
| 4. | In the Toolbox on the left panel, open the UV sub-tab, and set Map to Texture. |
The UV islands display in the UV Viewport.
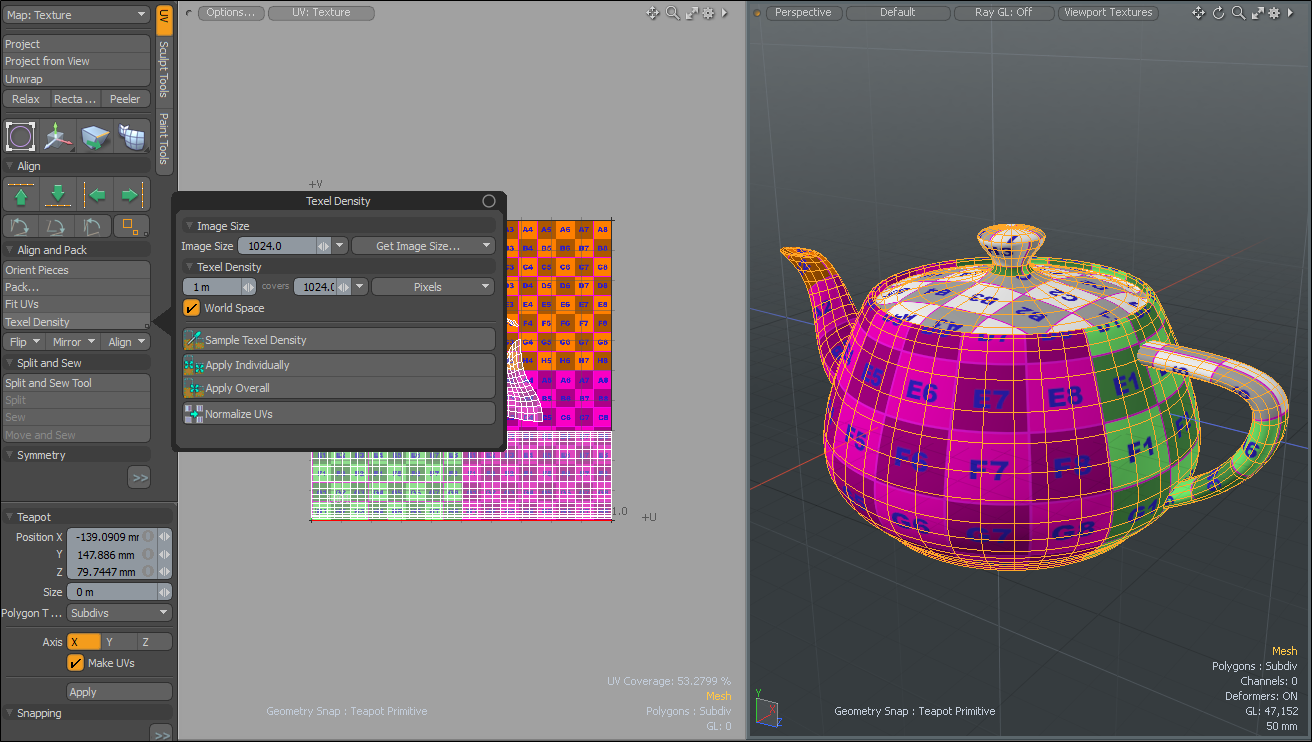
| 5. | In the Toolbox, under Align and Pack, click Texel Density. |
The Texel Density options display.
| 6. | Ensure World Space is enabled and click Apply Individually. |
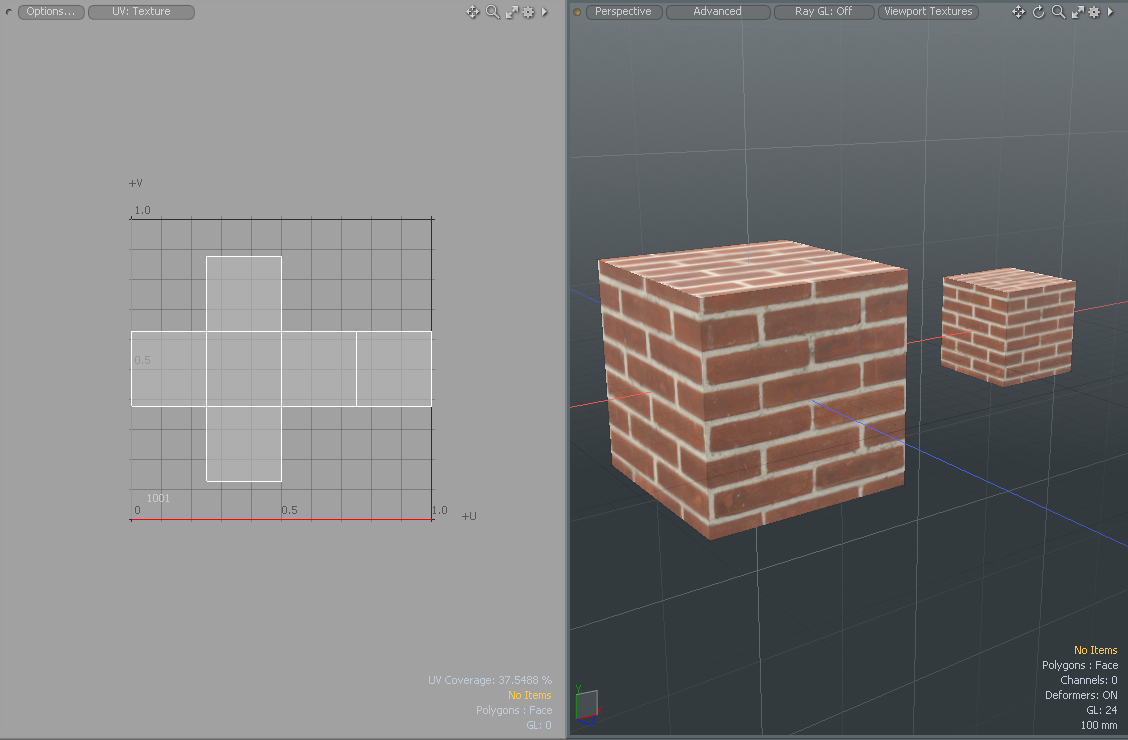
The UVs for both meshes updates and display different texture sizes. The smaller cube, which is scaled on all axes by 50%, matches the texel density value to the larger cube which is scaled differently. World Space for both meshes is taken into account. The size of the brick images used are the same for both meshes.
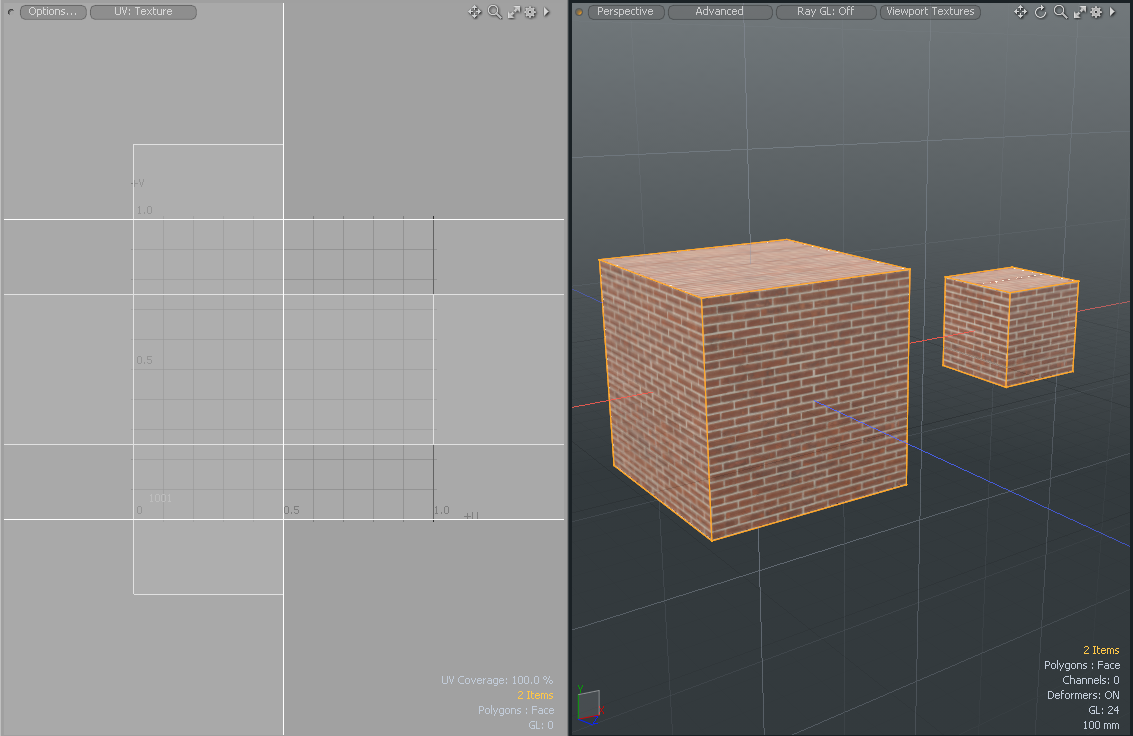
Tip: When using the texel-density-apply-overall_bundled.lxo example scene, and following the above procedure to apply Apply Overall, the UVs for both meshes update and display the same texture size.
For both cubes, the texel density is averaged based on World Space. For example, the size of both mesh items are taken into account and a partial brick image is applied over both meshes. Each have five bricks in the top row but the size of the bricks are different for both meshes.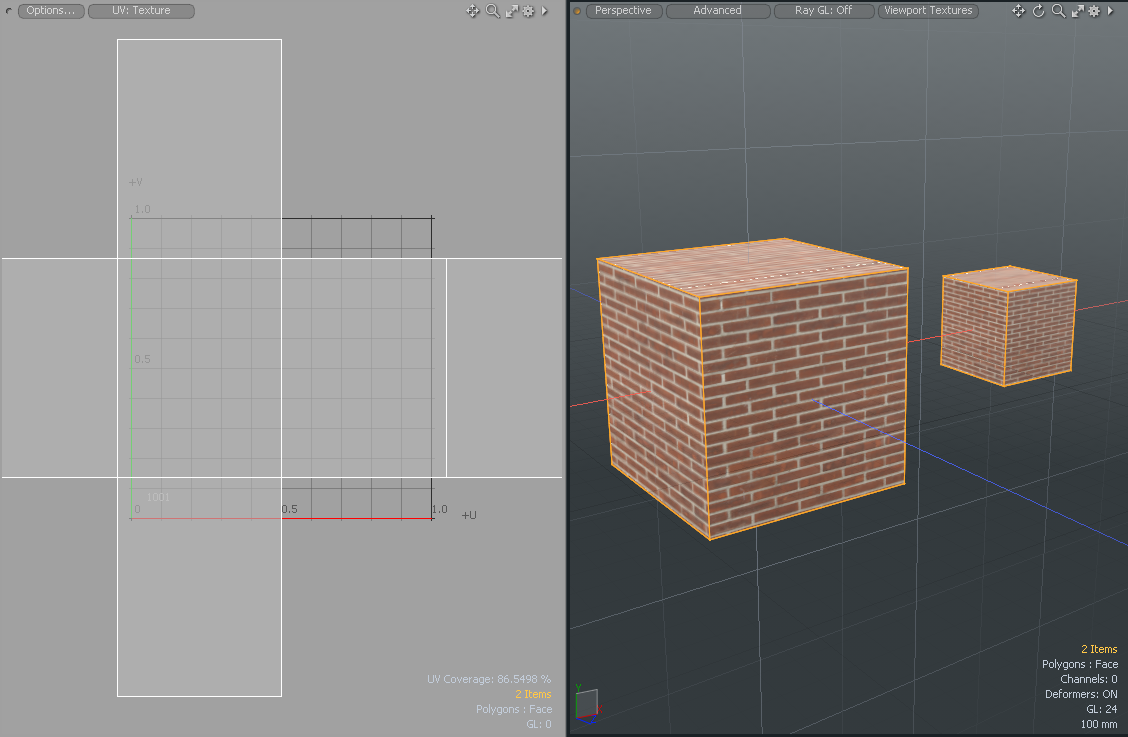
When using the texel-density-normalize-uvs_bundled.lxo example scene and following the above procedure to apply Normalize UVs, all UVs are scaled such that their texel density is the same as their total average.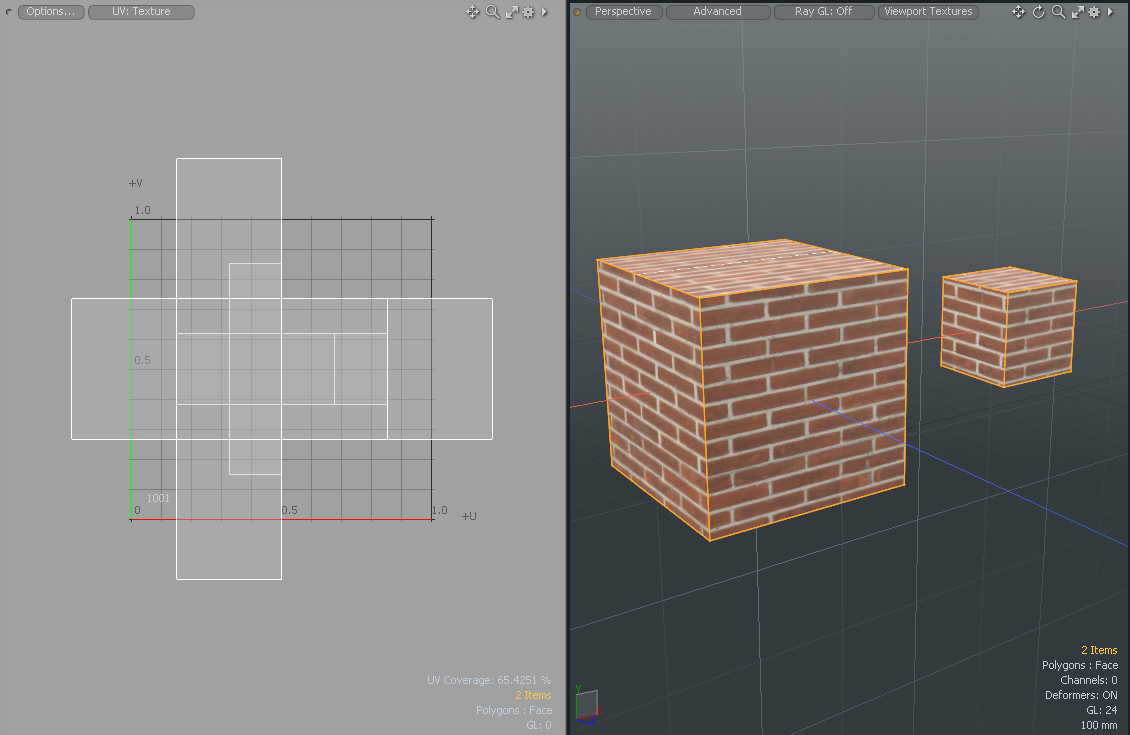
Texel Density Options
|
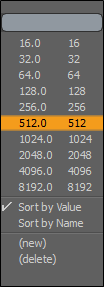
Sets the resolution of the texture to calculate for Texel Density. The following predefined options are available:
Tip: You can create your own texel density values and sort them by name or value. |
|
|
Allows you to select one of the following options from the dropdown menu: • Polygon Texture - Sets the resolution to the diffused color texture applied to the first selected polygon. • Selected Texture - Sets the resolution from the selected texture. • Render Resolution - Sets the resolution from the Render output specifications. |
|
|
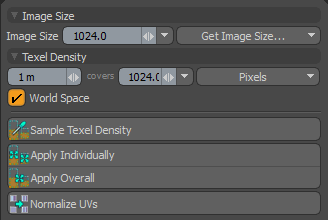
Texel Density |
Allows you to specify the texel density value, the coverage amount, and the units used. |
|
World Space |
Accounts for the item transforms when calculating the 3D sizes. The scaled items can have their texel densities match to unscaled or differently scaled items. Note: Texture squares are the same size in the 3D Viewport as they are in the UV Viewport. |
|
Sample Texel Density |
Creates a target density sample from the selected UV Islands. |
|
Apply Individually |
Scales each selected UV Island so that the average texel density matches the target. For more information, see Applying Texel Density Tools. Tip: Press Alt to orientate the selected UVs in a vertical position. |
|
Apply Overall |
Scales all selected UV Islands so that the overall average texel density matches the target. Tip: Press Alt to orientate all UVs in a vertical position. |
|
Normalize UVs |
Scales all the selected UV islands, such that their texel density is the same as their total average. |
Sorry you didn't find this helpful
Why wasn't this helpful? (check all that apply)
Thanks for your feedback.
If you can't find what you're looking for or you have a workflow question, please try Foundry Support.
If you have any thoughts on how we can improve our learning content, please email the Documentation team using the button below.
Thanks for taking time to give us feedback.