Using Utilities
Ruler Tool
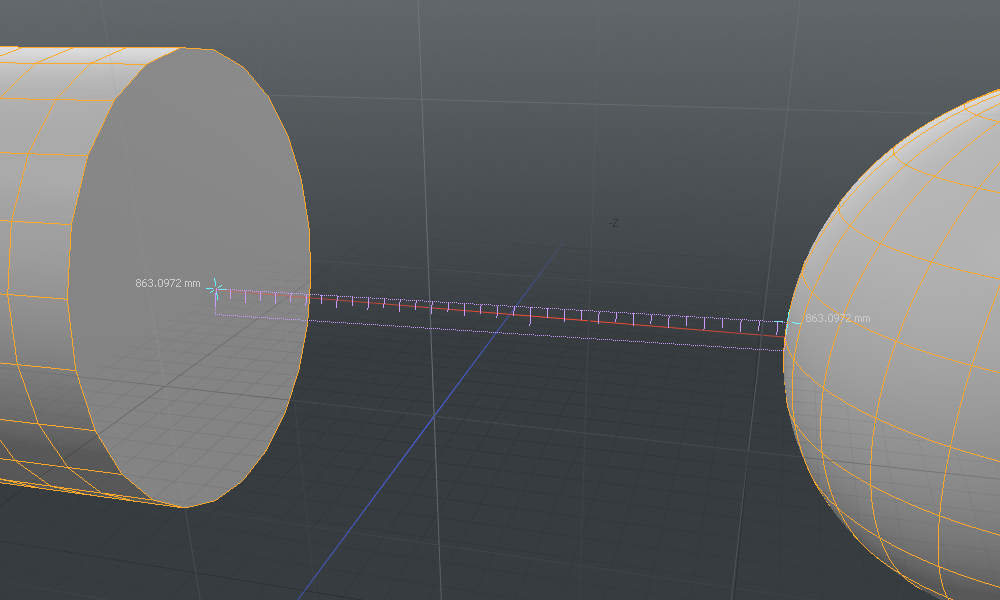
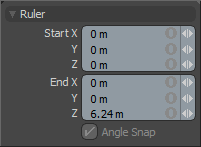
The Ruler command creates a virtual measuring device in the viewport that lets you quickly measure the distance between two locations. To activate the tool, in the menu bar, click View > Ruler Tool. Once activated, the Ruler becomes visible in the 3D viewport, adding an additional tool Properties panel. You can hover the mouse cursor directly over the handles at either end and click and drag to position the handles in the scene. The values on the ruler interactively update as the ruler is positioned in the scene. The value displays are view-dependent, so moving the view position of the viewport adjusts the values for ease of reading. At either end, there is a readout of the ruler's total length. To reposition the ruler itself, you can click and drag the ruler element, repositioning it within the scene. You can also use the Ruler Start and End fields of the property form to define a fixed size ruler within the scene. When combined with the Applying Snapping function, the ruler is a powerful option for measuring elements in a scene.
Protractor Tool
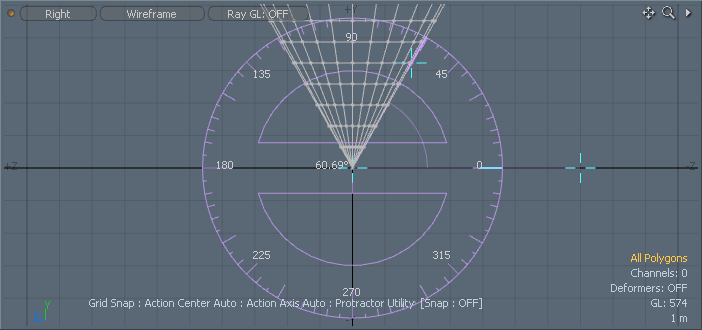

The Protractor tool provides you with a simple visual method for accurately measuring angles in the 3D viewport. You can activate the tool in the menu bar, in View > Protractor Tool. Once activated, the Protractor tool becomes visible in the 3D viewports. There are three handles you can use to position and measure elements in the scene. The handle at the center of the Protractor itself positions the tool within the scene. The second tool handle controls the rotation of the tool representation and the third handle measures the angle, producing the readout display. To adjust a handle, you can simply hover the mouse pointer over the handle representation and click and drag to adjust. You can also use the tool's Properties panel to position the center of the Protractor. When combined with the Snapping function, the Protractor is a powerful option for measuring angles in a scene.
Dimensions Tool
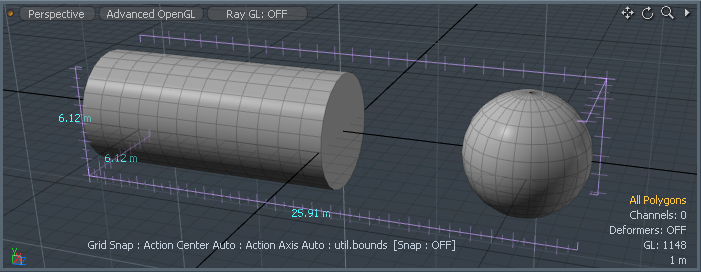
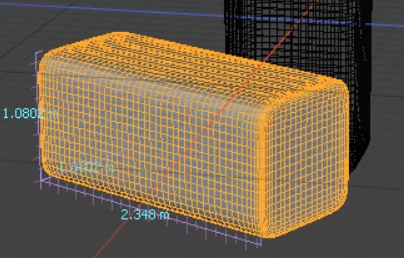
The Dimensions tool displays the bounding box dimensions of any object or component selection. When activated through the menu command View > Dimensions Tool, the dimensions become visible within the 3D viewport, displaying the size of the element in all three axes. The Dimensions tool requires no user input or interaction outside of making a selection.
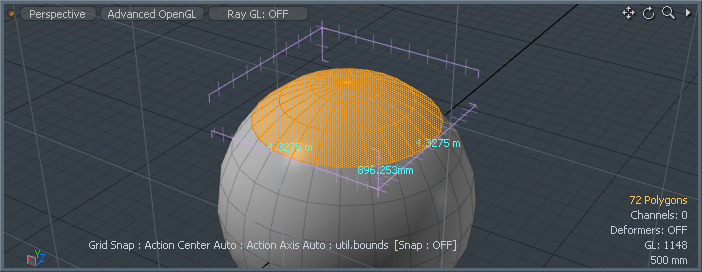
Enabling the Orient to Selection control displays the dimensions relative to the selected element, rather than aligned to the major axes. This makes the measurements easier to read in the context of your selection.
|
|
|
|
Orient to Selection disabled. |
Orient to Selection enabled. |
The Absolute Scaling and Uniform Scaling tools also include the Orient to Selection control, which causes the Grab Size button to account for the orientation of your selection and performs any uniform scaling relative to that orientation, rather than along the major axes.

