Easily Share Presets with Assembly Presets
Occasionally workflows may involve having specific mesh items, materials, or environments that need to be imported into your scene or project.
Unlike presets, Assembly Presets create a .zip file containing all the supporting content of your preset - for example, texture images and meshes. This makes it easier to share presets between users. Additionally, assembly presets are directly tied to assemblies; when a preset is created, an assembly is also created. This means that it’s easier to keep track of all the supporting content within your preset, such as MeshOps, shaders, animations, or lights.
There are four types of preset:
|
Type |
Explanation |
|---|---|
|
General |
Can contain collections of multiple items, even including full hierarchies of rigged elements. |
|
Environment |
Contains all environment items, such as lights, shadow catchers and any additional geo you might want in a custom environment |
|
Mesh |
Contains all meshes that were selected in the Items List when the preset was created |
|
Material |
Contains all material items, such as your shader, image maps, and any custom parameters that may exist within your material |
Creating Material Presets
Depending on the type of preset you are creating, the method of creating an preset differs slightly.
To create a material assembly:
- Right click the material group you want to assemble in the Shader List
- Click Save as Material Preset, found at the bottom of the pop-up menu
- Assign a thumbnail and your package data
- Press Save Preset and save your preset
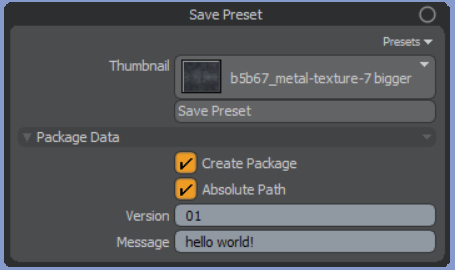
From here, you are presented with a menu:
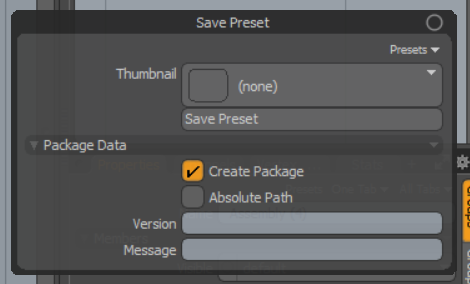
There are multiple options in this menu that relate to saving out your preset:
|
Type |
Explanation |
|---|---|
|
Thumbnail |
Allows you to pick out a thumbnail for your preset, making it easier to find when imported into the Preset Browser |
|
Create package |
when enabled, your preset and all files related to it will be exported as a .lpk file; this allows for easier sharing between projects |
|
Absolute Path |
Points to where images are stored when a preset is created. If enabled when a preset is being created and images cannot be found, it’ll use the images inside the packaged preset. |
|
Version |
allows you to version your presets |
|
Message |
allows you to add information about your preset, which can be found in the properties of the saved preset .lpk |
Creating Mesh, General or Environment Presets
To create a Mesh, Environment or general preset:
- Select the items you want to preset in the Items List
- With your items selected, right click and navigate to Presets>Save As Mesh/Environment/General Preset in the menu that opens
- Assign a thumbnail and package data
- Press Save Preset and save your preset
Note: The type of preset you can create will depend on what you have selected in your Item or Shader list. For example, if you have a mesh selected the Save as Mesh Preset will be the type of preset available to you.
Assemblies and Presets
Whenever a new preset is made, a corresponding assembly is made alongside it. Assemblies can be viewed and edited from within the Schematic Viewport, by switching to the Overview view.
While editing your assembly in the schematic viewport, you can add additional nodes to change the type of assembly you have created. For example, adding a mesh to a material assembly will turn it into a mesh assembly. However, Modo will save the material preset allowing you to be able to switch between the two without having to create a new assembly.