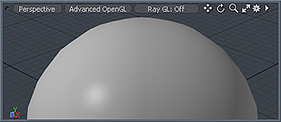
The initial vertex normal map applied.
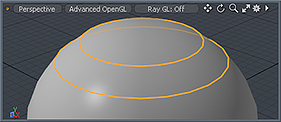
An edge selection defined.
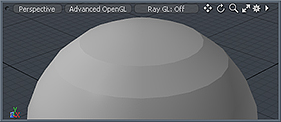
The resulting split vertex normals.
|
The initial vertex normal map applied. |
An edge selection defined. |
The resulting split vertex normals. |
With the Split Vertex Normals command you can modify a vertex normal map to create hard or soft transition edges between polygons based on edge selections. First create a vertex normal map if one isn't already present. You do this by choosing Vertex Map > Set Vertex Normals. Doing this freezes the smoothing values for the item as it appears in the 3D Viewport. Prior to assigning the map, you can adjust the Smoothing Angle in the Material Item of the Shader Tree. Once you assign the map to a surface (by being created), its values supersede those of the Material Item and need to be edited manually. The vertex normal map is in the Other Maps section of the Lists palette.
With a vertex normal map present, you can select a series of edges meant to define the hard surface transition and then click the Split Normals button in the Edges sub-tab of the toolbox.

Normal Map: Lists the target vertex normal map, which is named vert_normals by default.
Level: Determines the amount of hardness added to the edge. 100% makes a fully hard edge; 0% does not adjust the edge at all; and -100% turns a hard edge into a soft edge.