Surfacing is the process of applying shading attributes to the 3D geometry in the scene. The various shading attributes make a surface red and shiny or dull and pitted or any of the millions of variations a surface can posses. Surfacing in Modo uses a layer and mask based metaphor to assign these attributes to a surface.
Masks determine the area where the surfacing properties are applied. Within these masks the attributes are defined. This is similar conceptually to how silk-screening works for the garment industry. Take for instance the graphic on the t-shirt you are likely wearing right now. Each color on the shirt requires a new screen (mask) and when the next color (layer) is applied it supersedes the previous color where they overlap. Of course transparent ink could be used to allow the other colors to show through - this is the same in Modo too, changing a layer's transparency allows the lower layers to show through, but that's getting a little ahead of ourselves. The screens for the shirt are made by an artist manually drawing them out and going through a complex process that allows ink to flow through only certain areas. A screen or mask in Modo doesn't need to be defined in such a tedious, manual way.
In order to create the mask that confines the surfacing to just the target area, a Polygon Tag needs to be defined. Polygon tags are simply user-defined labels associating any number of polygons together as a group. The tag definitions are stored in the geometry itself and can be easily recalled by Modo for a variety of purposes. Modo does have several tag types but the main tag used for surfacing is the Material tag (Parts and Selection Set tags are the other types and offer additional functionality for layering materials for different effects, but that's getting ahead of ourselves). For Material tags, simply defining the tag prompts Modo to create the mask for the surfacing. When tagging geometry for surfacing in this way, the geometry itself determines the shape of the mask - when the model moves, so does the mask (with all surfacing going along for the ride as well).
So the important summary here is that Modo surfacing uses a simple mask and layered metaphor for surfacing and tags define the masks that limit that surfacing to the intended areas of the geometry. There are several steps to apply a tag to a surface.
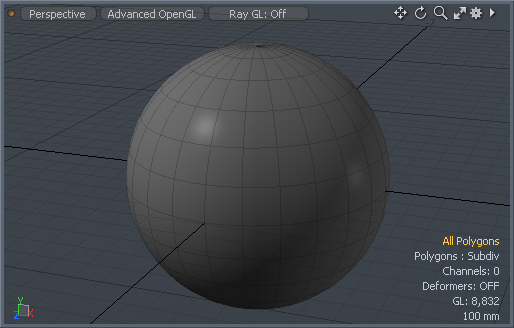
To assign a tag, you first need some geometry in the scene. For example, create a default 1m sphere.
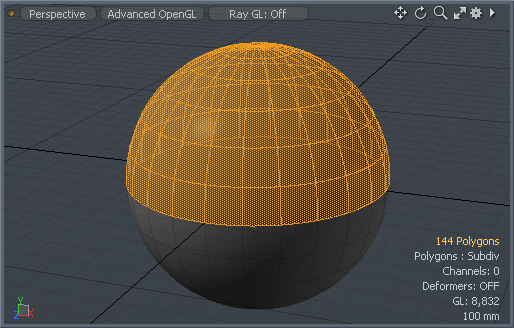
In Polygons selection mode, select the target polygons you wish to apply the material to. Here, the upper half of the sphere has been selected. For information on making selections, see Selection Modes and Types.
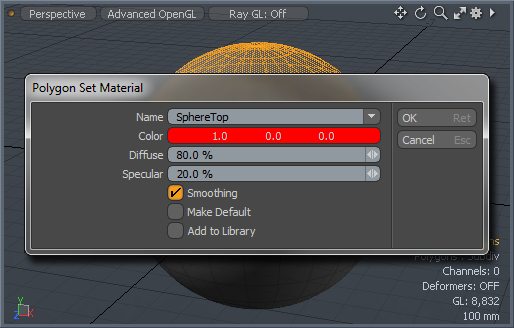
With the selection active, choose the command Texture > Assign Material Group or press the M keyboard shortcut to open the Polygon Set Material dialog box. Here you define the Name of the tag as well as set some basic surfacing attributes. In the example, a red color has been used and the surface is named Sphere Top.
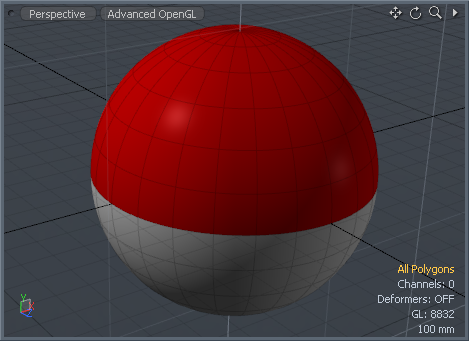
Once you have modified the values in the dialog box to your liking, click OK or press the Return (or Enter) key on the keyboard. This assigns the tag to the selected polygons and defines a material in the Shading viewport.
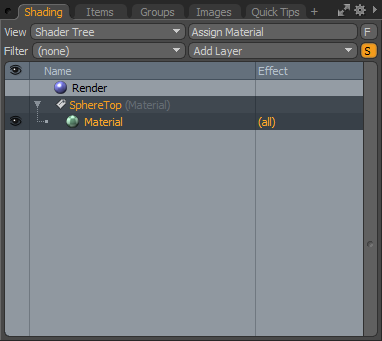
Now, you can see that a tag ![]() is added to the Materials panel showing the name that was defined, and a new material item
is added to the Materials panel showing the name that was defined, and a new material item ![]() has been added to it. If you can't see the material item, click the arrow widget
has been added to it. If you can't see the material item, click the arrow widget ![]() next to the named tag to make it visible. Now, any changes made to this new material item are limited to only polygons in the scene with the tag Sphere Top.
next to the named tag to make it visible. Now, any changes made to this new material item are limited to only polygons in the scene with the tag Sphere Top.
Selecting the Material item layer in the Materials panel displays its associated attributes in the Properties panel for further editing.
You can continue recursively adding additional material tags to define all the various surfaces in a scene in the same way, just remember that a polygon can only have a single Material tag at a time, so if you accidentally assign a second material, it overwrites the previous value. To fix this, select the offending polygon(s) and reassign the previous tag. If you wish to apply complex layering to materials, this requires additional alternative tag types (such as applying a label onto a bottle of wine). You can define these groupings through the addition of Part tags and Selection Sets.
TIP: In complex scenes, you should consider a strategy for assigning material tags to the various surfaces. Descriptive names are often better than cryptic ones. Consider the case of a car model. One naming scheme might title materials based on their type, such as Glass, Rubber, Leather, and Chrome. Another scheme might use the item itself, such as Windshield, Tire, Seat, and Bumper. Both examples are much better than Upper Front, Inside, Lower Left, and so on, because when you hand off a file or return to it at a later date, the descriptive names still make sense.
Parts work in a similar fashion to Material tags, offering an additional means of defining polygon groupings. Parts can be a useful way to define additional surfacing layers in the Shader Tree, especially in cases where the surface layer spans across two or more Material tag boundaries. They can also be useful when exporting geometry to other applications. Parts can be easily defined in the following manner.
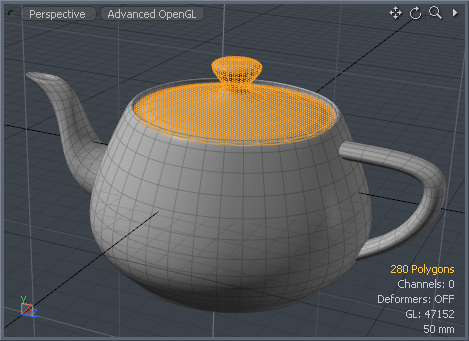
In Polygons mode, select the geometry you wish to assign the part tag to, in this case the lid of the teapot.
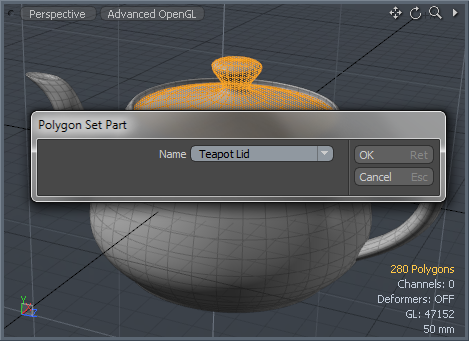
Choose the command Geometry > Polygon > Set Part to open the Polygon Set Part dialog box. You can assign a new name or use the dropdown context menu to choose an existing part tag from the list. Click OK or press the Return (or Enter) key on the keyboard to assign the Part tag to the selection.
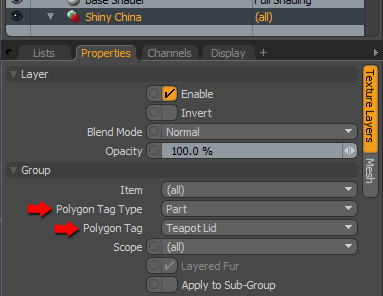
Once applied, Part tags can be recalled in two ways. Firstly, by creating a Shader Tree Material Group item within its properties panel, you can define the Polygon Tag Type as a Part, and in the Polygon Tag dropdown menu, select the a part you defined in the previous step. When defined in this way, the effect of any Shader Tree items added to this group is confined to the polygons grouped by the tag, masking the layers in the same manner as a Material tag.
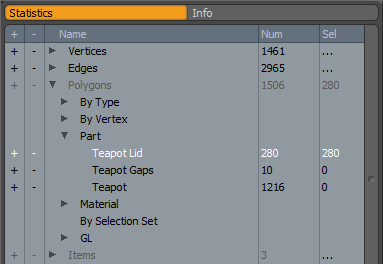
The second way to recall a Part is to use the Statistics viewport panel under the Lists tab. Within the viewport, under the Polygon > Part section, you can recall part selections by using the +/- buttons in the left column of the panel. In the example, clicking on the + symbol has activated the Teapot Lid selection. Clicking the - button deselects any polygons contained in that tag.
TIP: You can add tags to curve elements in the same way that tags are added to polygons. Select the Curve itself while in Polygons mode and apply the tags as demonstrated above. This can be useful when defining alternate or additional guides when styling a Fur Material layer.