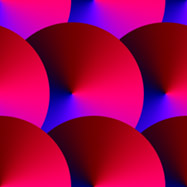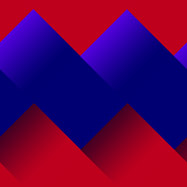
Anisotropic maps require specific RGB values to control the direction that the specular and reflection shading stretch across. You can see the direction easily in the provided color wheel where the arrows represent the direction for each color.
To recreate the provided anisotropic wheel, you can load a gradient file into the Gradient tool in Photoshop. Then apply it with an angle gradient by dragging up when you create it. If you need assistance, see the Photoshop documentation for information about using the Gradient tool. You can do this also in other image-editing applications by using the provided RGB values in the gradient file.

NOTE: Opposing directions produce identical results (moving left or right to the color makes no difference); therefore, half the wheel is actually unnecessary. It is included here for completeness.
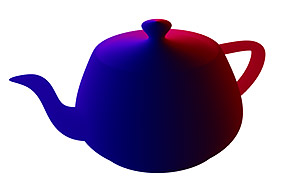
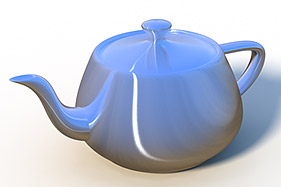
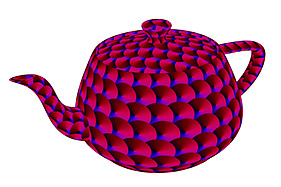
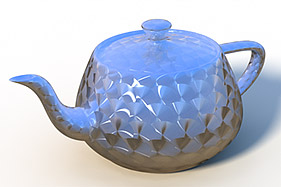
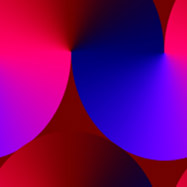
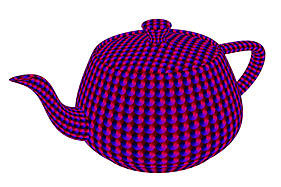
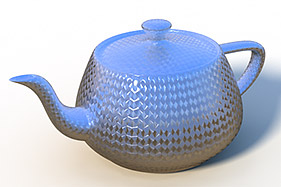
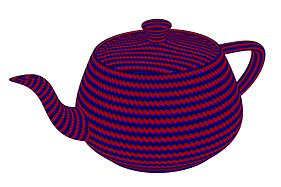
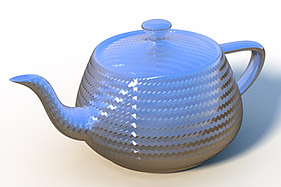
To apply an anisotropic map to a surface, enable Blurry Reflections with some value for the Specular Amount or Reflection Amount in the Material item for the surface. Set the Anisotropy value also. (With a UV map defined, the map defines the direction in reference to the UV mapping of the surface.)
The provided samples use 100% as the Reflection Amount (with Conserve Energy enabled) and the Anisotropy value set to 100% as well. Depending on the way you have set up the UV map, Modo can display different effects. The samples show (from left to right): the Anisotropic Map, the Map Colors, and the Resulting Effect.