Topological Morph Creation
The Topological Morph Creation tool allows you to create morph maps on multiple selected meshes or parts, based on the geometry of a source mesh or part. For example, if you generate your morph shapes as separate meshes instead of morph maps, you can merge them all into morph maps using this tool.
To use the tool:
| 1. | Specify the source by selecting any two adjoining polygons on it. |
| 2. | Add the corresponding two polygons in the same order on the target to the selection by holding Shift and clicking on the polygons. |
The source and the target can be in the same or in different mesh layers.

| 3. | In the menu bar, click Vertex Map > Topological Morph Creation... |
This opens the Topological Morph Creation dialog.
| 4. | Enter a name for the new morph map in the Morph Name field, and if you want to create an absolute morph map instead of a relative one, enable Absolute. |
Note: A relative morph map offsets vertices relative to their current position. An absolute morph map positions vertices to a specific absolute position.
| 5. | Click OK. |
A new morph map is created based on the geometry of the source, and is added to the source and the target.
| 6. | Select your target and open the Vertex Maps list on the lower right panel. |
Note: If the Vertex Maps tab is not visible by default, click the + button on the right of the tab names, and select Data Lists > Vertex Map List.
| 7. | Expand Morph Maps, and click the newly added morph map. |
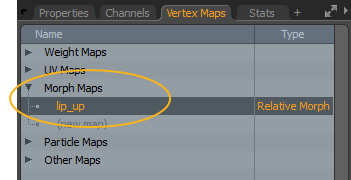
The map is displayed on your target mesh in the 3D viewport.
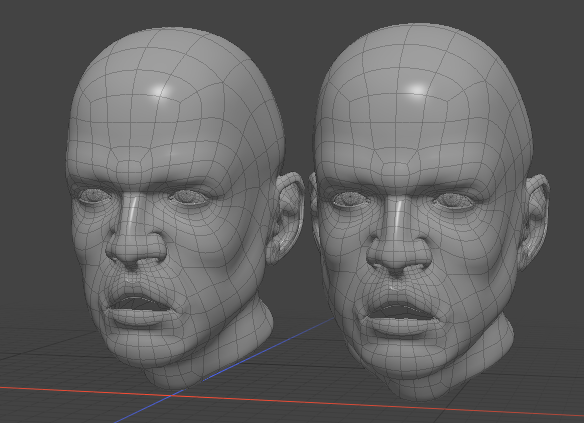
Morph Creation in the Same Mesh
When using Topological Morph Creation on parts of the same mesh item, applying the command transforms the target to the source part's location. This is because each polygon island is relative to the origin, so when Modo creates the morph, it moves the polygons to match them.
See the image below for an example:
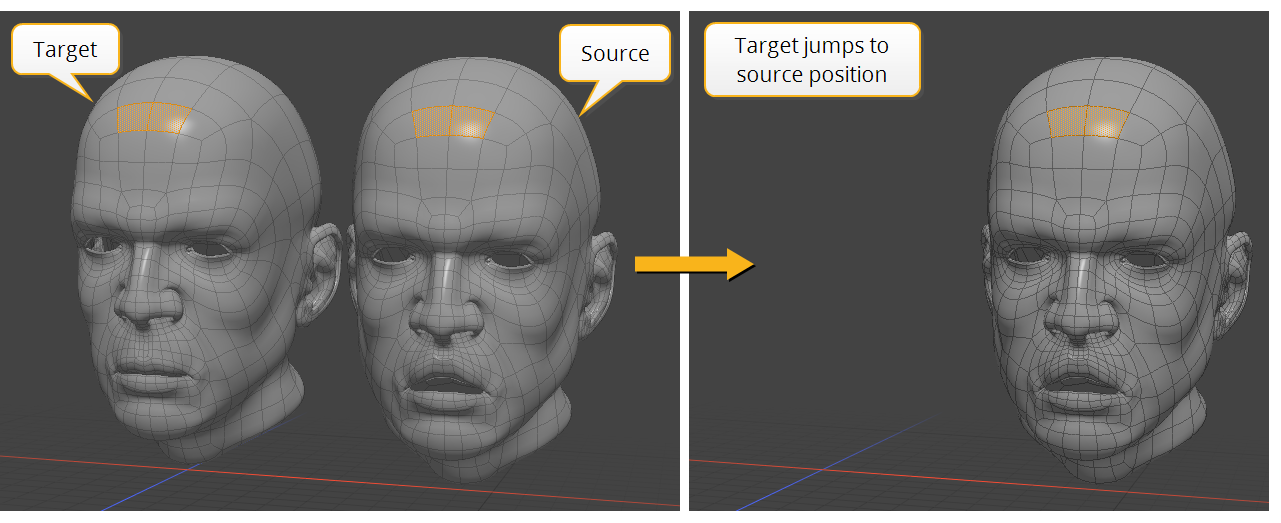
You can avoid this by creating a morph map that sets the position of the source to the position of the target, and activate the morph map before running the Topological Morph Creation command.
| 1. | In Polygons selection mode, double-click the source part to select it, and in the Vertex Maps list, under Morph Maps, click (new map). |
This opens the Create New Vertex Map dialog.
| 2. | Enter a Vertex Map Name and select Relative Morph Map as the Vertex Map Type, then click OK. |
Your new morph map appears in the Vertex Maps list.
| 3. | With the new morph map selected in the list, move your source on top of the target part. |
| 4. | Select two adjoining polygons on the source and the target. |
| 5. | Make sure that the morph map is selected in the Vertex Maps list. |
| 6. | Run the Topological Morph Creation command from the menu bar. |
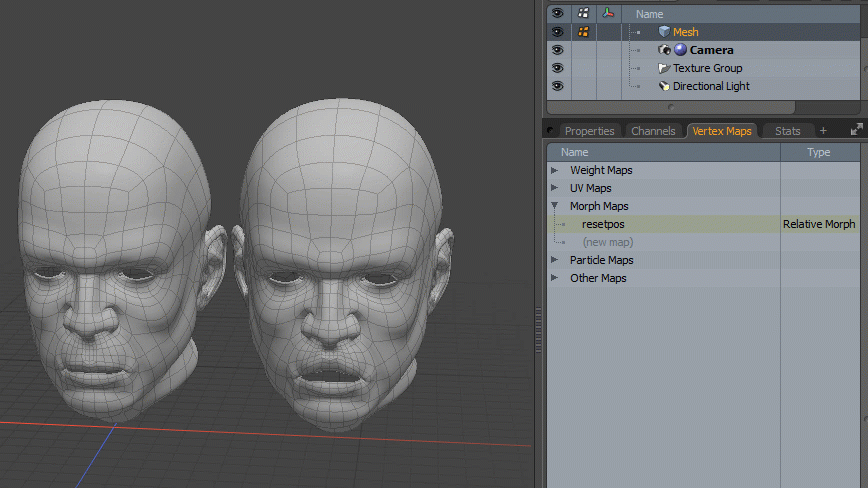
Your new morph map is created.
| 7. | Select it in the Vertex Maps list. |
The morph is applied to the target but it remains in position.