Thicken
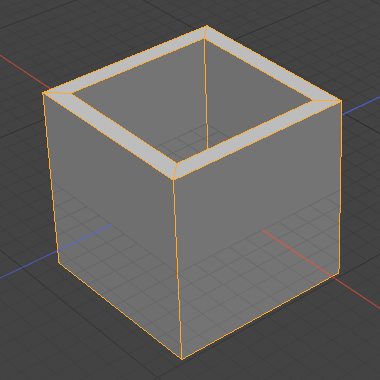
With the Thicken tool you can quickly add dimension to flat geometry. This functionality is often referred to as Shell. You can use the Thicken tool to add thickness to the outside of a volume to make the object larger or to the inside of the volume to create an inner surface.
To use the tool:
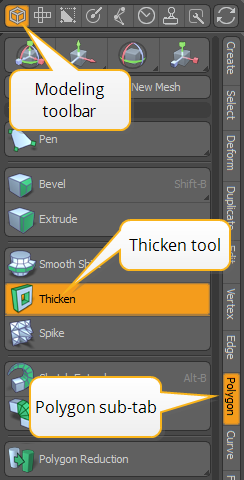
| 1. | Make sure you're in the Modo, or Model layouts, as these are the best suited for working with the Thicken tool. |
| 2. | Select your geometry in the 3D viewport. |
| 3. | Open the Modeling toolbar on the left panel, and click the Polygon sub-tab. |
| 4. | Click the Thicken button. |
| 5. | With the tool active, click in the 3D viewport. |
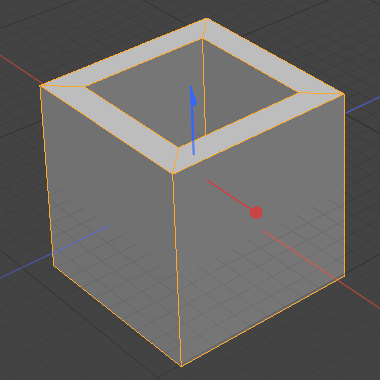
Modo creates a new set of polygons at the same location as the original polygons. You can see tool handles in the 3D viewport. The blue handle adjusts the offset and the red handle adjusts the scale.
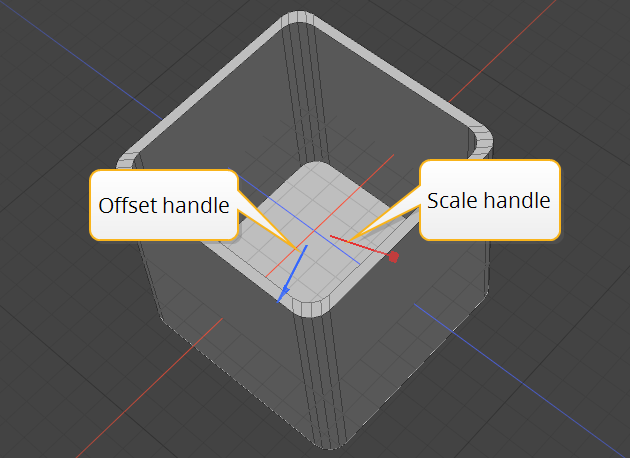
| 6. | Drag on the handles to thicken the geometry. |
You can also edit these properties in the Thicken Properties panel.
Procedural Thicken
The Thicken mesh operation is the procedural equivalent of the Thicken tool.
Tip: For more information on procedural modeling and mesh operations, see Procedural Modeling with MeshOps.
To add the mesh operation:
| 1. | Click the Add Operator button above the Mesh Operations list. |
Note: If you're working in a layout where the Mesh Ops tab is not visible by default, click the + button on the right of the tab names, and select Data Lists > Mesh Ops.
| 2. | Under Mesh Operations > Polygon, double-click Thicken. |
This adds Thicken to the list and displays tool handles in the 3D viewport.
| 3. | Drag on the handles to thicken the geometry. |
You can also edit these properties in the Thicken Properties panel.
Expand the Thicken item in the list by clicking the small arrow in front of it. This reveals the inputs the operation uses.
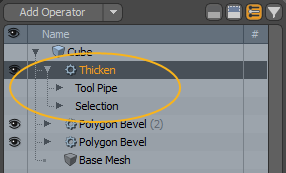
Thicken requires the following inputs:
• Tool Pipe - Add falloffs and sub-tools to the operation.
• Selection - Select the polygons you want to thicken.
Thicken Properties
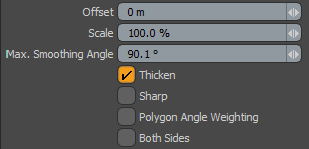
You can find the direct modeling Thicken tool's properties on the lower left panel. In the Modo layout, click the Tool Properties button, or press K to open them.
When using the Thicken mesh operation, the properties can be found on the lower right panel.
|
Offset |
Moves the selected or original polygons in the direction of their normals (with a positive offset). At the same time, Modo creates a set of polygons in the original location but facing the opposite direction. Modo connects these two sets of polygons with a row of polygons that are roughly perpendicular. If the offset is negative, Modo pushes the original polygons in the opposite direction of their original normals and flips them at the same time to avoid having the object turn inside out. |
||||||
|
Scale |
Specifies the scale of the operation. |
||||||
|
Max. Smoothing Angle |
Shifts vertices along the averaged vertex normal vectors computed from connecting polygon face normals. When the angle between faces is less than the Max Smoothing Angle, the averaged normals are computed per smoothing face group and then combine the separated normal vectors as the shift vector. This is useful when thickening polygon groups with very sharp edges.
|
||||||
|
Thicken |
Adds thickness to flat geometry by creating a new set of polygons. Disabling this checkbox disables the tool. |
||||||
|
Sharp |
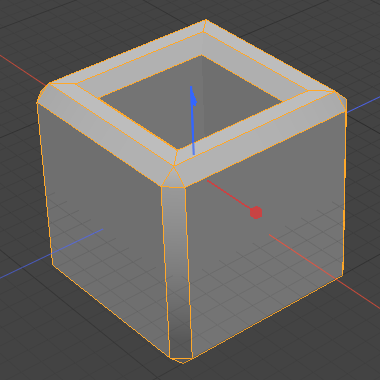
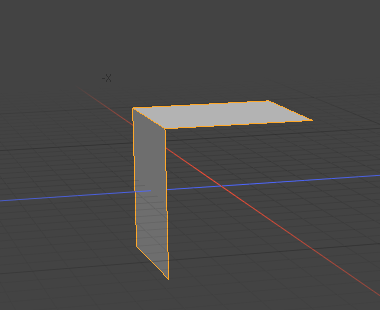
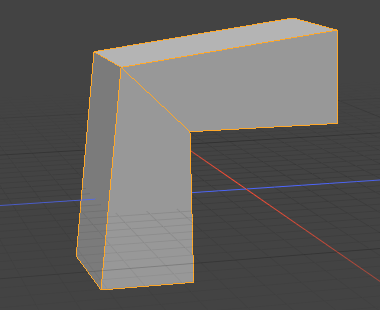
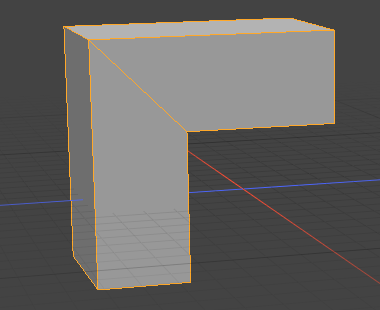
When enabled, it makes the angles sharp. For example, on a 90° mesh it keeps the middle edge in line with the others.
|
||||||
|
Polygon Angle Weighting/Weight by Polygon Angle |
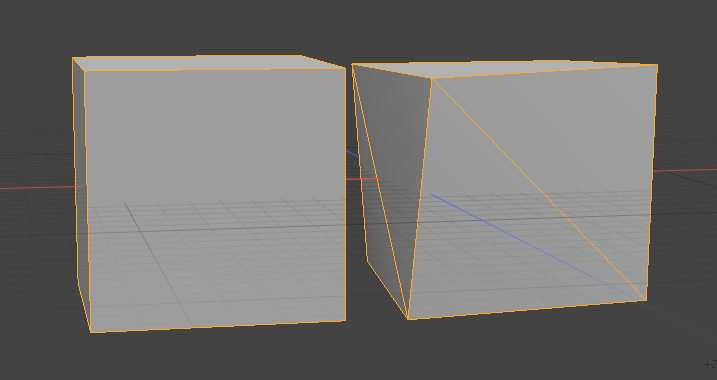
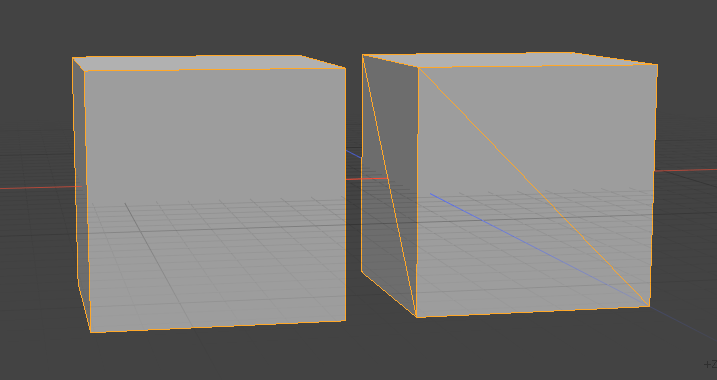
When enabled, the thicken amount is based on the average area of the polygon. Enabling this option produces better results with meshes that have triangle polygons.
|
||||||
|
Both Sides |
When enabled, the tool thickens in both directions, rather than from the source polygon in one direction. Both outer and inner points are offset from the middle position by half of the Offset amount. |
