Display Overrides
Images can be mapped directly to the displays in your project. You can do this manually by completing the following steps.
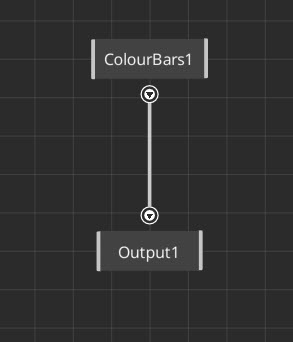
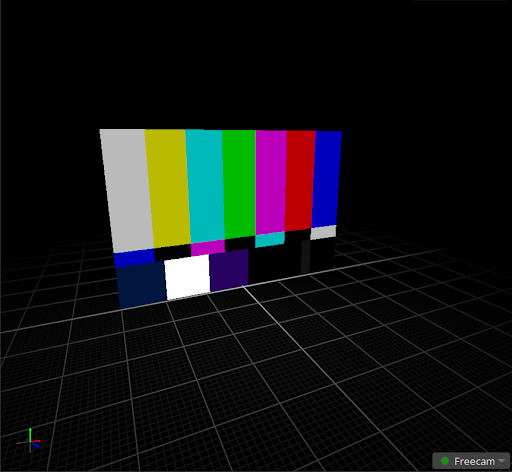
| 1. | Create Read and Output nodes for the content desired (plus any other nodes you want). |
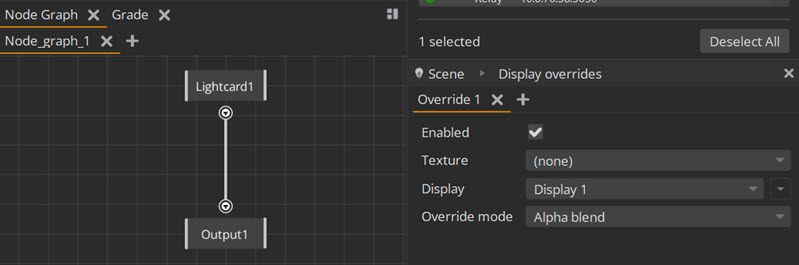
| 2. | Go to Project Graph > Scene > Display Overrides. |
| 3. | Select the Output node from the Texture dropdown list. This will link the Output node with a Display Override. |
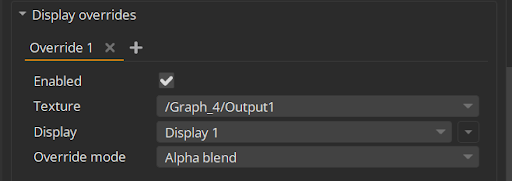
| 4. | Select the specified hardware Display from the Display dropdown list. |
| 5. | The image from the output will then be stretched to fit over the whole Display. |
Override Mode
Display overrides also enable you to choose to use the alpha value in the image to blend with the pre-existing image on the Display, or to replace it completely. You can do this in the Override mode in the Display overrides properties panel.
Blending with the existing image is a good approach for creating 2D lightcards where you can create a radial or rectangle which we can then add to a display.
This mode allows you to add the lightcard to a single display at a time, and cannot place the lightcard between displays.
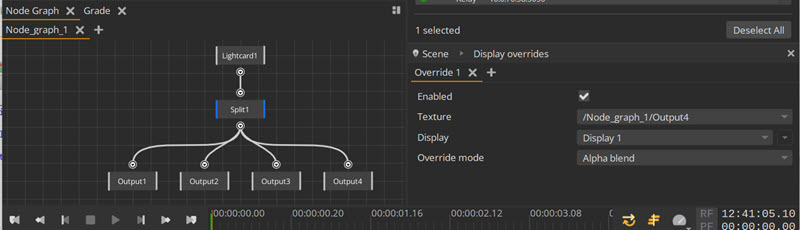
You can achieve the effect of having a lightcard between displays by using the split node and multiple outputs. Connect each output to a different display via a Display Override. Below is an example of a lightcard setup which uses a split node with this approach on four separate displays with four overrides.