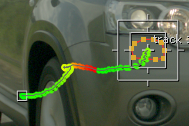
Simple Element Removal Using Inpaint
Inpaint employs contextual paint strokes or alpha shapes to quickly remove unwanted elements in shots. This means that the correction is updated at each frame automatically, so differences in color or light are taken into account.
|
|
|
|
Source clip. |
Wires removed using Inpaint. |
You can drive paint and roto shapes using a Tracker node or GridWarpTracker node to propagate your changes throughout a sequence.
|
|
|
|
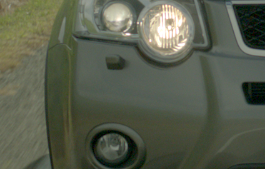
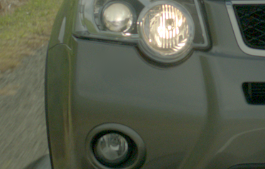
Source clip. |
Element removed using Inpaint. |
Cleanup Using Inpaint
RotoPaint strokes are a quick way to clean up tracking markers or rigging using Inpaint.
Tip: You can animate paint strokes using tracking data in the same way as roto shapes. See Animating Roto Shapes with Inpaint for more information.
| 1. | Add a RotoPaint node to the node tree. |
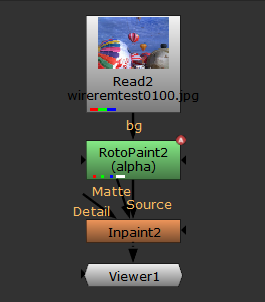
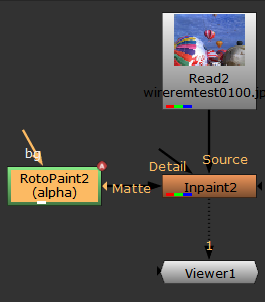
| 2. | Add an Inpaint node from the Filter menu and set the Fill Region to either Source Alpha or Matte Alpha, depending on how your RotoPaint node is connected. |
|
|
|
|
Source Alpha. |
Matte Alpha. |
| 3. | Open the RotoPaint Properties panel and set the output control to alpha. |
| 4. | Select the Brush |
Tip: The Mat Viewer display style (press M in the Viewer) is active in the image to show the wires and the paint at the same time.

Inpaint pulls pixels from around the strokes to fill the painted area.
|
|
|
|
Source clip. |
Wires removed using Inpaint. |
See Inpainting Textures and Detail for more information on improving inpainting results.
Animating Roto Shapes with Inpaint
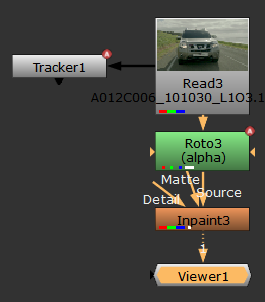
Driving Roto shapes using tracking data is a quick way to remove an element throughout a shot using Inpaint.
| 1. | Track the elements you want to remove throughout your sequence using a Tracker node. See Tracking and Stabilizing for more information. |
| 2. | Add a Roto or RotoPaint node to the node tree. |
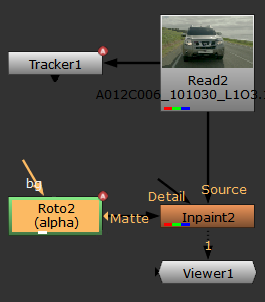
| 3. | Add an Inpaint node and set the Fill Region to either Source Alpha or Matte Alpha, depending on how your Roto node is connected. |
|
|
|
|
Source Alpha. |
Matte Alpha. |
| 4. | Use the Roto node Bezier tool to draw an alpha shape around the element you intend to remove. |
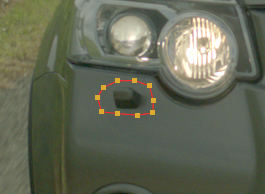
Inpaint pulls pixels from around the shape to fill the area enclosed by the shape.
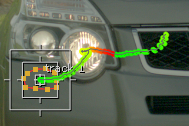
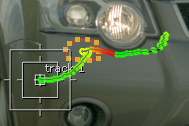
| 5. | Open the Tracker node's Properties panel and select the track in the Tracker tab. |
| 6. | Click the Transform tab and Ctrl/Cmd drag the Tracker translate animation control to the corresponding control in the Roto Properties. |
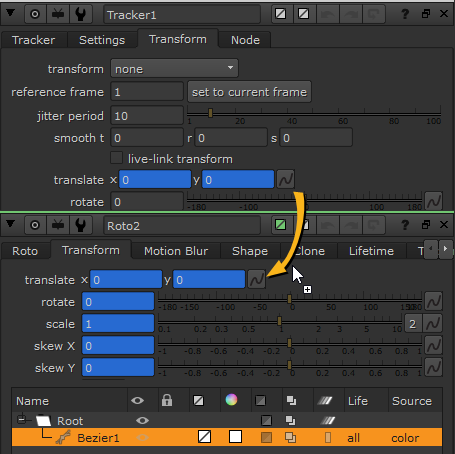
An expression link, represented by the green arrow in the Node Graph, is created between the controls so that the Tracker's translate keyframes drive the Roto shape automatically.
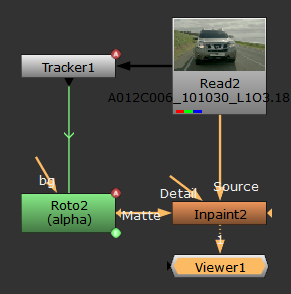
| 7. | Play through the sequence to check that the shape covers the element you want to remove throughout the shot. |
|
|
|
|
|
|
|
|
Tip: In some sequences, the inpainted texture can flicker between frames. Try adjusting the Smoothness control to reduce the effect. Higher values can help to reduce flickering between frames, but at the expense of local detail.
See Inpainting Textures and Detail for more information on improving inpainting results.


