Connecting Particle Nodes
In order to create particles, the minimum setup you need is the ParticleEmitter node. To connect your Particle nodes:
| 1. | Click the Particles menu in the Toolbar and select the ParticleEmitter node. |
| 2. | Connect it to a Viewer node. |
| 3. | Connect a 3D geometry object, or PositionToPoints point cloud, to the emit input of the ParticleEmitter. A 3D object from which to emit the particles is optional: if you don’t use one, the particles are emitted along the y axis from a point of origin. |
| 4. | To specify the appearance of your particles, connect an image or a geometry in the particle input of the ParticleEmitter. This image or geometry is then multiplied and used as representations of each of your particles. If you want to use more than one representation, connect further image or geometries to the other numbered particle inputs. ParticleEmitter picks one of these at random for each particle. |
| 5. | If you have another particle system that you’d like to connect to your new ParticleEmitter, you can connect it to the merge input. You can also merge particle systems with the ParticleMerge node (see Merging Particle Streams). |
| 6. | Now you’re ready to start modifying your particles to look the way you want. To do this, you can pick any of the various particle nodes in the Toolbar’s Particle menu and connect them to the ParticleEmitter node’s output, or to other particle nodes. Each of them has its own effect on the particles and a set of controls you can make adjustments with. |
|
|
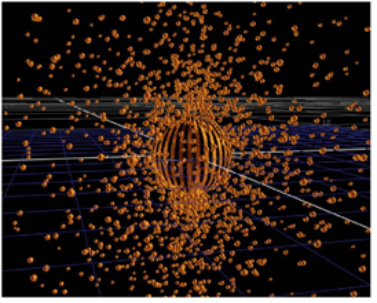
| Particles emitted from Sphere geometry. |