Caching Selected Shot Ranges
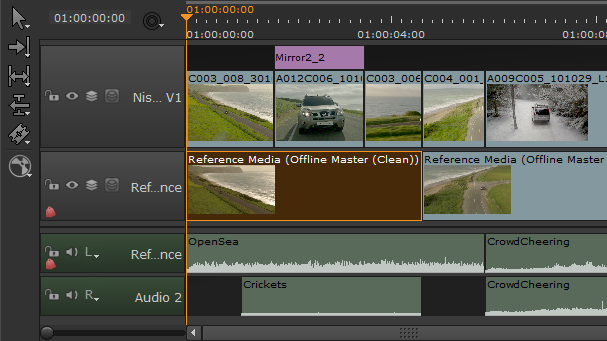
Caching shot ranges allows you to be more selective than caching an entire sequence, though it works in the same way. All tracks are read from the highest track downwards, so what you see in the Viewer for the shot selection is what Nuke Studio caches to disk.
Tip: You can pause caching at any time by navigating to Cache > Disk Cache > Pause in the menu bar.
As a result of this, you may not get the frames you expect. For example, caching the shot in the image produces frames from the three shots on the highest track, including the soft effect, not the selected reference media.
You can cache clip ranges from the timeline itself or from the Cache menu:
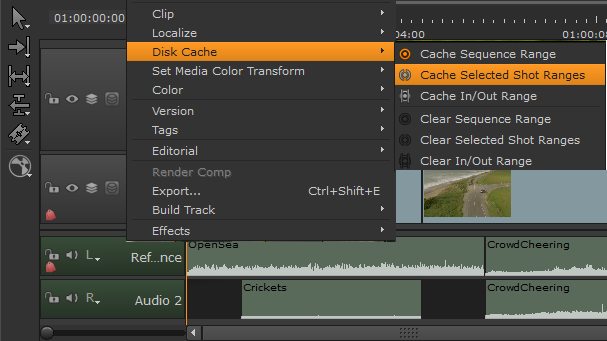
• Select the required clip range in the timeline tab, right-click and then select Disk Cache > Cache Selected Shot Ranges.
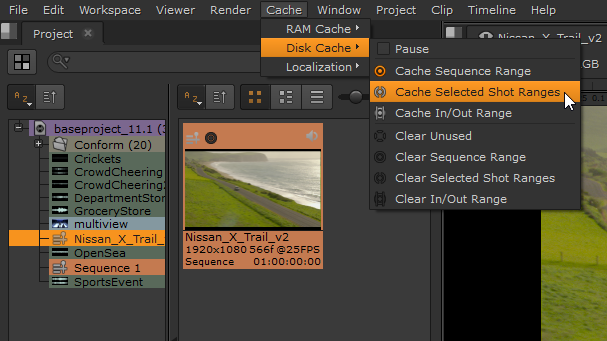
• Select the required clip range in the timeline tab and then select Cache > Disk Cache > Cache Selected Shot Ranges from the menu bar.
See Clearing Cached Frames for information on how to clear frames from the disk cache.