Degrain Section
The Degrain tools are used when a foreground image is highly compromised by film grain. As a result of the grain, when backing screen noise is completely removed, the edges of the foreground object often become harsh and jagged leading to a poor key. These tools were created to, hopefully, help when a compositing artist is faced with a grainy image.
Degrain type
The Degrain type dropdown menu gives you a range of grain removal from none to large. If the foreground image has a large amount of film grain induced pixel noise, you may lose a good edge to the foreground object when trying to clean all the grain noise with the Clean BG Noise operation mode. These tools allow you to clean up the grain noise without affecting the quality of the key. A short tutorial explaining when and how to use these tools is at the end of this section. Select:
• none - When none is selected, you get the color of the exact pixel sampled. This is the default mode.
• small - When small is selected, you get the average color of a small region of the area around the sampled pixel. This should be used when the grain is very dense.
• medium - When medium is selected, you get the average color of a medium-sized region of the area around the sampled pixel. This should be used when the grain is less dense.
• large - When large is selected, you get the average color of a larger region of the area around the sampled pixel. This should be used when the grain is very loose.
• tolerance slider - Adjusting the tolerance slider should increase the effect of the Clean BG Noise tool without changing the edge of the foreground object.
Degrain Tools Tutorial
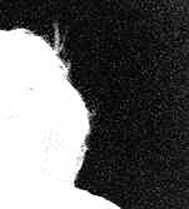
If you have a noisy image as in the example below...

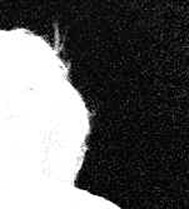
...you will find that the matte is also noisy:

You can use the Clean BG Noise operation to remove the noisy pixels, but this can also modify the edge of the foreground object in a negative manner.
Using the Degrain tools in the following way may help you clean up the image and still get a good edge on the matte:
| 1. | Use the Clean BG Noise operation just a small amount to remove some of the white noise in the alpha channel view but do use it so much that you affect the edge of the foreground object. |
| 2. | Then set the Degrain type dropdown menu to small as a first step to reduce the grain: |

With the degrain tolerance slider set at 0, move it around some. This should increase the affect of the Clean BG Noise tool without changing the edge of the foreground object.
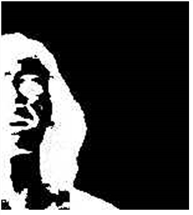
Sometimes, this may not be enough to totally remove the grain, so by adjusting the degrain tolerance slider, you can tell the Primatte algorithm what brightness of pixels you think represents grain. You should try not to use too high of a value; otherwise, it affects the overall matte. For an example of an over-adjusted image, see below.

The Primatte degrain algorithm uses a defocused foreground image to compute the noise.
Note: The small, medium and large settings for the degrain tools all produce defocused foregrounds that have larger or smaller blurs respectively.
Note: It is important to make sure that the crop settings are correctly applied; otherwise, when the defocus image is generated, if there is garbage on the edges of the images, then that garbage is blurred into the defocused foreground.
As a review:
| 1. | Select the Select BG Color operation mode and click on a backing screen color. |
| 2. | Select the Clean BG Noise operation mode and use it sparingly so that it has minimum affect to the edge of the foreground object. |
| 3. | If there is still grain in the backing screen area, then use the Degrain type functionality starting at the small setting to reduce the grain. |
| 4. | If the grain is still present, then try increasing the tolerance slider a little - not too much. |
| 5. | If grain is still a problem, then try changing the type to medium or large and also changing the grain tolerance until the desired effect is achieved. |
Note: The grain functionality does not always remove grain perfectly, but is sometimes useful to minimize its effects.
