Creating 2D and 3D Elements from Deep Images
You can create a 2D image or a 3D point cloud from a deep image.
Creating a 2D Image from a Deep Image
You can use the DeepToImage node to flatten an image, in other words merge all the samples in a deep image into a regular 2D image.
|
1.
|
Connect the node to a deep image (or a DeepMerge with merged deep data) you want to flatten. |
|
2.
|
In the properties panel, the volumetric composition box is checked by default, but if you uncheck it, Nuke only calculates the front depth of each sample and assumes the samples do not overlap. If you uncheck this, the calculation takes less time, but if you have overlapping samples in your deep image, the resulting image might not represent every pixel as expected. |
Creating a Point Cloud from a Deep Image
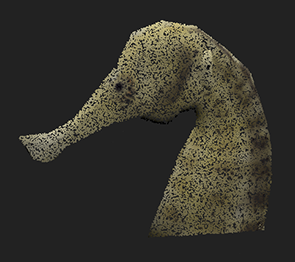
You can use the DeepToPoints node to transform the deep pixel samples into points in 3D space that you can see in Nuke's 3D view, much like a point cloud. This node is useful for position reference.
|
1.
|
Connect the DeepToPoints node’s deep input to the deep image you want to view in 3D. If you have a camera that you want to look at the point cloud through, connect it to the camera input. |
|
2.
|
Change to 3D view (by pressing Tab) to view the results. |
|
3.
|
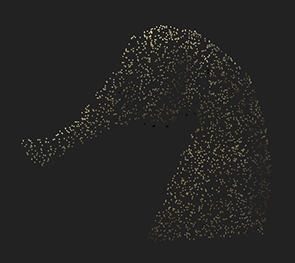
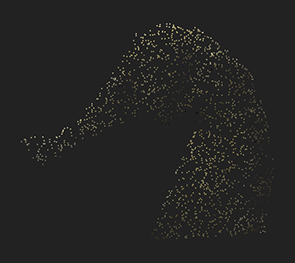
In the properties panel, you can use the Point detail slider to adjust the density of the cloud. |

|

|
| Point detail set to 0.005. |
Point detail set to 0.05. |
|
4.
|
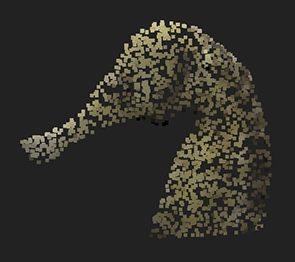
Adjust Point size to change the size of the points. You can also use 3D object selection on the point cloud, and for example snap on your DeepToPoints results. (For more information on 3D selection, see 3D Selection Tools.) |

|

|
| Point size set to 2. |
Point size set to 6. |


