Grouping Nodes in the Node Graph
You can group nodes in the Node Graph using the Backdrop node or the Group node. The Backdrop node adds a background box behind the nodes, separating the nodes visually from the rest of the node tree. A Group node, instead, combines a set of nodes into a single node, acting as a nesting container for those nodes.
Grouping Nodes with the Backdrop Node
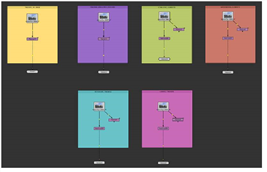
You can use the Backdrop node to visually group nodes in the Node Graph. Inserting a Backdrop node creates a box behind the nodes. When you move the box, all the nodes that overlap the box are moved, too. By inserting several backdrop nodes, you can group the nodes in your node tree onto boxes of different colors and titles. This makes it easier to find a particular node in a large node tree, for example.
You can also use the Z Order control in the Properties panel to layer-up Backdrop nodes. Backdrops with lower Z Order values appear underneath those with a higher value.
|
|
|
Nodes grouped with Backdrop nodes. |
To Group Nodes with a Backdrop Node
| 1. | Select Other > Backdrop. A Backdrop node box appears in the Node Graph. |
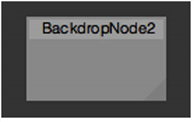
| 2. | Drag the triangle in the lower right corner of the box to resize the box as necessary. |
| 3. | Click on the box title bar and drag it to move the box behind the nodes you want to group together. If there are any nodes on the box, they move together with the box. |
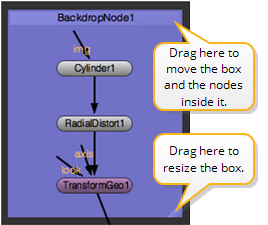
| 4. | To change the color of the box, open the Backdrop node’s controls by double-clicking on the title bar, then click the left color button and pick a new color with the color picker that appears. |

| 5. | To change the title of the box, enter a new name for the Backdrop node in the node’s controls. |

| 6. | To layer-up Backdrop nodes, enter a value in the Z Order control in the Properties panel. Backdrops with lower Z Order values appear underneath those with a higher value. |
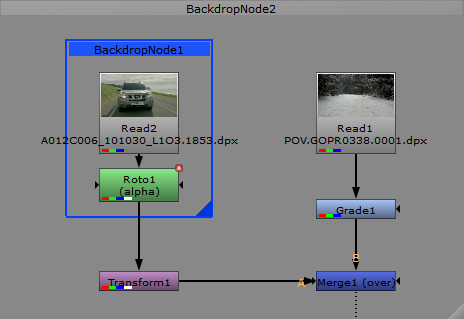
Tip: In the example, Backdrop1 is set to appearance > Border in the Properties panel. This control removes the fill color and only draws the border of the backdrop, which can help with eye strain in low light environments.
| 7. | If you later want to remove both the box and the nodes inside it, click on the title bar and press Delete. Ctrl/Cmd+clicking on the title bar and pressing Delete only removes the box and leaves the nodes untouched. To remove the nodes and leave the box untouched, click on the triangle in the lower right corner of the box and press Delete. |
Tip: You may want to use Backdrop nodes as jump-to points throughout a project. For more information, see Navigating Inside the Node Graph.
Grouping Nodes with the Group Node
You can use the Group node to nest multiple nodes inside a single node.
To Group Nodes with a Group Node
| 1. | Select all the nodes you want to nest inside the Group node. |
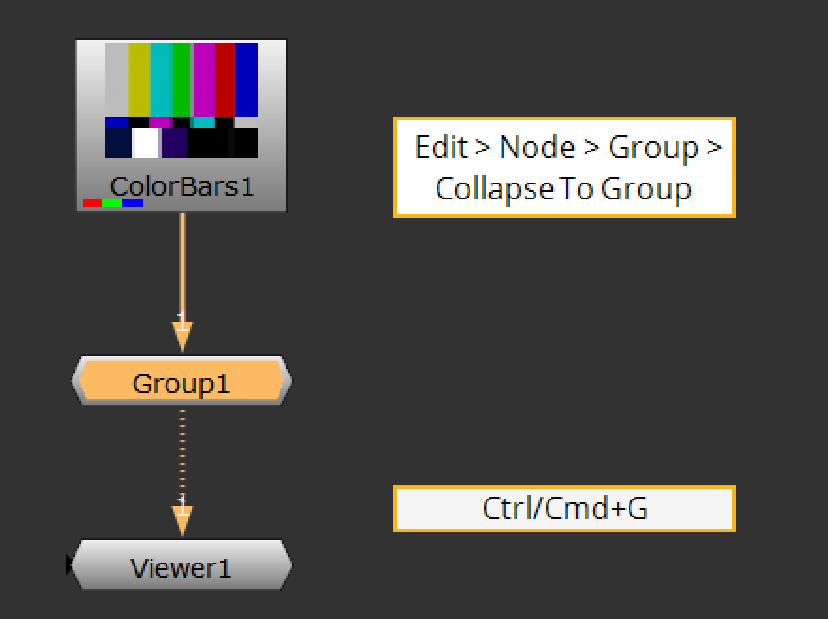
| 2. | If you want to replace the original nodes with the Group node, right-click and select Edit > Node > Group > Collapse To Group (or press Ctrl/Cmd+G on the Node Graph). |
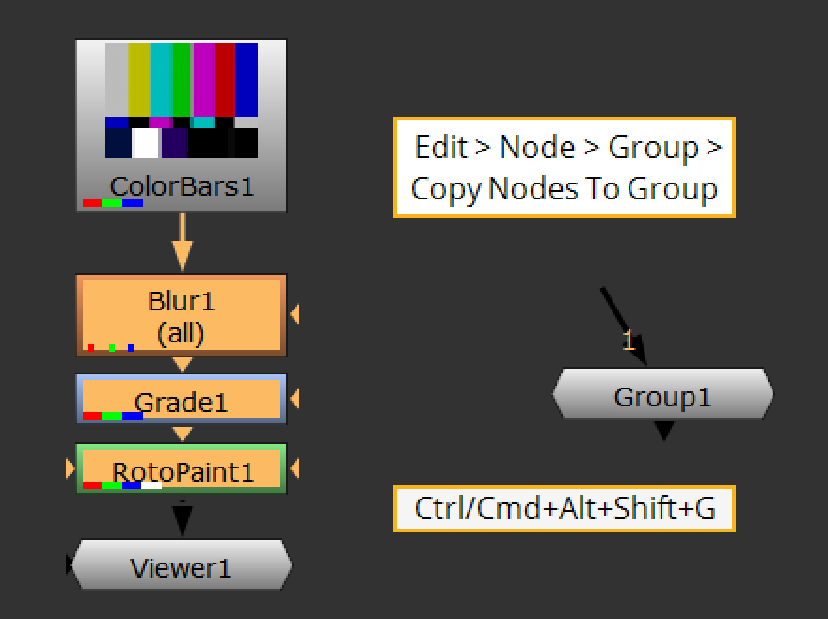
If you want to keep the original nodes in the layout in addition to the Group node, right-click and select Edit > Node > Group > Copy Nodes To Group (or press Ctrl/Cmd+Alt+Shift+G on the Node Graph).
|
|
|
The selected nodes are nested into a group. The internal structure of the Group node is shown on a separate tab that opens.
Tip: As an alternative to Edit > Node > Group > Collapse to Group, you can also select Other > Group from the Toolbar or the Node Graph right-click menu.
To View the Nodes Nested Inside a Group Node
In the Group node’s controls, click the S button (short for Show) in the top right corner.

You can also select the node and then press Ctrl/Cmd+Enter to open the Group.
A new tab that contains the nested nodes opens.
To Ungroup Nodes
| 1. | Select the Group node in the Node Graph. |
| 2. | Select Edit > Node > Group > Expand Group (or press Ctrl/Cmd+Alt+G). |
The Group node is replaced with the nodes that were nested inside it.
OR
| 1. | In the Group node’s controls, click the S button in the top right corner. |

A new tab that contains the nested nodes opens.
| 2. | Copy the nodes from the new tab into your script. If you want to lock the connections between the grouped nodes so that they cannot be accidentally disconnected during the copy-paste operation, check lock all connections in the Group node’s controls. |
| 3. | Delete the unnecessary Group node from your script. |
