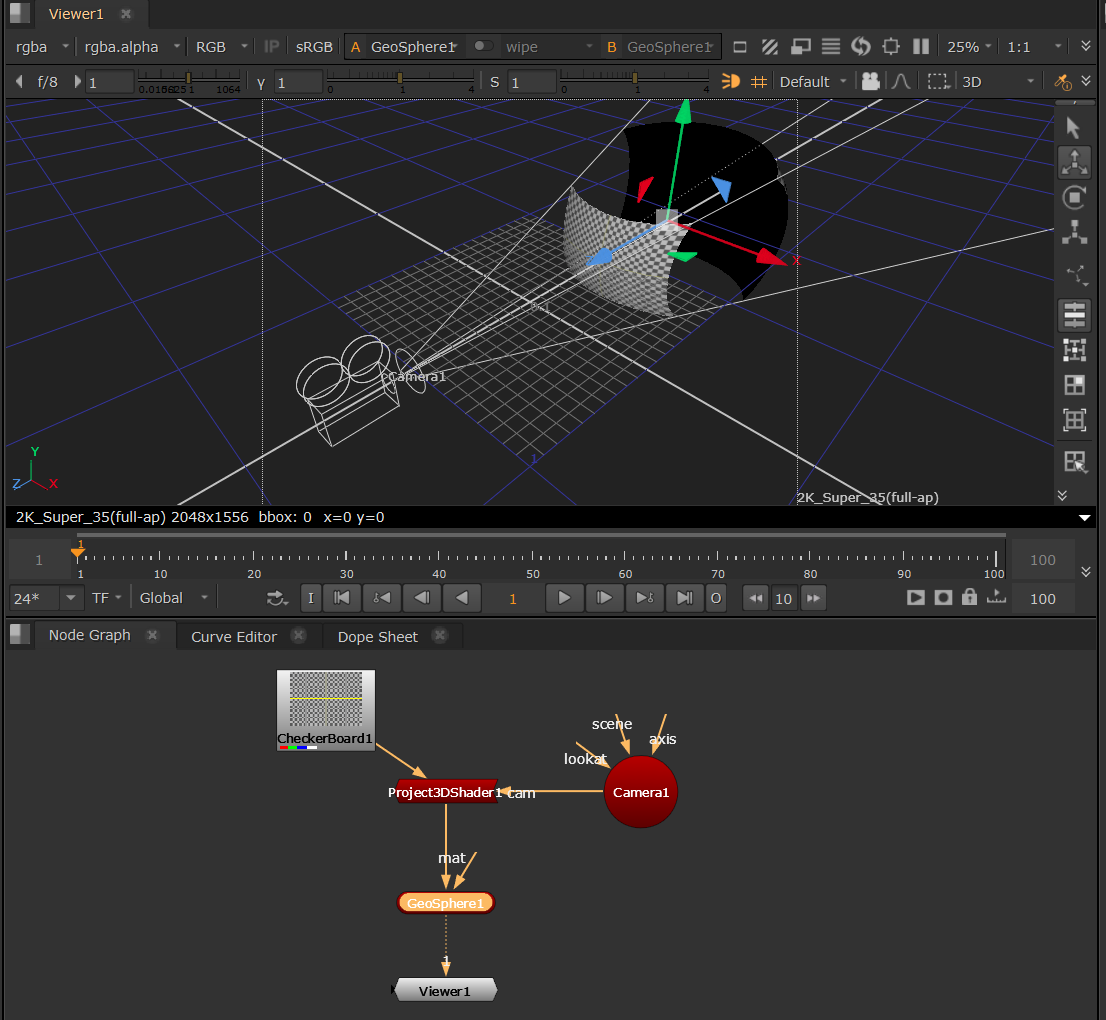
Project3DShader: Projecting Textures
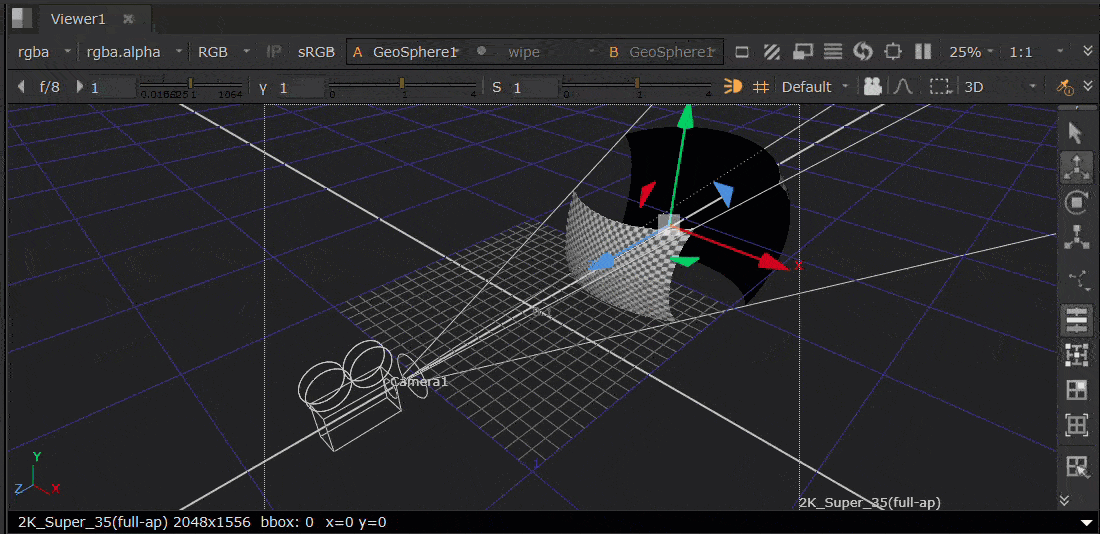
The Project3DShader node projects an input image through a camera onto the 3D object.
|
1.
|
Select 3D > 3D > Shader > Project3DShader to insert a Project3DShader node downstream of the image you want to project (for example a CheckerBoard). |
|
4.
|
Attach a Viewer to the 3D geometry node. |
|
5.
|
From the Project On dropdown menu, select to project the image on either the front facing, back facing, or both polygons. |
|
6.
|
To extend the input image at its edges with black, check Crop To Format. To extend the image with the edge colors, uncheck this. You can also check or uncheck Near Plane Clip or Far Plane Clip to clip the projection beyond the cameras near and far planes. |
|
7.
|
If you want to use ray casting to test the projection and find out which parts of it are occluded, you can use the Occlusion Mode dropdown. Select from: |
• none - to disable occlusion testing.
• self - to tell Project3DShader that only the geometry connected to it can cause occlusion.
• world - to tell Project3DShader that other objects in the scene can cause occlusion.
|
8.
|
You can then transform the Camera to position the material. |