Working with Cameras in the New 3D System
To work with cameras in the New 3D System, you have several options as an artist.
See Using the Camera Node section below. |
|||
|
|||
See Editing USD Cameras section below. |
Using the Camera Node
Creating a Camera
If you wish to create a new camera in your scene, start by adding a Camera node.
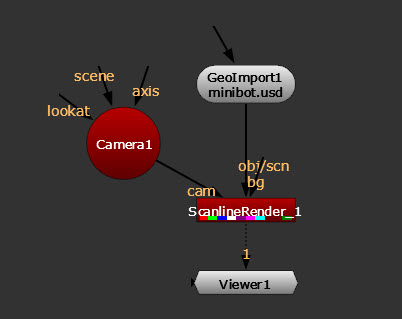
Cameras can then be connected to any node with a cam input, such as ScanlineRender. The camera connected to the ScanlineRender node is the camera used for rendering.
Bringing Data In
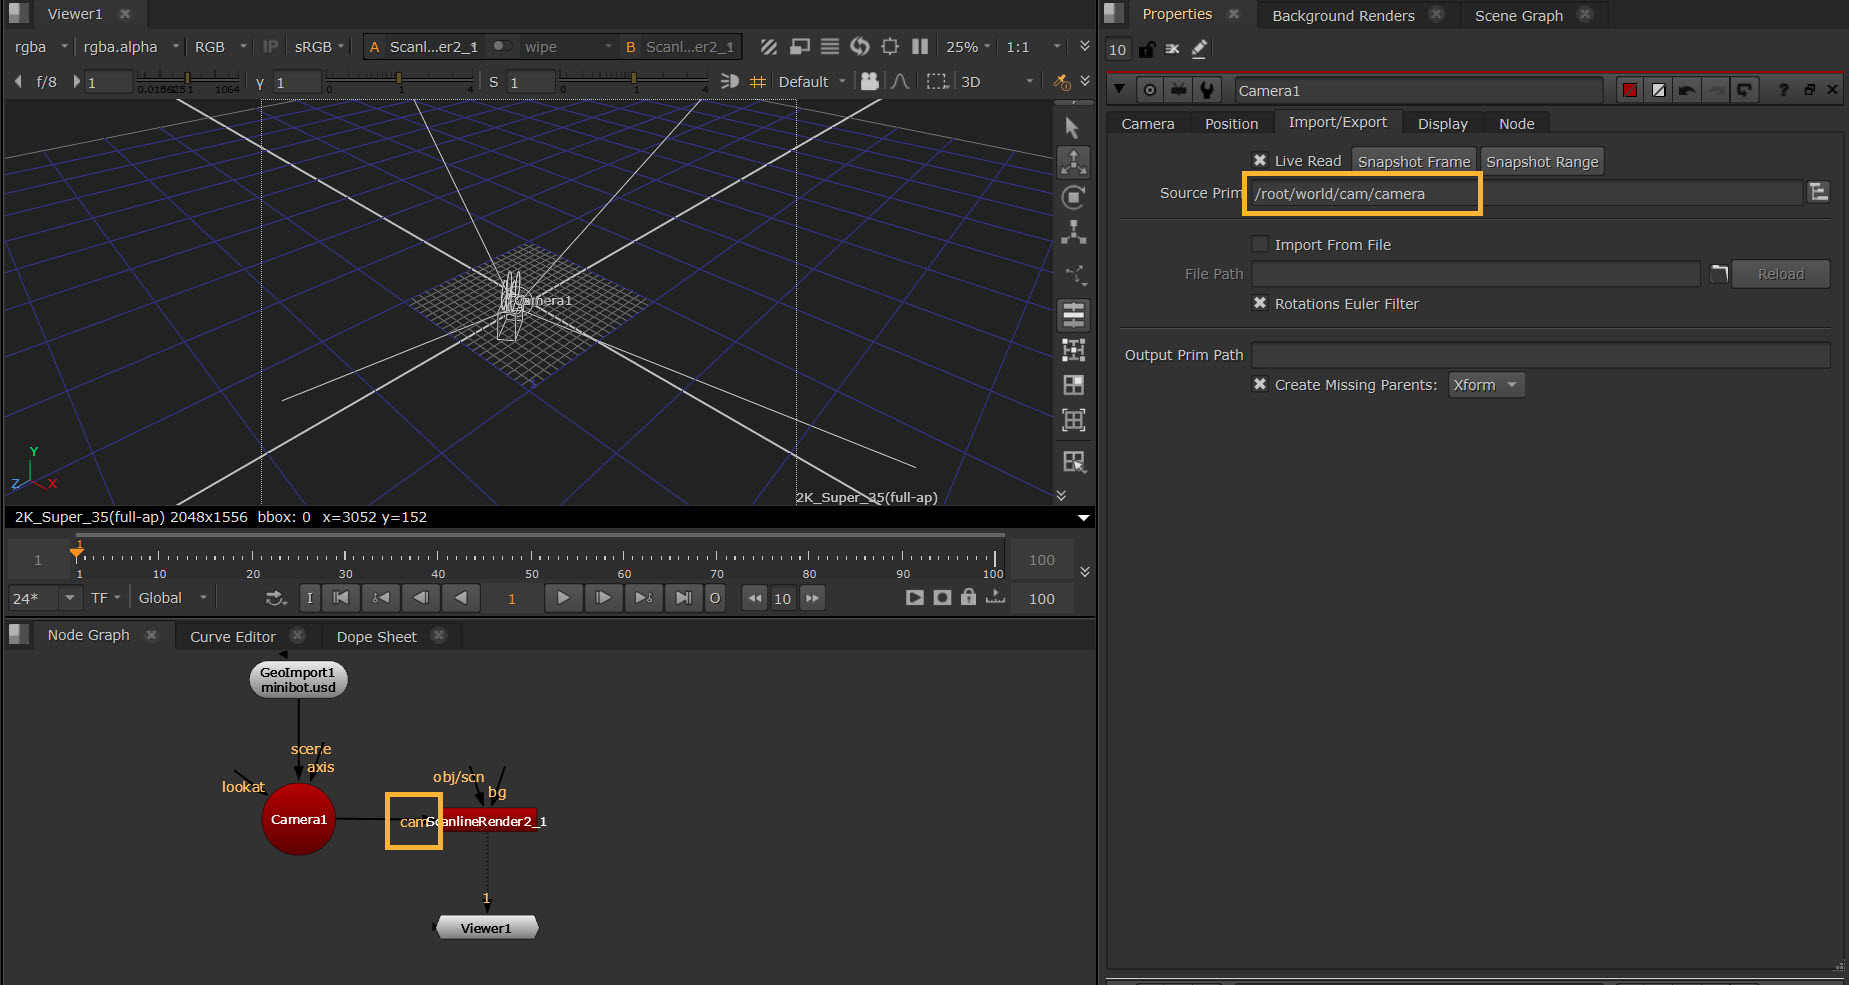
To bring existing camera data into the node, you can load a camera from file or from prim path:
• To load from a file, go to the Import/Export tab, and check to enable the Import From File knob. This allows you to then load a camera from a USD or Alembic file.
• To use an existing camera prim, use the Source Prim knob and pick from your scene.
For example, here we are picking an imported USD camera from Source Prim. Bringing data into the Camera node allows you to connect that camera to any node in Nuke with a cam input, such as ScanlineRender. The camera connected to the ScanlineRender node is the camera used for rendering.
Using the Camera
Once the camera is created and any data is brought in, the Camera node allows you to work with it and make any edits in Nuke.
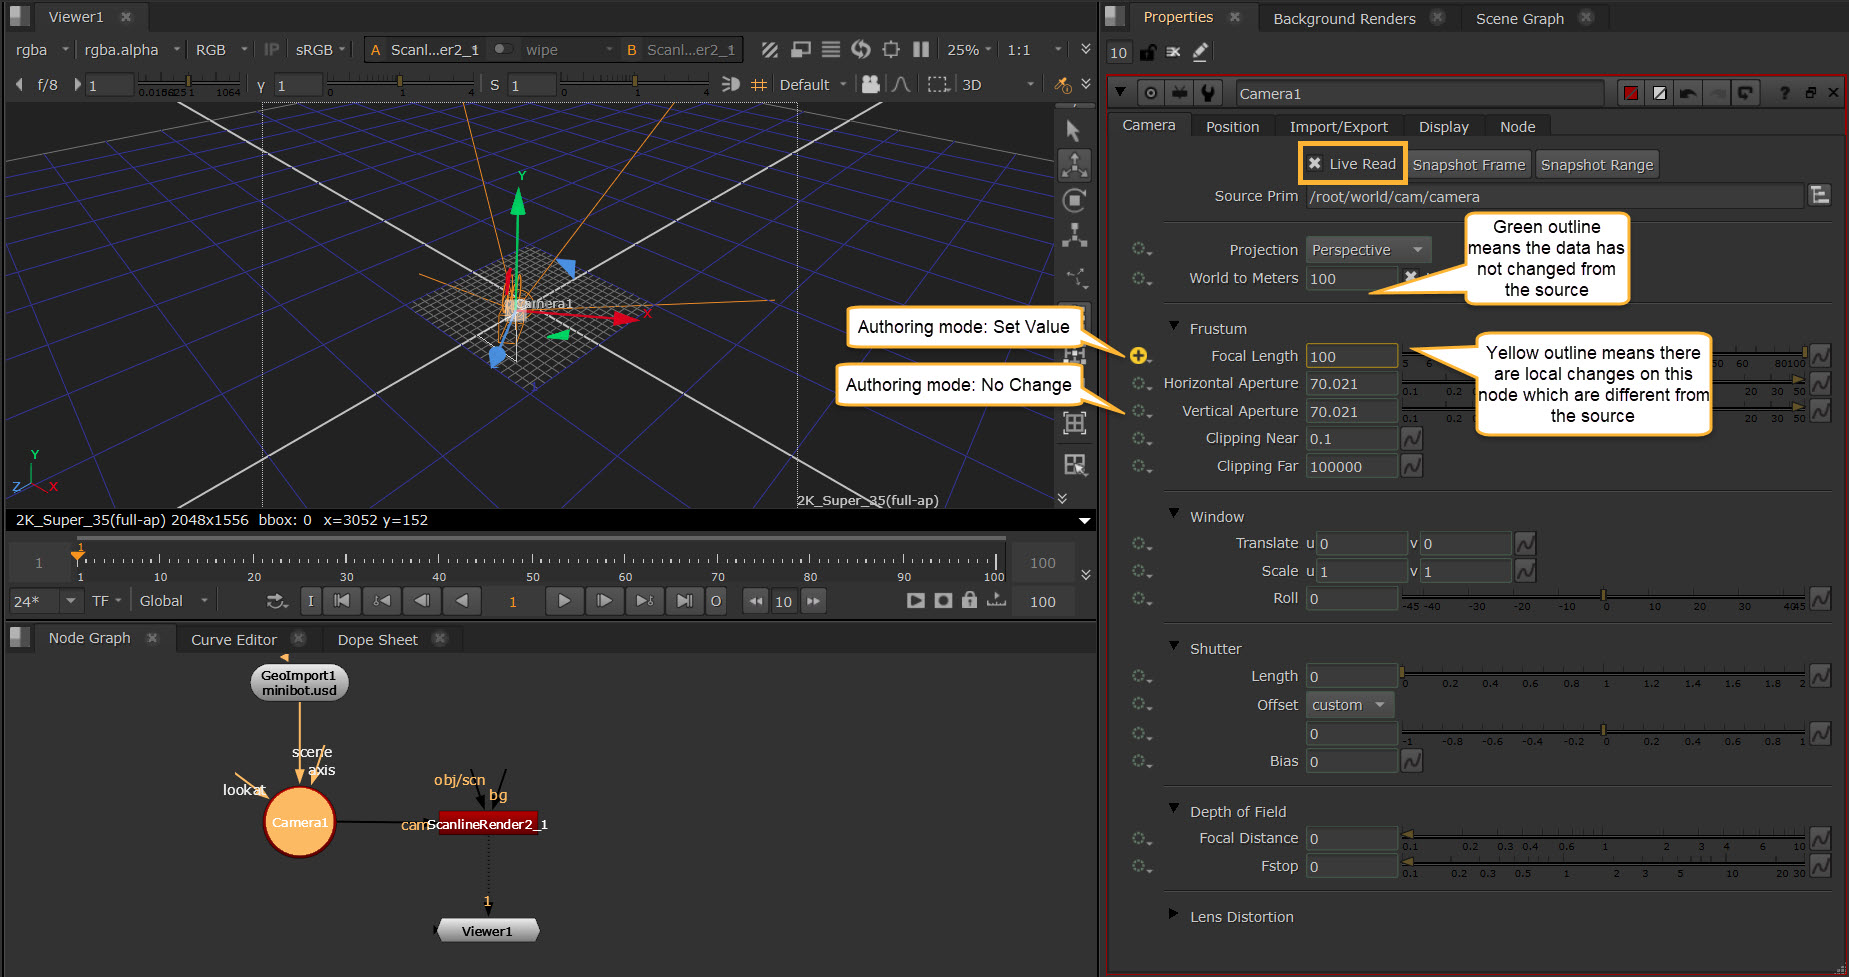
If you have the Live Read knob enabled, any updates you make to the Camera knobs will be updated live. The Camera node is then able to be connected to other nodes where you want to use that data via a cam input such as ScanlineRender.
If you are using an imported or referenced camera, and have enabled Live Read, you'll notice that the knobs have a green outline. This helps you to see which data is being read from elsewhere in their script and which data has been changed directly on the node itself.
• The green outline means the data has not changed from the source.
• The yellow outline means there are local changes on this node which are different from the source.
The authoring mode icons to the left of each knob allow you to control this. Set Value when there are local changes, and you can always revert back to No Change if you wish to reset to default (from source). Learn more about Authoring Modes
When Live Read is enabled, there is also an option to Snapshot Frame and Snapshot Range while using the Camera. This will essentially take any camera that is being live read into the node and bake the values as a local copy to that node, allowing you to have a permanent snapshot of the data at the moment in time.
Xform Extract Options
When importing camera data, you may be importing a camera which has transformation data on the camera prim itself, but also has transformation data on the Xforms that the camera lives under. These knobs allow you to determine how you work with that data.
Note: An “Xform” prim stores transformation data that applies to its child prims.
• Parent Xform Sync contains the parent transformation data i.e. that extra Axis inside the Camera properties and will automatically update the transformation values based on changes of transformation in the stage. For example, if you move the entire scene using a GeoTransform, these values will be updated while the Cameras local transformation values stay the same. By unchecking this you can break that connection and moving the scene no longer also moves the camera but you still have the transformation data from before the desync baked into the knob values.
• Local Xform Sync allows you to sync or desync the local transformation data. When enabled this essentially just loads an imported camera’s transformation and animation data into the local transformation knobs. Whereas disabling this allows you to edit these values yourself, so if you have a camera that you’ve imported with animation data, you can desync the values and then move the camera as you need on a per frame basis. Essentially you have the ability to directly edit the camera’s transformation data.
• Combine With Parent If enabled the parent prim xform is combined (concatened) with the local prim xform and placed in the local-xform TRS knobs. When not enabled the parent prim xform is extracted separately and placed in the local parent xform TRS knobs, while the local prim xform is extracted and placed in the local axis xform TRS knobs.
• Rotations Euler Filter checks for possible euler flips in the decomposed rotation curves, and removes them.
For more about transformations, see Transformations in 3D Scenes.
Other Operations
• You may also wish to use the Projection options when working with cameras. To read more about projections, see Projections in the New 3D System.
• To find constrain options, these are on the Position tab. To learn about constraining, see Constraining Prims.
Note: Full controls and descriptions can be found in the Node Reference Guide - Camera.
Camera Data
You can push a Camera created in Nuke to your USD stage using the Output Prim Path. This creates a duplicate camera that is a USD prim in your stage under a path you have chosen in the Output Prim Path. If this path is left blank, it will create one for you when the camera is connected via GeoScene, and will be named [CameraName]_Inject by default.
Camera injected into stage:
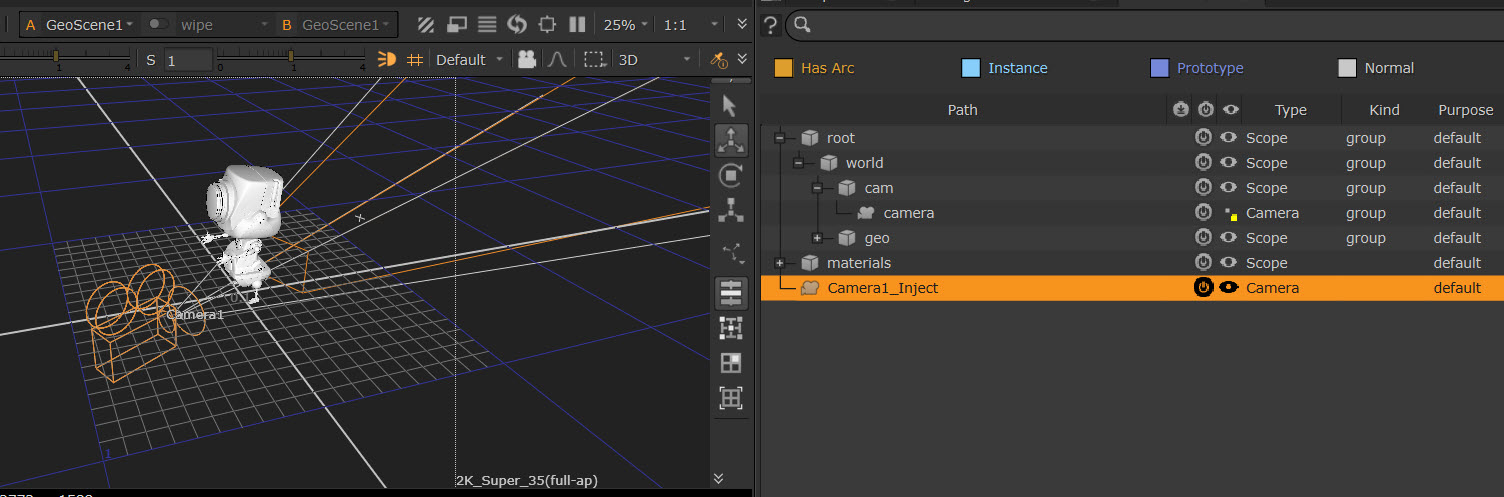
By default when you connect a Nuke Camera to a USD stage using the GeoScene node, this is the prim path that will be used to generate a USD camera prim in your stage. This USD camera won’t have the unique functionality of the Nuke camera node, like spherical or cylindrical projection modes, but will allow you to pass perspective or orthographic cameras and any other mappable attribute values between different DCCs.
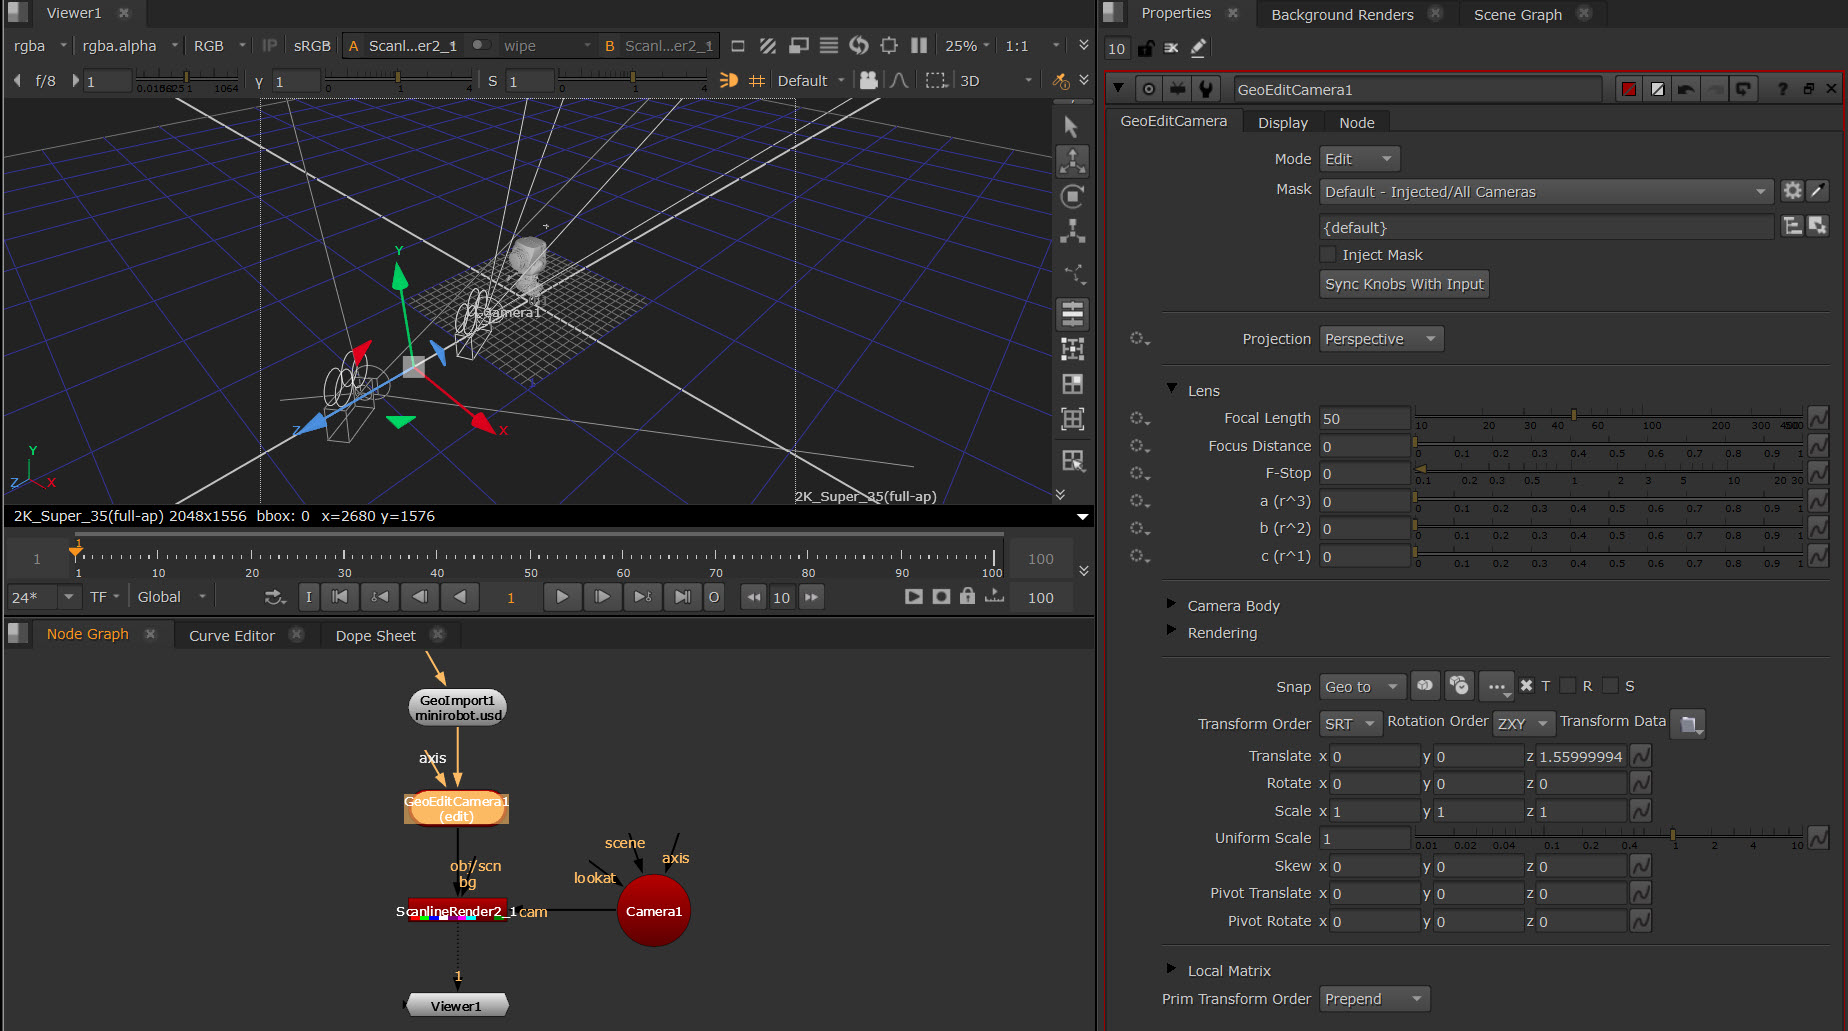
Editing USD Cameras
To directly edit a USD camera prim that has been imported into your stage, you can use GeoEditCamera node.
| 1. | Add a GeoEditCamera node downstream of your imported USD stage. |
| 2. | By default the GeoEditCamera node is set to Edit in the Mode, and All Cameras in the Mask, meaning that any camera imported from your GeoImport will be targeted. You can also use the pick menu to verify which camera is targeted and change this if needed. |
| 3. | The Sync Knobs With Input button can be used to get the values of the imported camera and set the knobs to these. |
| 4. | You can then override values if needed. For example, you can use the camera locator in the Viewer with transform handles and snap menu to transform directly in the node. See more at Using Transformation Tools. |
Note: When working with this node (and others in the 3D system) you may see some knobs greyed out with with the icon ![]() to the left. This is because the Authoring mode is set to 'No Change' by default. Directly interacting with the knob automatically updates it to ‘Set Value’ mode and allows you to continue editing as usual. Learn more about Authoring Modes.
to the left. This is because the Authoring mode is set to 'No Change' by default. Directly interacting with the knob automatically updates it to ‘Set Value’ mode and allows you to continue editing as usual. Learn more about Authoring Modes.
Tip: You can also constrain a camera within the stage using the axis input of the GeoEditCamera and the Axis node. See Using Axis Node in Your Scene.
Tip: In your scene you can include both USD cameras and Nuke “Axis op” cameras. If further cameras are needed in your scene you can still add new Camera nodes and connect them to ScanlineRender.
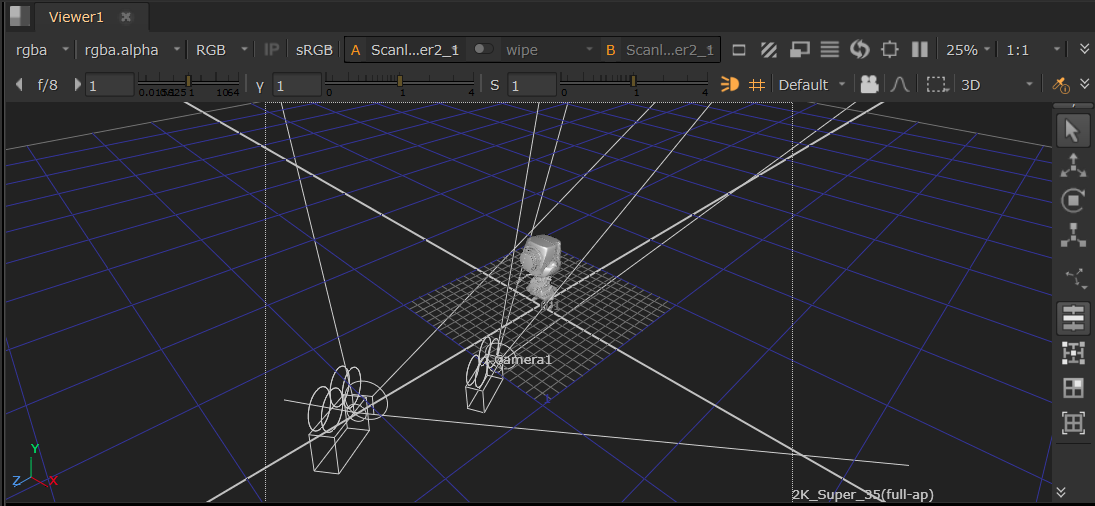
Cameras in the Viewer
Both imported USD Cameras and Axis op Cameras have locators in the Viewer to allow you adjust positioning and see your scene in context.
You can also look through cameras in the 3D Viewer. See Look Through Camera.